Show Posts

You can view here all posts made by this member. Note that you can only see posts made in areas to which you currently have access.

Messages - Louksy1970

#1
Evening all.

Unfortunately its been over 5 months since my last post, the main reason being we moved house. We bought a doer-upper that needs a full renovation, to achieve this I put my Predator in storage.
We have made good progress over the last 4+ months, fully rewired and a new heating system installed.

Fast forward to now and I hope to go retreive the buggy before the end of the month. I have spent this week replacing the roof on the garage so its watertight and structually sound.
My plan is to crack on and get it completed before this summer.  (Fingers crosssed) its gone on way too long and I need to drive it.

Hope to see you all at a show or buggy meet sometime soon.

Cheers
Steve


#2
Quote from: Chris M on October 19, 2025, 09:34:37 PMLooking good. Not sure I'm liking the column mount though. Usually the standard mount is cut off and either moved lower down so all that bracket and mount is hidden behind the dash or a U clamp type mount is used. It looks like you have a mount tube there already  :-\  Just my opinion, ignore it and no offence meant.
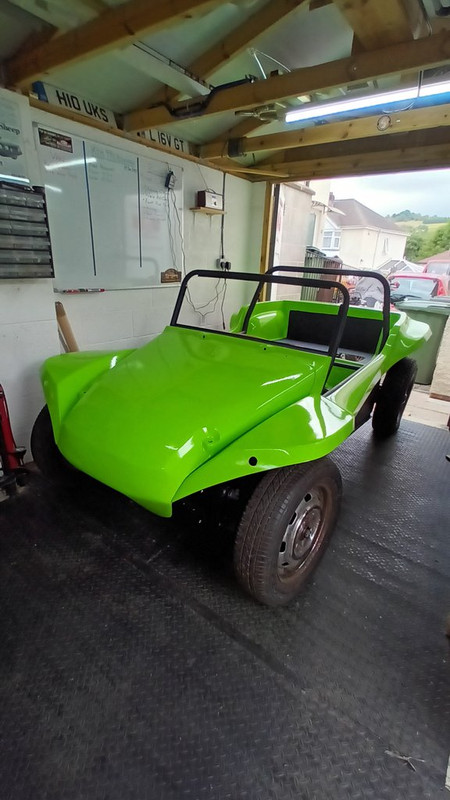
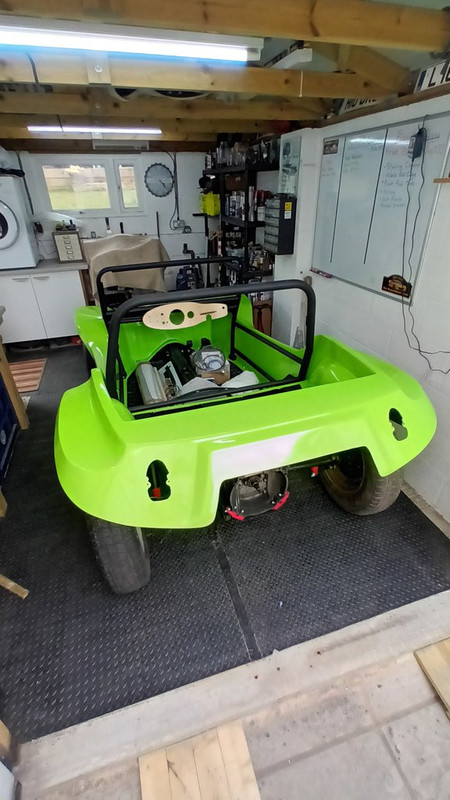
Hi.
I agree its not the best but this is where it was welded when I bought the buggy.
I have access to 3D printers at work, maybe a cowl needs to be designed to cover it up and blend in a bit.
I do lke your idea about putting the mount behind the dash, I will log this and look into it in the future.

Cheers
Steve
#3
Evenimg all.

I am rubbish at this posting,  sorry its been a few months.

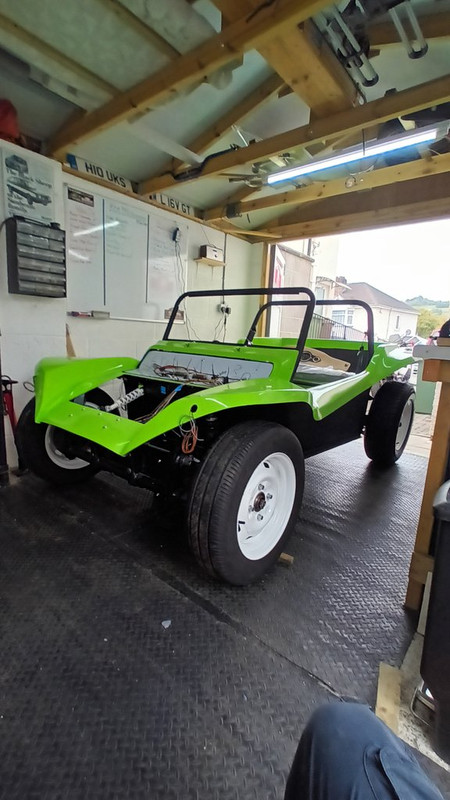
Over the summer I have finished the painting, painted and installed the roll cage, the seatbelts are in and  I have almost finished the wiring.


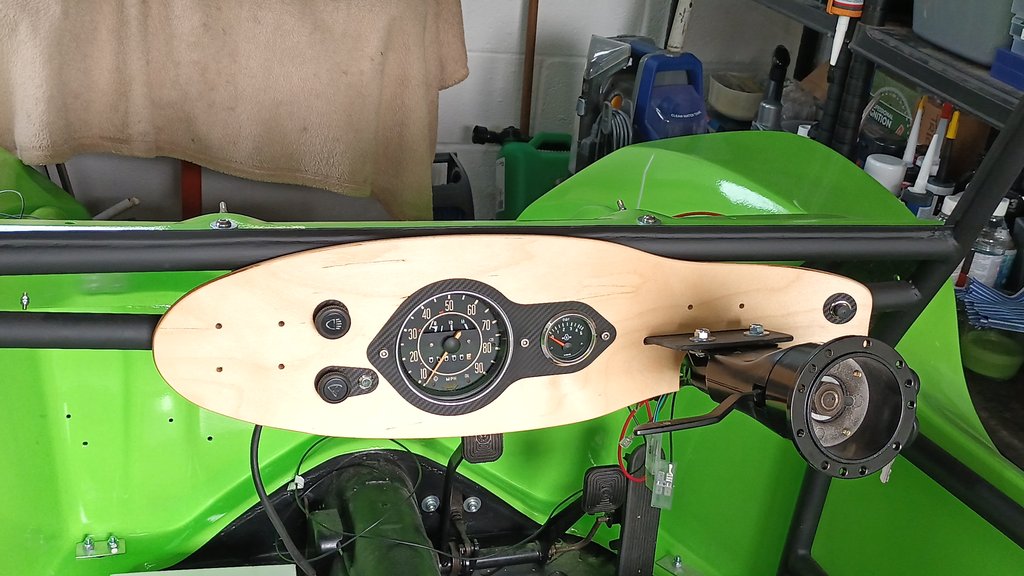
The skateboard deck dashboard is coming along, I am pleased with how it has turned out.


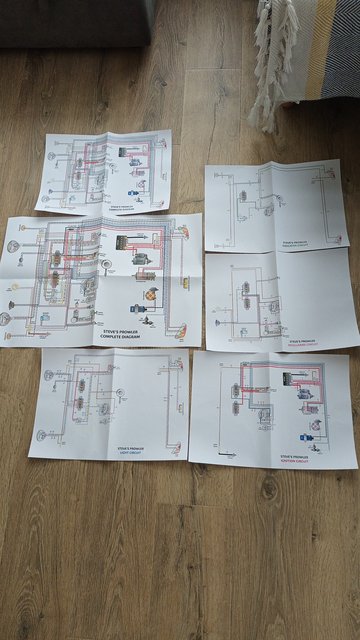
A big thanks to Chad, his wiring kit is excellent, i have all the wires laid out and just a few bits of termination to do behind the dash.
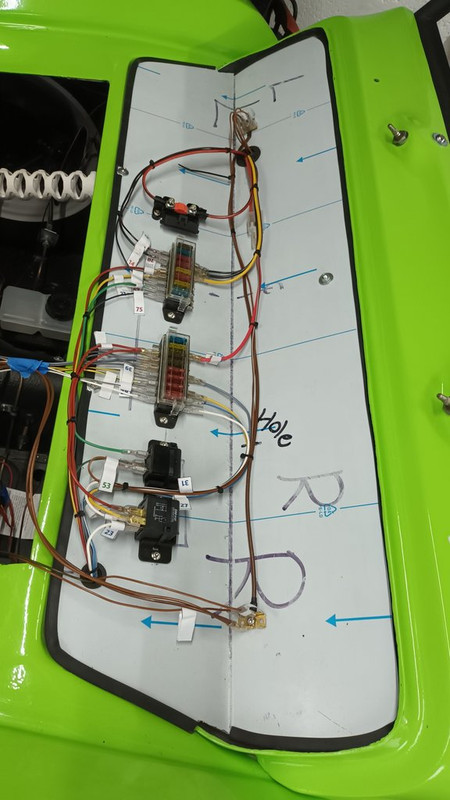
This is the under bonnet harness with the fuse blocks and relays.


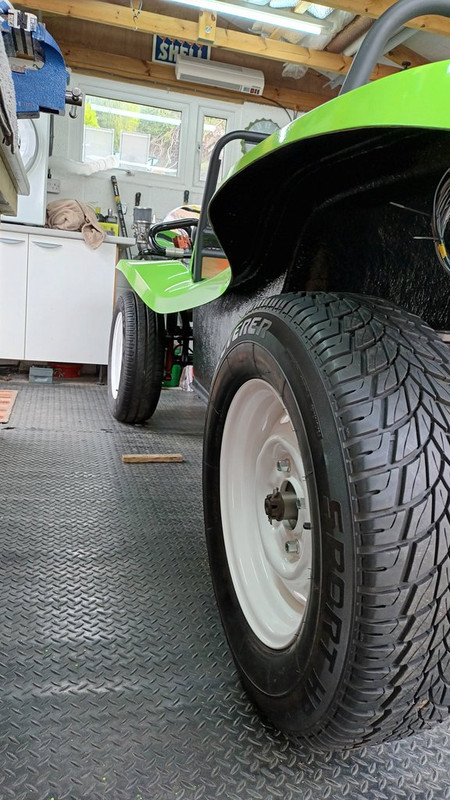
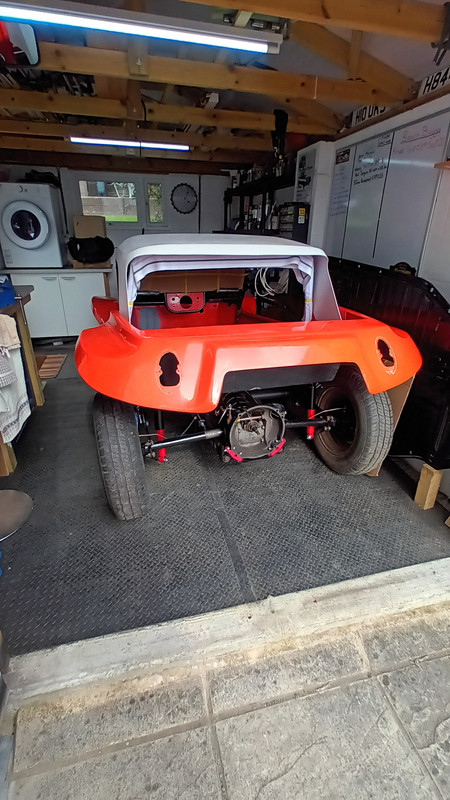
I fitted the tyres to the wheels and fitted them for a bit of a test , primarily to check the offsets are okay.


This is where I am at now, I hope to finish the dash wiring this week then its onto installing the fuel tank and fit the bonnet so I can mount the headlights.

Cheers
Steve
#4
Hi all,

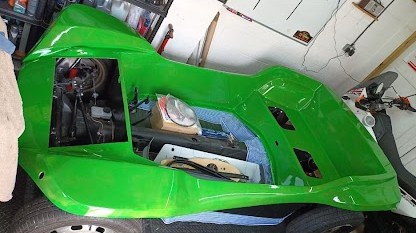
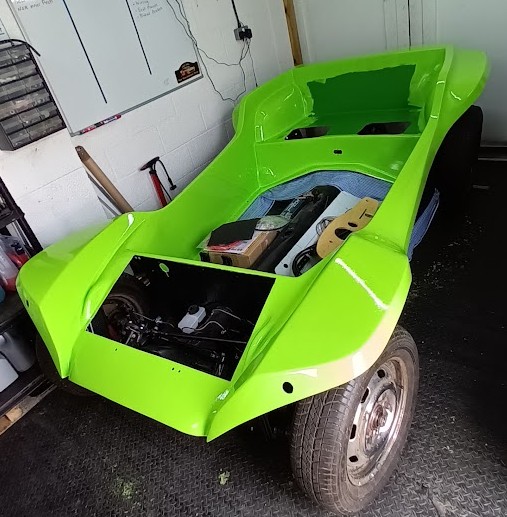
Managed to get the third coat on over the weekend, bit of a shock as the paint in the new tin is a "Slightly" different shade of green.  ;)
Same paint supplier, same paint manufacturer, same paint code.....

As you can see in the pictures below its a lot lighter. I have left a portion on the rear where the seat will go unpainted (Will paint black as its under the seats) see the difference.

2nd coat


3rd coat, new tin...


I dont mind the lighter colour, the more vibrant green has gone on well, I am happy with it.
Just goes to show though, never assume the paint will always be the same.

Hope to wet flat with 600 this weekend and get a 4th coat on next week.

Cheers
Steve


#5
Thanks Snoopy.

You are right about the weather, the last few weeks have been great for applying the paint, the damp air this week is not helping,  hopefully it warms up a bit by the weekend and I can get another coat on.
I am not after a show finish, presentable with a good shine would be good.

Cheers
Steve
#6
Hi All,

It has been over a year (15 months :-[ ) since my last post so I thought I had better update on the "lack of" buggy progress.
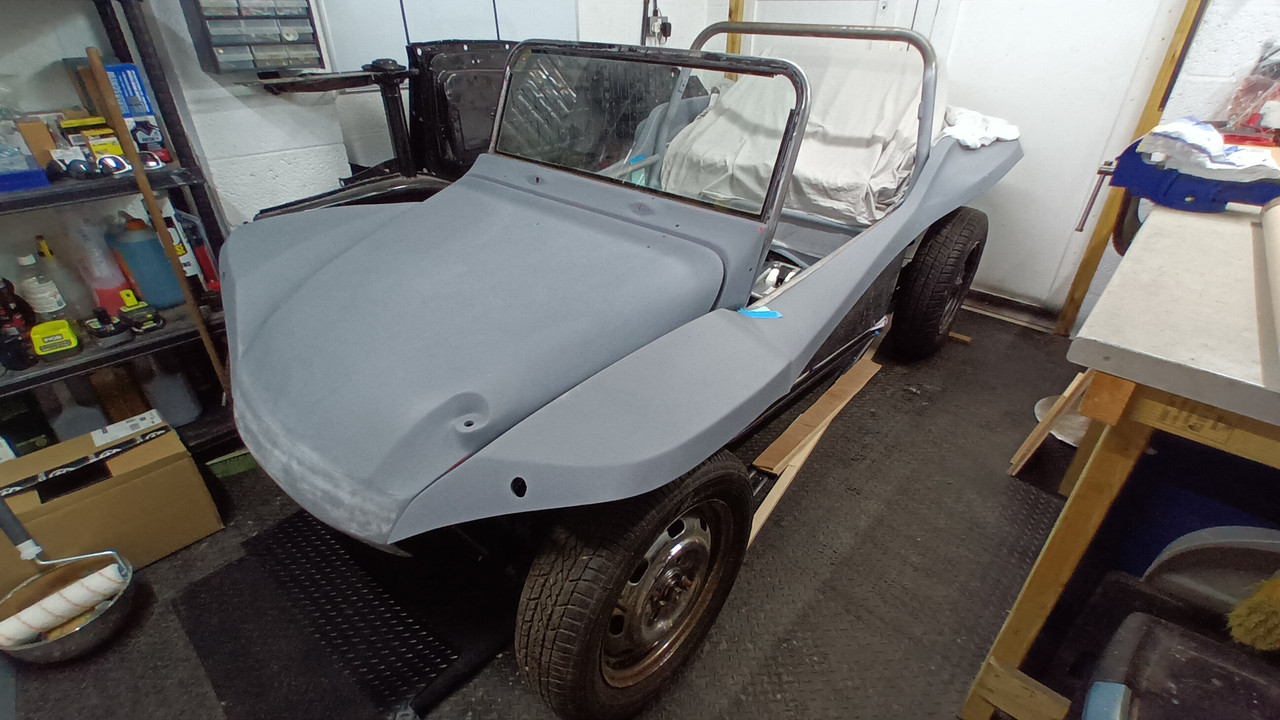
The reason for a lack of output has been my daughter, she bought a 2 bed bungalow with her partner in spring 2024, a doer-upper, long story short, this last year I have been there rebuilding it into a 4 bed house, we have converted the attic to add 2 beds and a bathroom.
This has taken up pretty much all my spare time over the last year which has meant the Predator had to be sidelined.
Thankfully they are now living in the house so my free time has returned :)

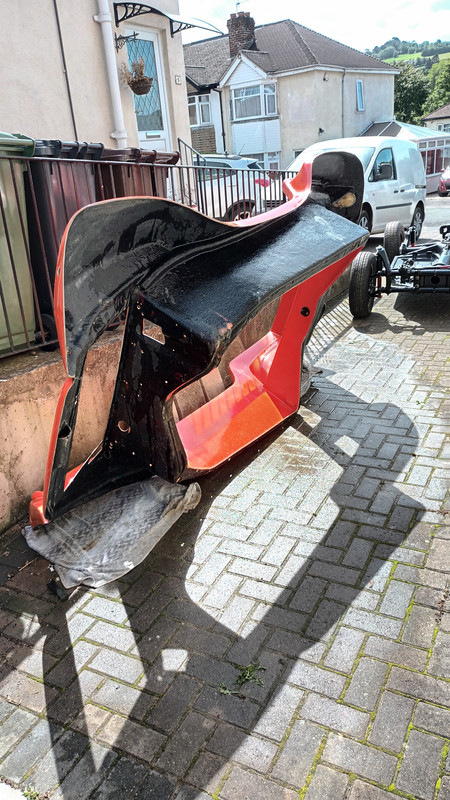
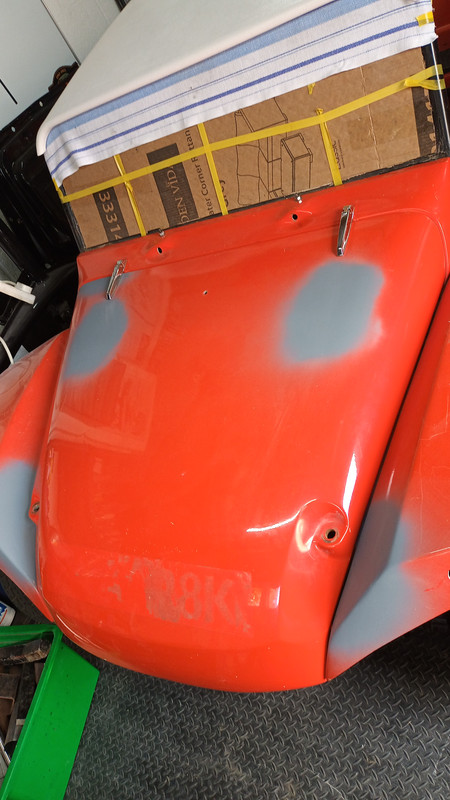
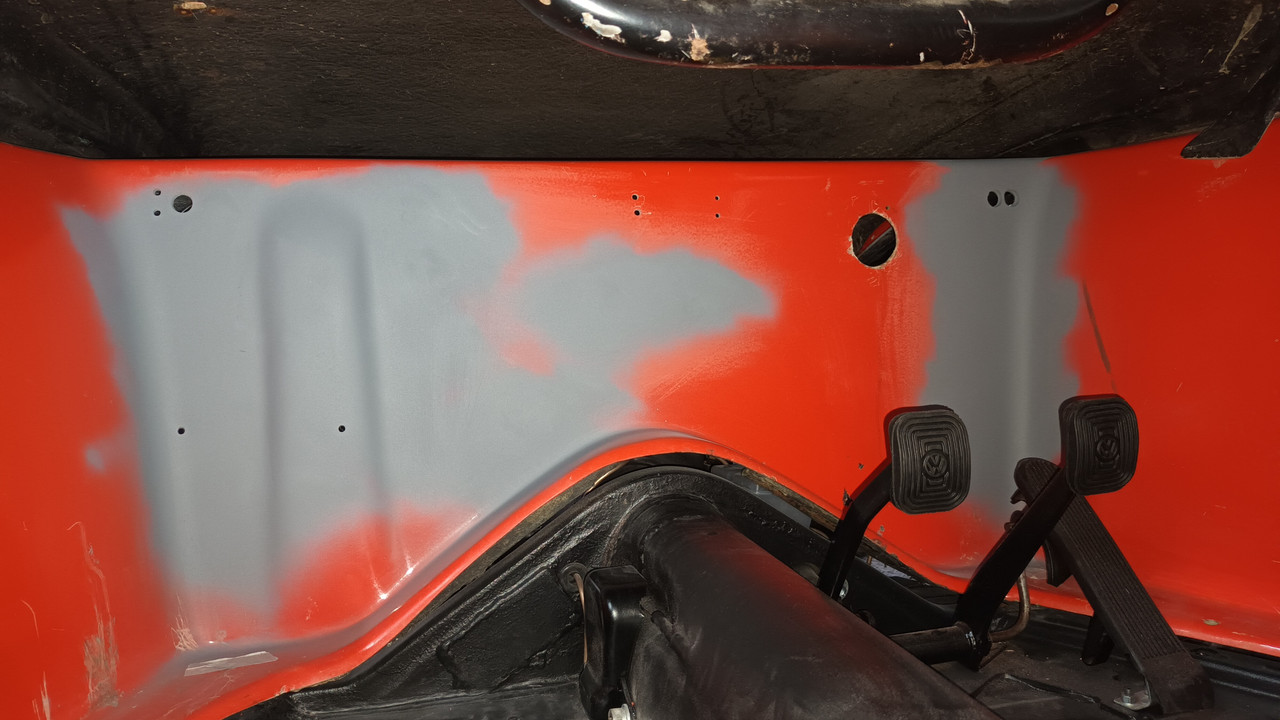
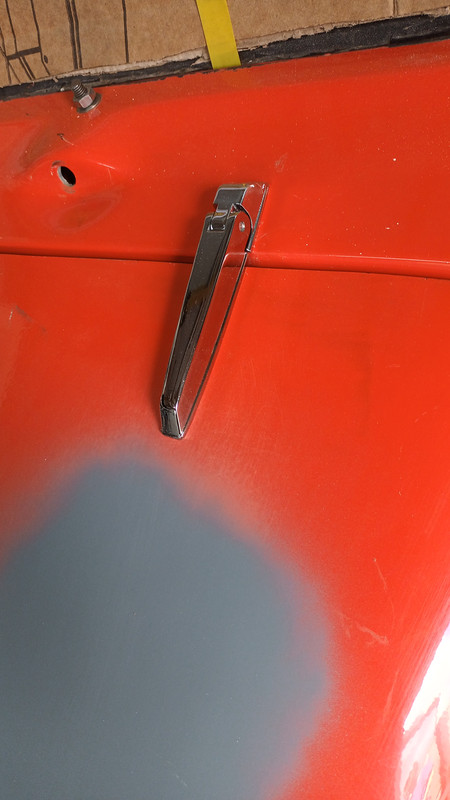
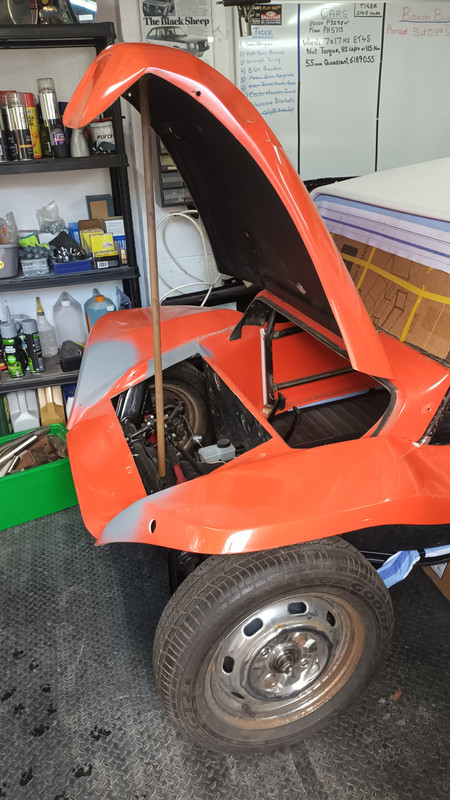
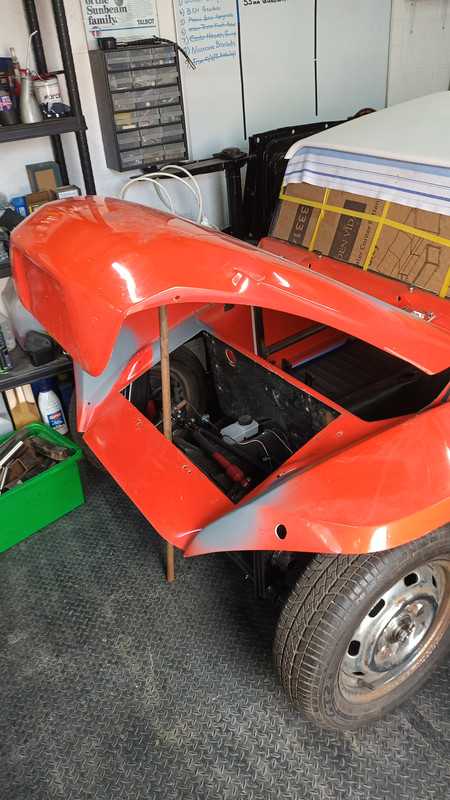
So, the Predator, I have been getting on with the body, I finished with all the repairs and after a few rounds or filling, sanding and priming I have the shell, bonnet and scuttle panel all etch primed.


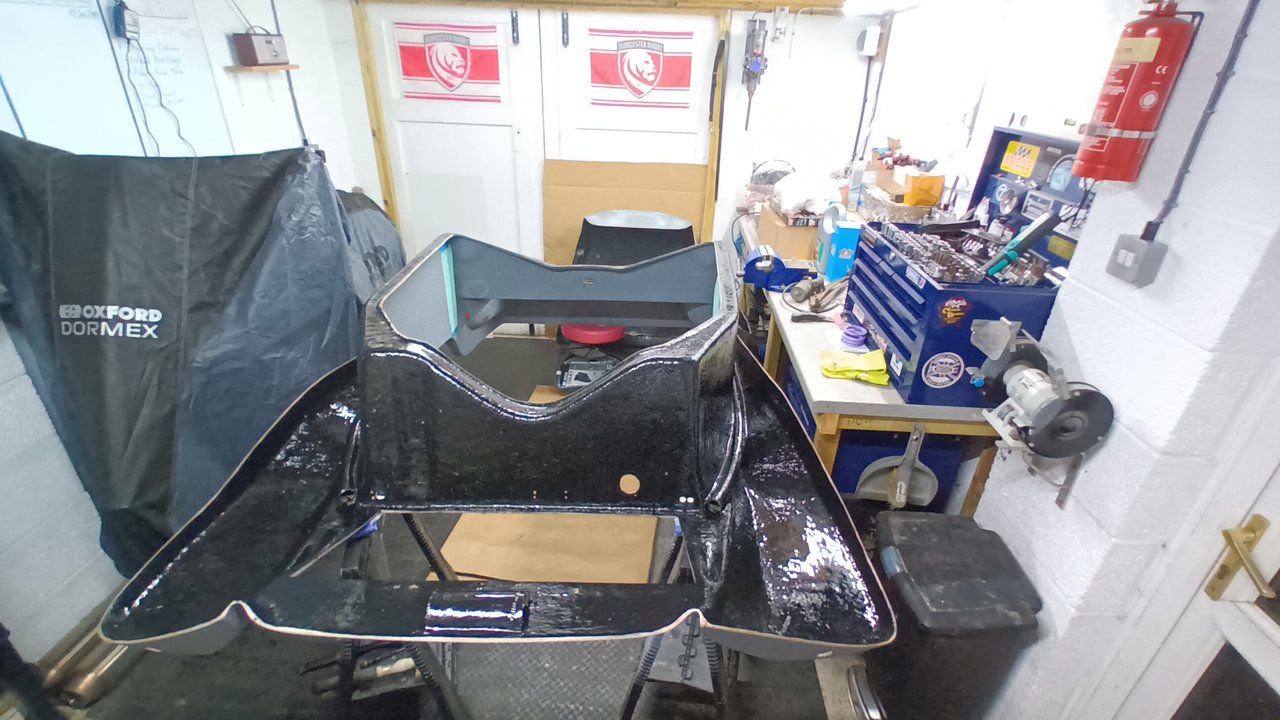
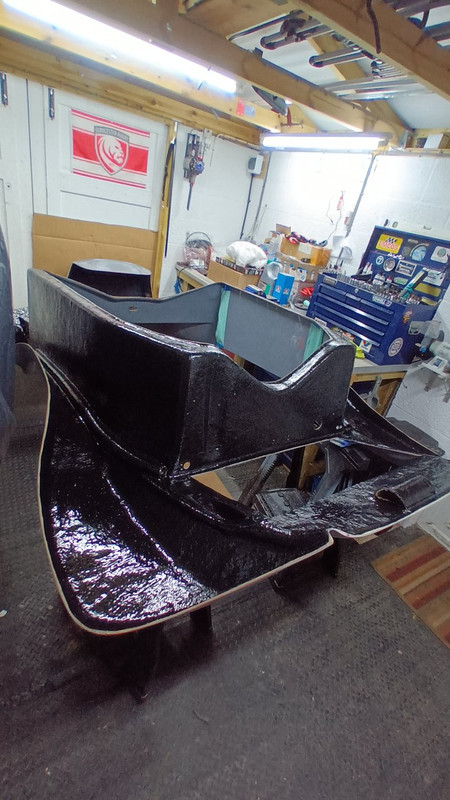
Once I was happy with the outside I painted all the underside in Satin black, two coats applied with a brush and 4" gloss roller.


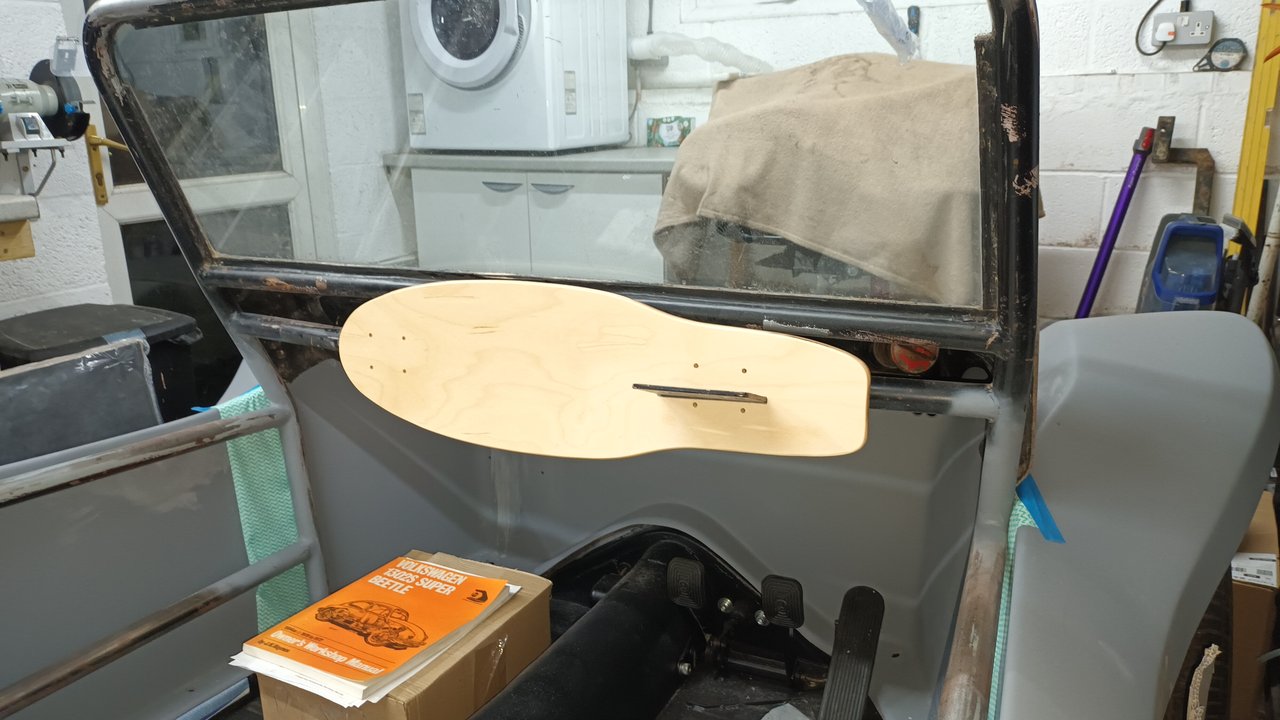
I have also started on making a dashboard for the Predator, as there was nothing there I decided to make one from a skateboard deck, Here is a shot from a test fit to see how it looks, what do you think ?


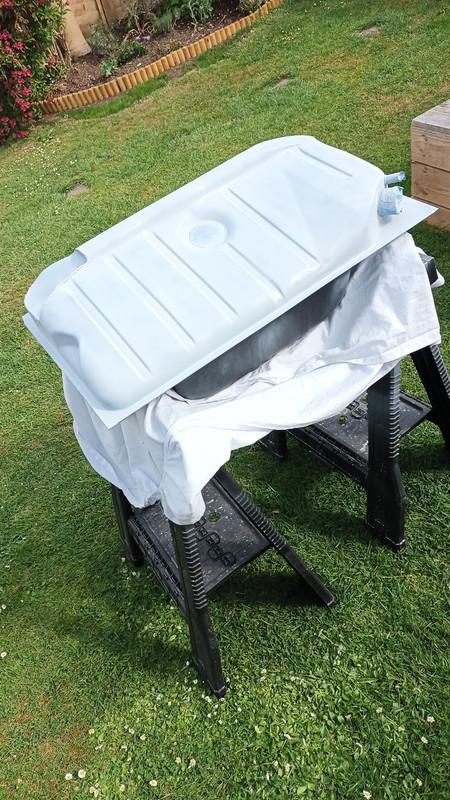
Also in between sanding and priming I tackled the fuel tank, a thorough degrease and a coat of etc primer and its looking a lot better, I have stone chipped the underside and will probably do the same on the top to protect it for years to come.


So, back to the shell and it was ready for top coats, I had many a family discussion to decide on the colour, the two options are keep it orange or go for bright green.
A couple of tests and we chose Green.
I dont have access to a spray booth so are hand painting it with Rustoleum Combi-Colour Multi Surface Gloss enamel paint.
I apply this using a 4" gloss roller and a fine brush for areas the roller does not get into.
I have had good success with this on previous cars, (Most recently a VW 1302s) and as long as you are patient, flat each coat between application it comes out really good, all for £50 of paint.

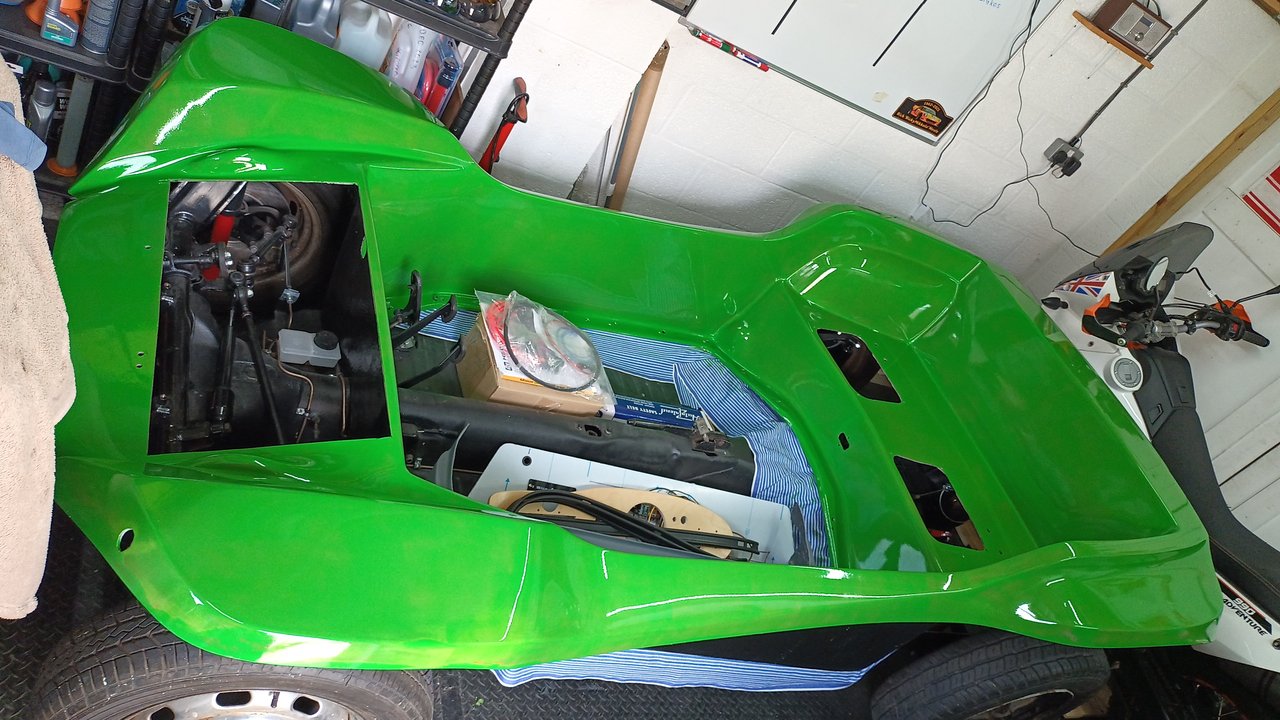
Here is the shell with 2 coats applied.


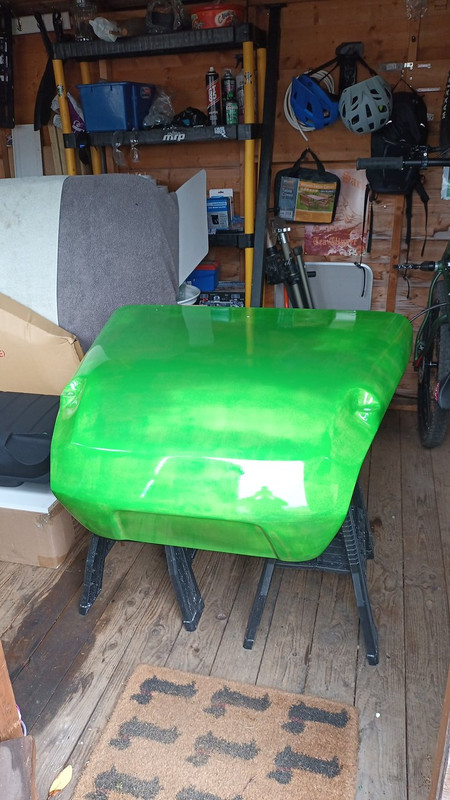
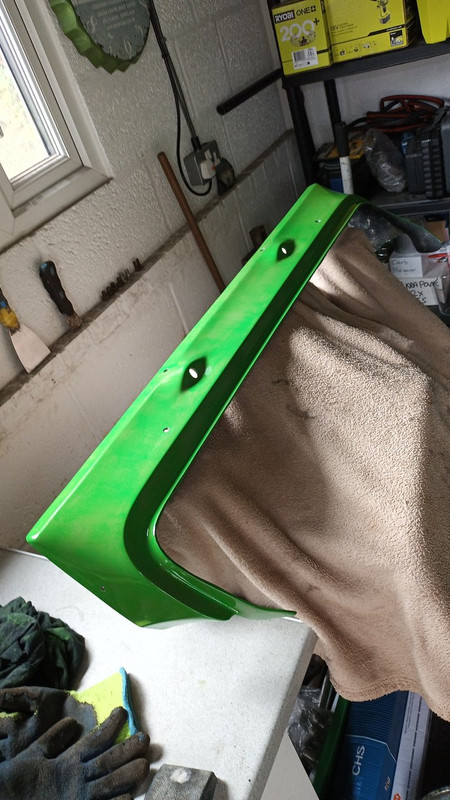
Here are the bonnet and scuttle panel after just one coat.


This is as far as I have got up to the bank holiday weekend, I have managed to wet sand with 600 all the shell, bonnet and scuttle ready for another coat hopefully before the end of this week.

I am hoping 4 coats should be sufficient, this will take me another 2-3 weeks to complete and then I can get on with the reassembly.
I was hoping to get it done for this summer, you never know, maybe late summer, we shall see.

Cheers
Steve


#7
Members Buggies / Re: My new Predator buggy for rebuild.
February 21, 2024, 05:34:45 PM
Quote from: HUDGE BUGGY on February 21, 2024, 04:54:36 PM
Looks good fella  are you fitting a rear cage  ?? The old hands on here know where I'm coming from

Hi.
The jury is still out regarding a front bumper and rear cage, I cant make up my mind.
I understand the nudge protection you get with a rear cage but I am not sure I like the aesthetics of one fitted, to be decided...

Cheers
Steve
#8
Members Buggies / Re: My new Predator buggy for rebuild.
February 20, 2024, 11:08:18 PM
Hi all. Sorry for the lack of updates but I have been plugging away as and when time allowed.

Since my last post Chad has very kindly made a new full wiring harness for the Predator. This is an awesome product that will make my buggy so much better. It was great to meet him and look over Doons No1 & No2.


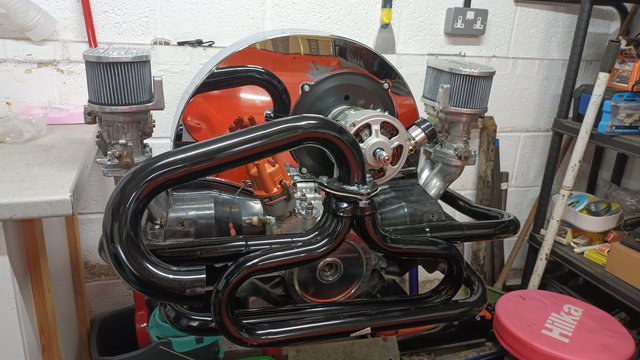
I got a bit fed up with the bodywork so I dug the engine out the shed and decided to give it a freshen up ready for install.

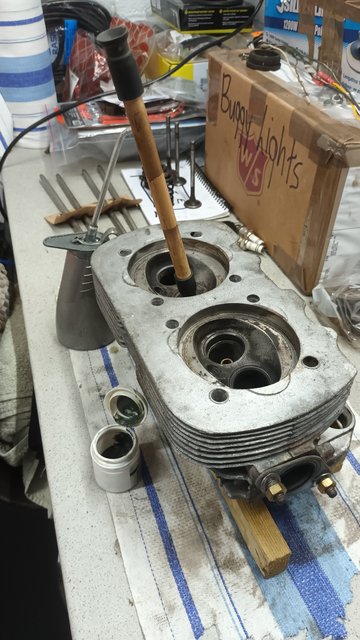
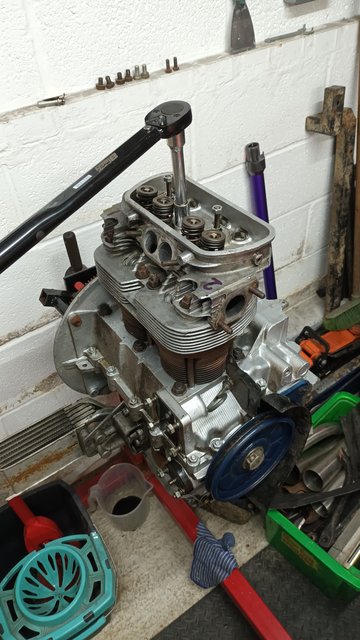
The heads were removed and stripped. I decoked them both and lapped the valves back in.


The barrels and pistons had minimal wear so I decided to leave these undisturbed as the engine was a good runner when I collected it.
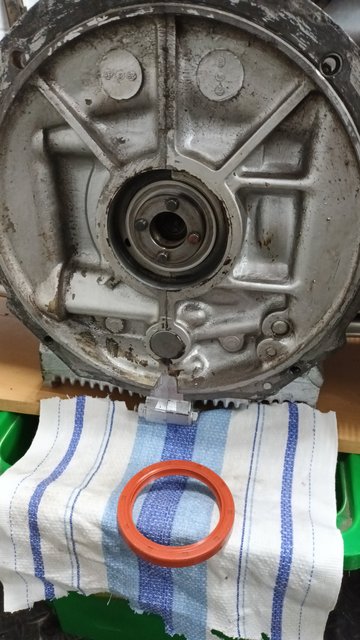
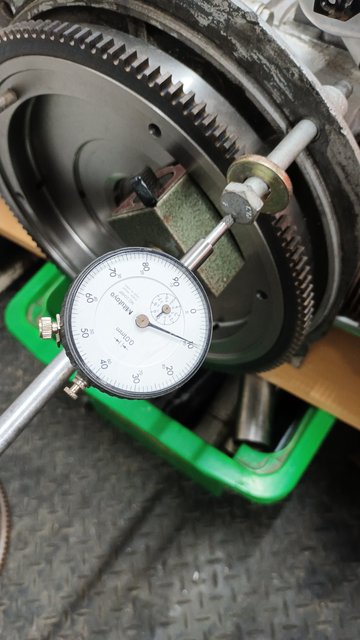
With the heads rebuilt and bolted back in place I fitted a new crank seal and flywheel. A bit of shim juggling and I got the desired 0.1mm endfloat.


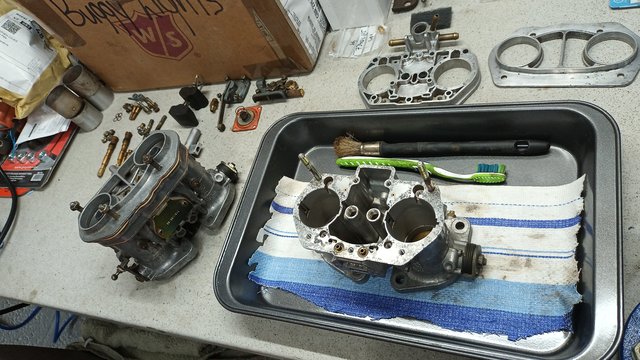
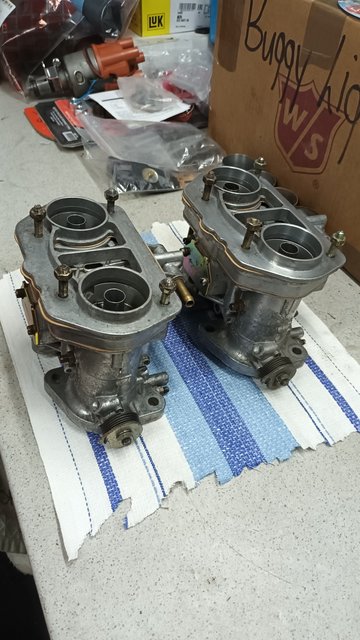
I wanted to add IDF's to the engine. I bought a pair of original Italian Webers from a friend who had them in storage for years.
A full rebuild followed with new gaskets and seals etc. I re-jeted them to the same setting I had on a previous 1600TP.


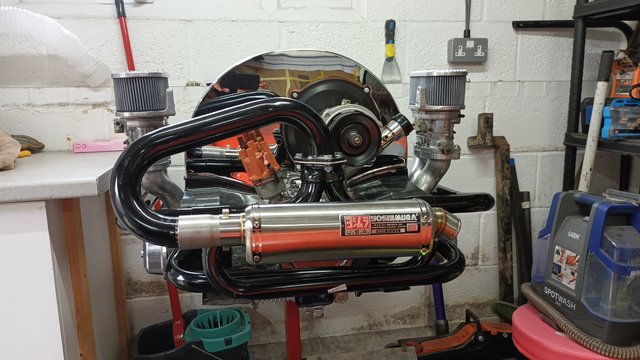
I also bought a CSP carb and linkage kit for the carb install. I also managed to get hold of a baja style header, a mock build with a new Alernator conversion and fan housing checked all looked okay.


Finally for a bit of bling I managed to get hold of a 'Yoshimura' race can to go across the rear. I hope it will sound good.


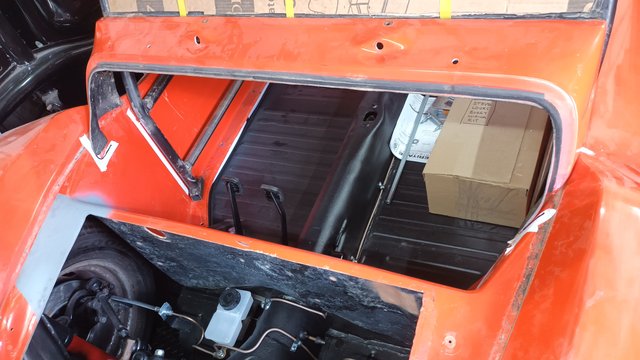
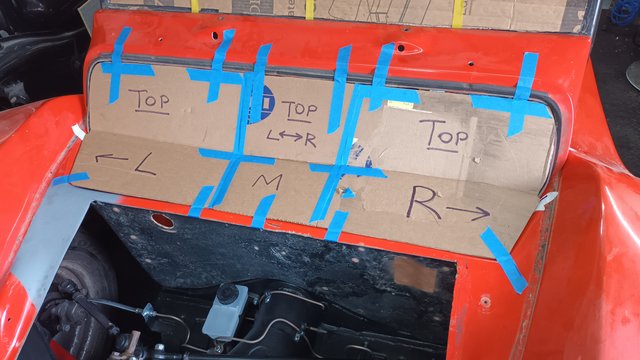
Back to the body and I wanted to make a panel to fill the hole betwen the tank and scuttle. I mocked up a pattern form cardboard then transferred this to a sheet of 1.5mm alloy sheet. This was folded and trimmed to suit. This will be a good place to mount the fuse boxes etc and stop drafts making my knees cold when driving.


I have rebuilt and painted the steering column and this is ready for install.

Back to the bodyshell now to prepare it ready for painting.
I think the end is slowly creeping into sight.  :D

Cheers
Steve.
#9
Hi Manxdavid.

Thanks for the information. Always nice to know the history behind why something is this way.
I like the opening bonnet. It.will help alot with maintenance.

Cheers
Steve.
#10
Hi Merscury.
Thanks for the reply.
I believe it is a Mel Hubbard shell.
I have been told it was collected from Mel in november 2000 and put on the road in May 2001.

I have not seen many Buggys with an opening bonnet. Do you know if it was only the Mel produced shells that could of had this feature.

Cheers
Steve
#11
Members Buggies / Re: My new Predator buggy for rebuild.
September 26, 2023, 01:15:30 PM
Hi All,

Time for another Predator update.

I have got the body down from the roof and loosely placed it on the chassis.
The shell was given a thorough clean to remove the mud from the pervious owners fun.


First job was to construct a roll bar and door bar cage that will tie into the front hoop.
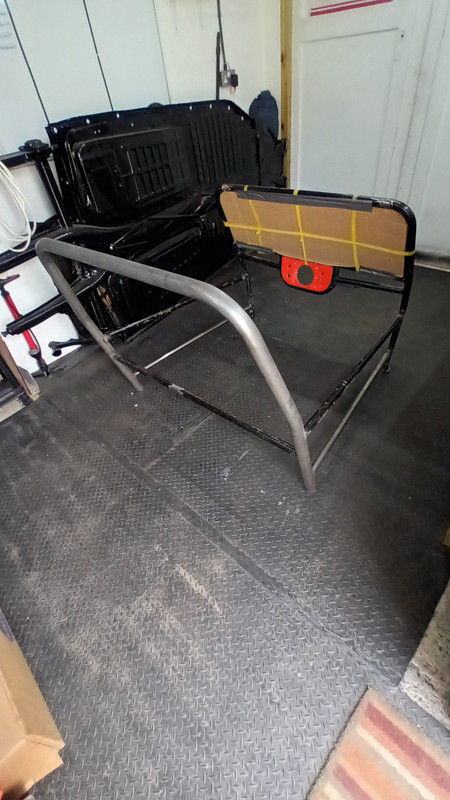
I bought a MSA Approved 44.45mm Dia tube hoop from 'Tube Bender' online bent to my spec. I added a pair of side bars and a cross bar behind the seats then tacked it all together.


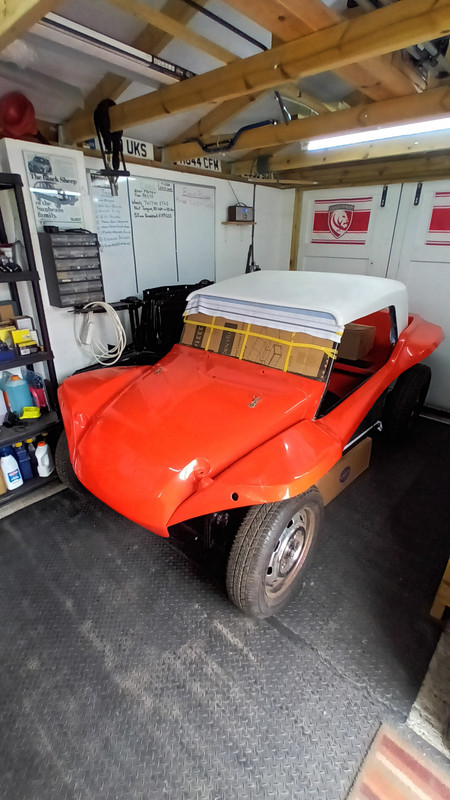
A trial build was the next step with the roof to check all still fitted inside.
I got the roof from East Coast Buggies.


Onto filling all the holes I do not want, as you can see I have an opening bonnet so decided to make this a working feature.
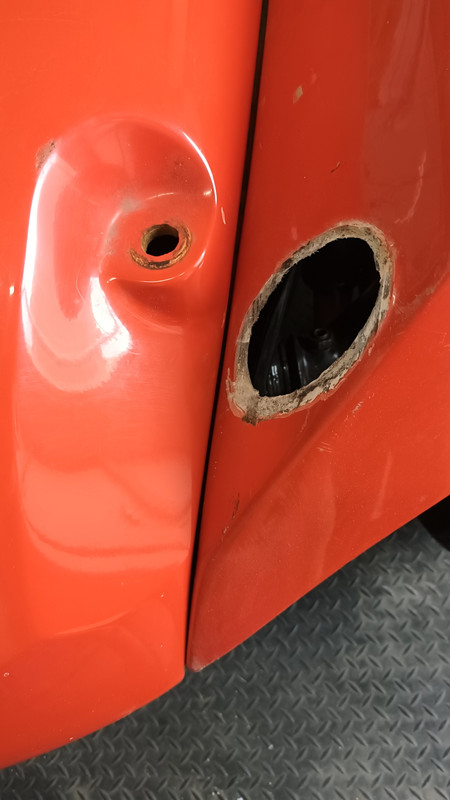
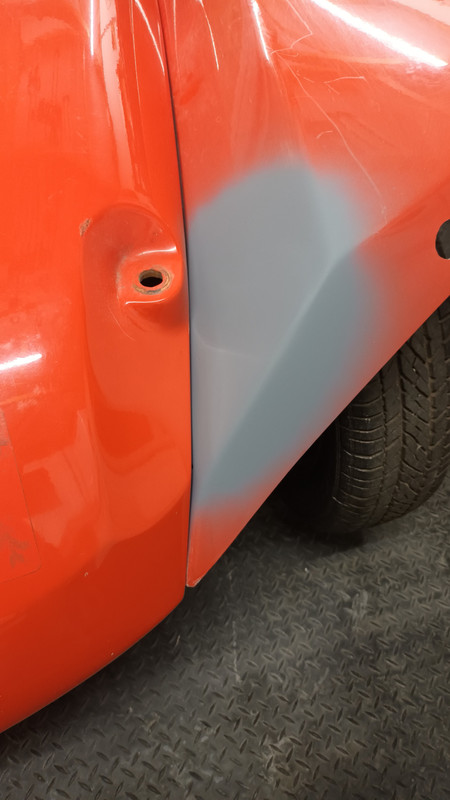
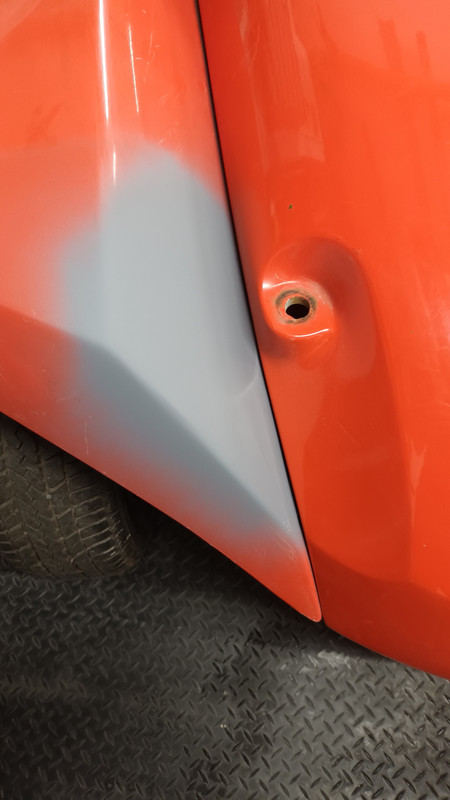
I glassfibre filled the wing headlight bosses and the bonnet pin holes as they will not be required.
The headlight will be fitted to the bonnet light mounts.


The bulkhead also had many holes filled that were not required.


Once all smooth onto the hinges, I found some Hillman Imp hinges that seemed to fit the bill so bought these and installed them.
A bit of minor trimming on the front part of the shell (removed about 15mm) allowed the bonnet to open and close without restriction.


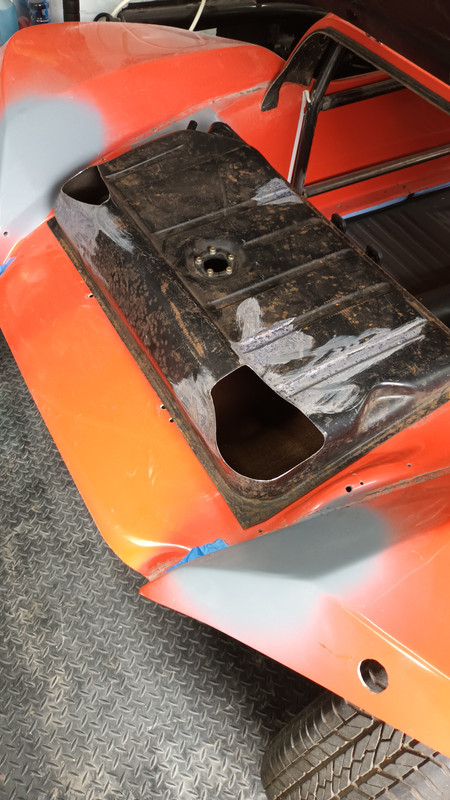
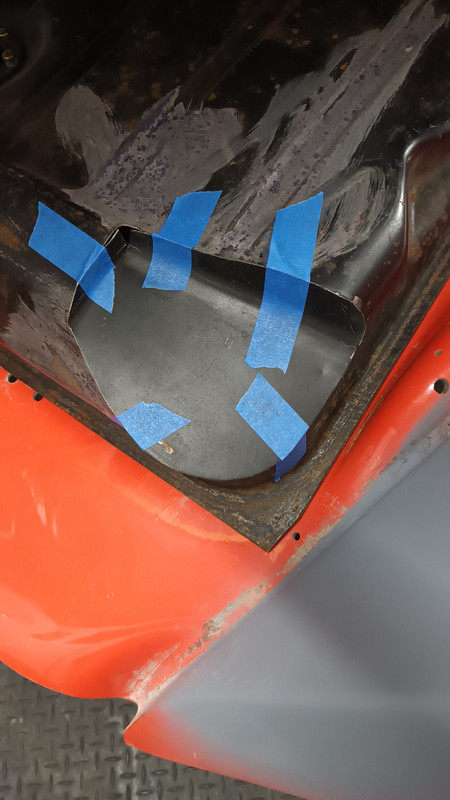
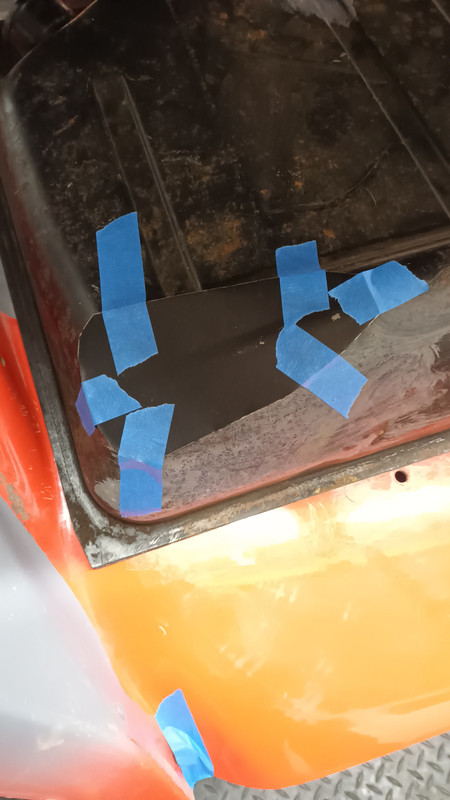
Last weekend I moved onto the petrol tank. As I am having bonnet mounted headlights the tank needs modifying to clear the headlight mounts.
I have cut out the areas as required and made some panels to fit.
These will be professionally TIG welded in place to ensure its all sealed.


That's me up to date as the end of September.

Steering column mock build and then onto the dreaded wiring.....

Cheers
Steve

#12
Hi all.
An update for you on the Predator rebuild.
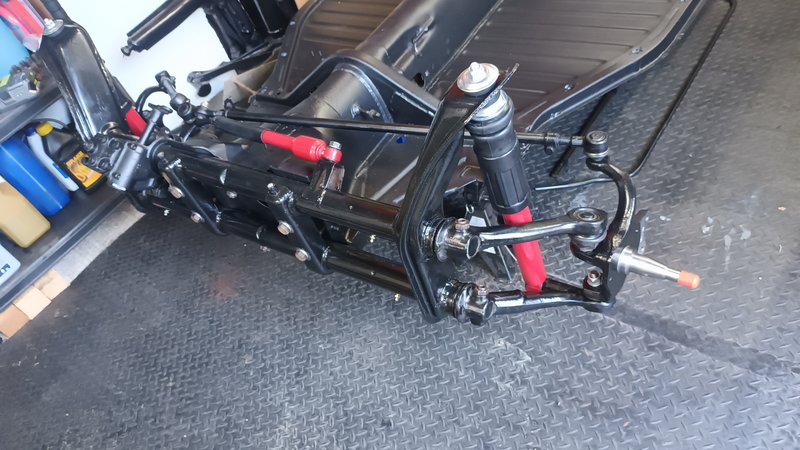
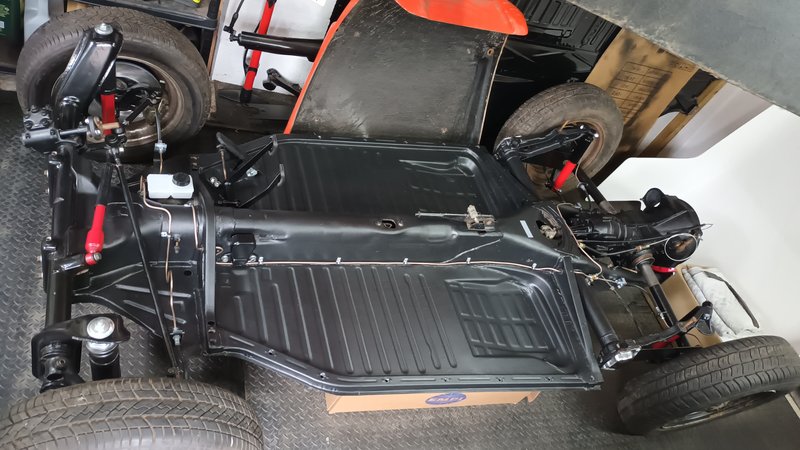
Over the last 3 months I have been working on getting the rolling chassis finished.
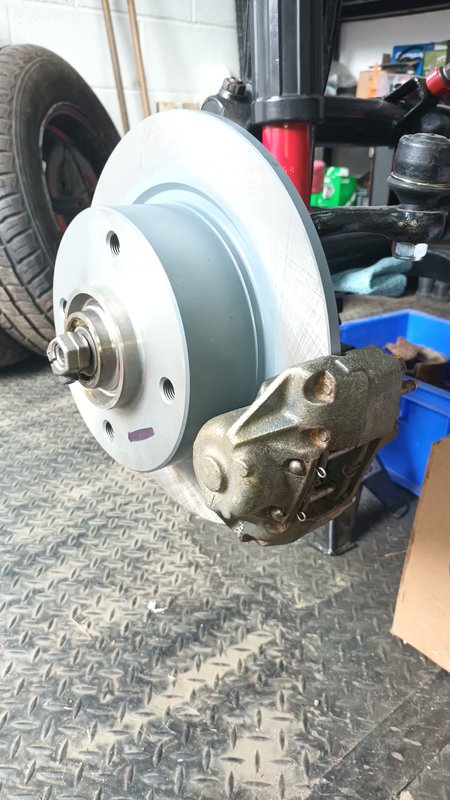
First the front suspension was completely rebuilt. As suggested by the midland buggy club I chatted with at the NEC  I have modified the leaves to soften the front suspension. Also converted to disc brakes.


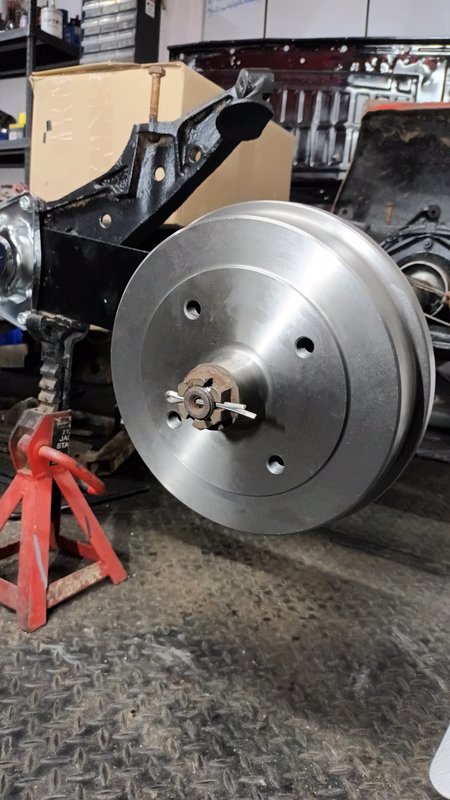
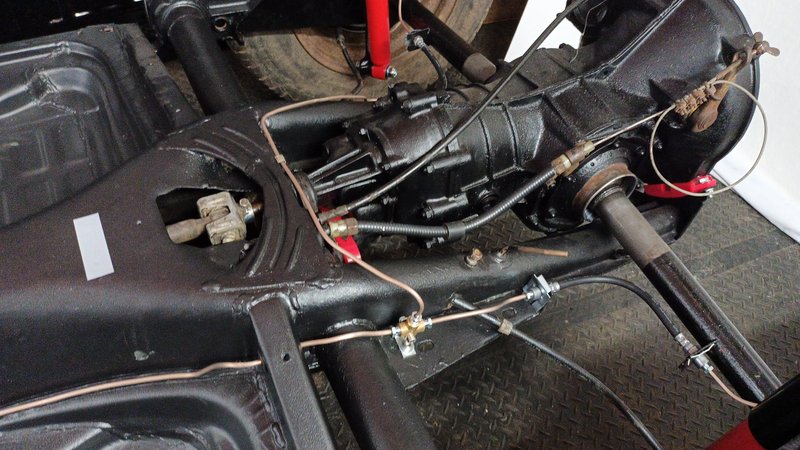
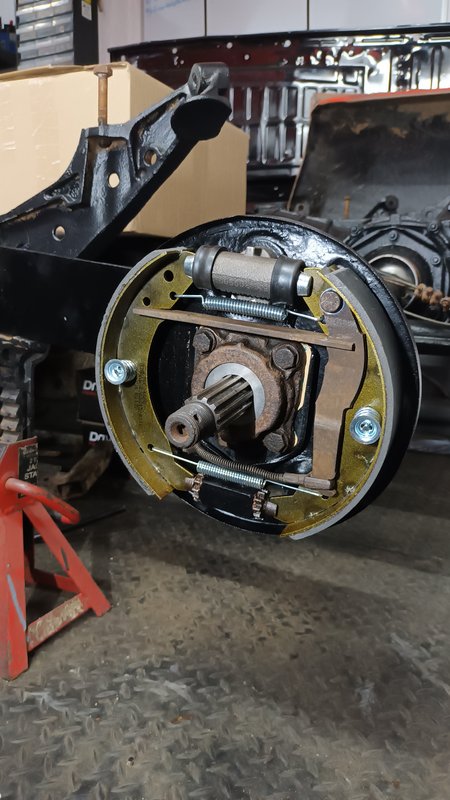
The gearbox was clean up externally, etch primed and painted then fitted with new mountings.  I renewed the bearings in the axle tubes and fitted all new brake hardware to the existing (painted) backing plates. New drums to complete the rear brakes.


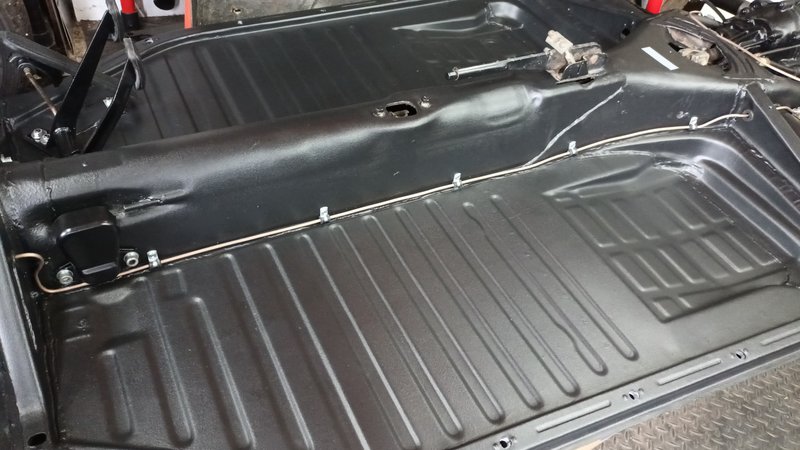
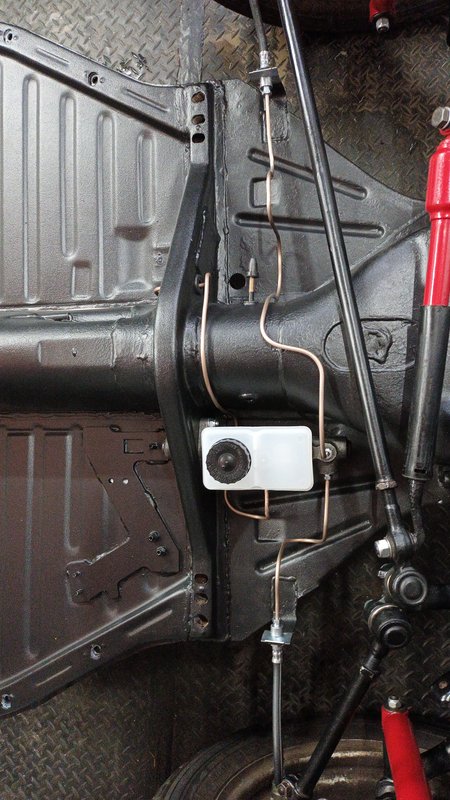
A new brake hydraulic system has been fitted. The master cylinder and all the brake lines (copper and flexi) have been renewed.


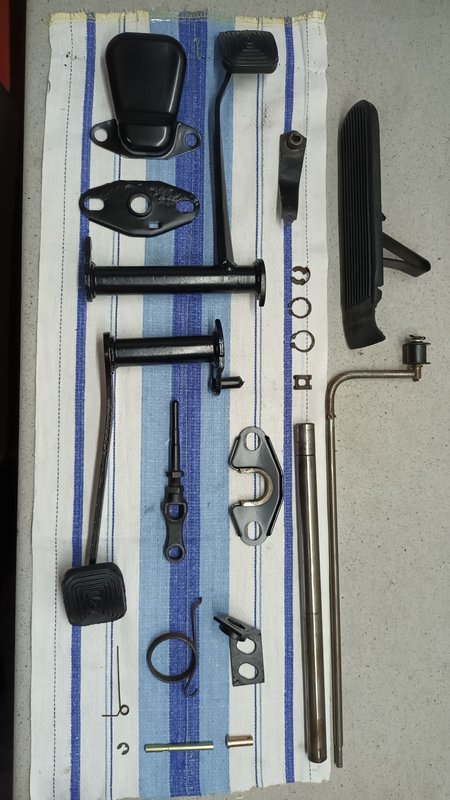
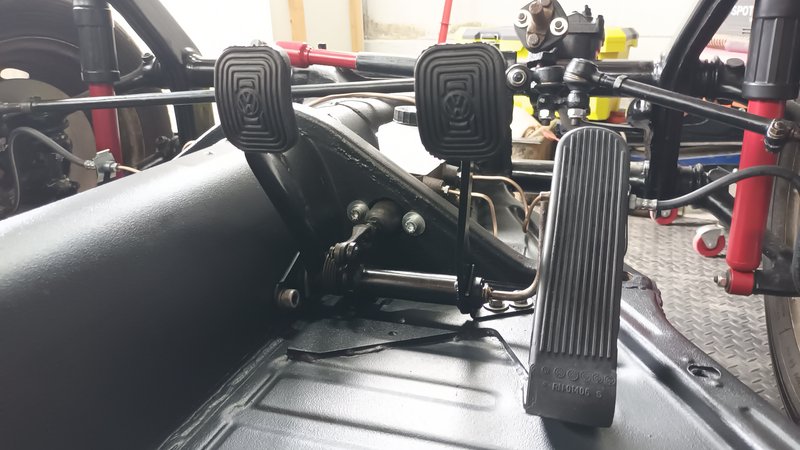
The pedals have been stripped, cleaned up and repainted and fitted to the floorpan. New clutch and brake cables installed at the same time.
These will need the length adjusting later.


I have fitted temporary wheels to the chassis to make it a roller.


I think this will do for the chassis for now.
I plan on getting the shell down from the roof of the garage  this week where it has been stored hanging from the joists and pressure wash it all off and make a start on repairs ready for painting.

Cheers
Steve
#13
Evening all.

Quick update.
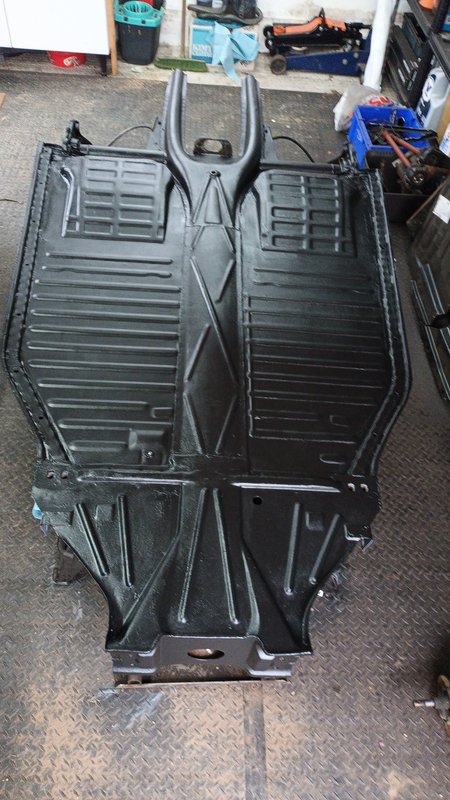
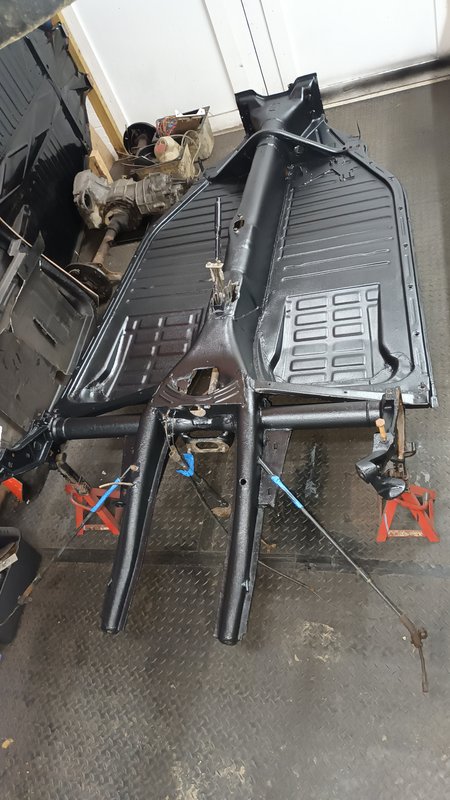
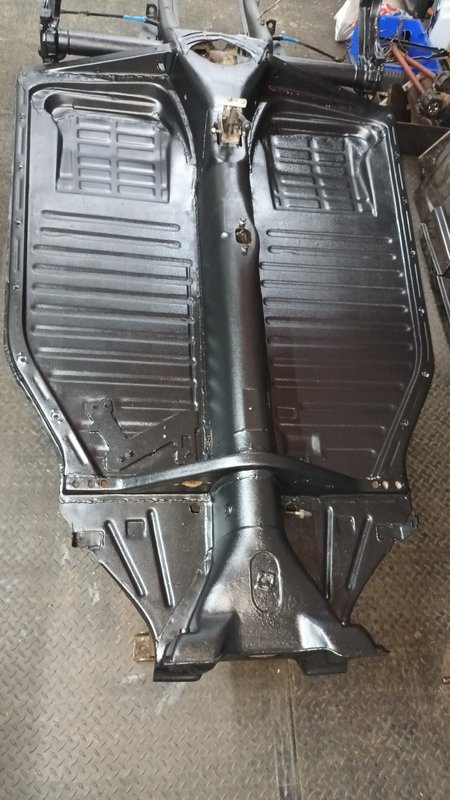
6 coats of Rator bed line later (3 each side) and the floorpan is done.
I applied the Raptor with a 4" textured roller.
Hopefully this will last many years.


Front suspension beam and hubs next 👍

Cheers
Steve
#14
Members Buggies / Re: My new Predator buggy for rebuild.
February 02, 2023, 10:20:15 AM
Morning.
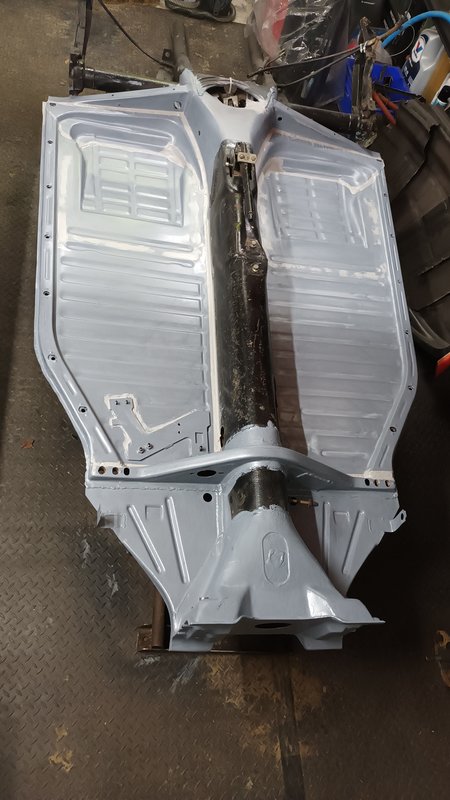
Primer is now fully dry. I applied some auto body sealer to the joints to keep moisture out.
Ready for Raptor this weekend as long as the weather stays warm.


Cheers
Steve
#15
Hi all.
Sorry for the radio silence over the last couple of months. Burst water mains and the dreaded Covid meant I have not spent much time in the garage.

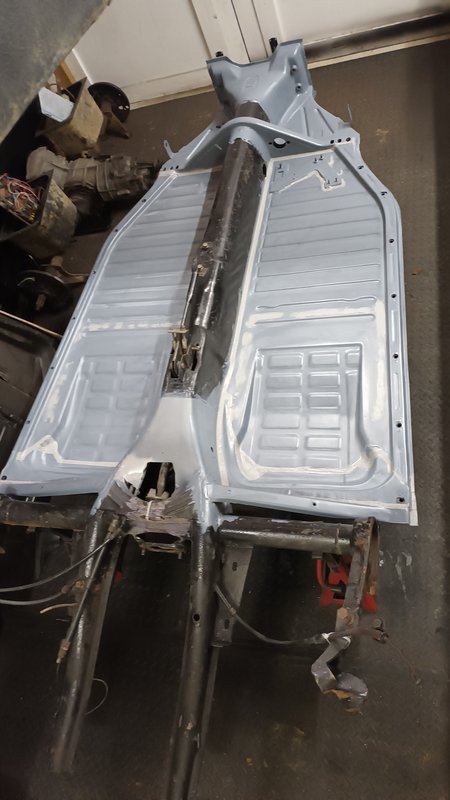
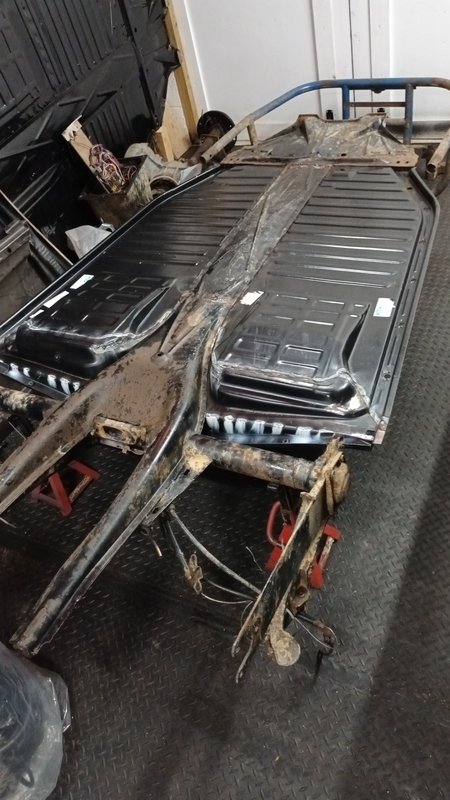
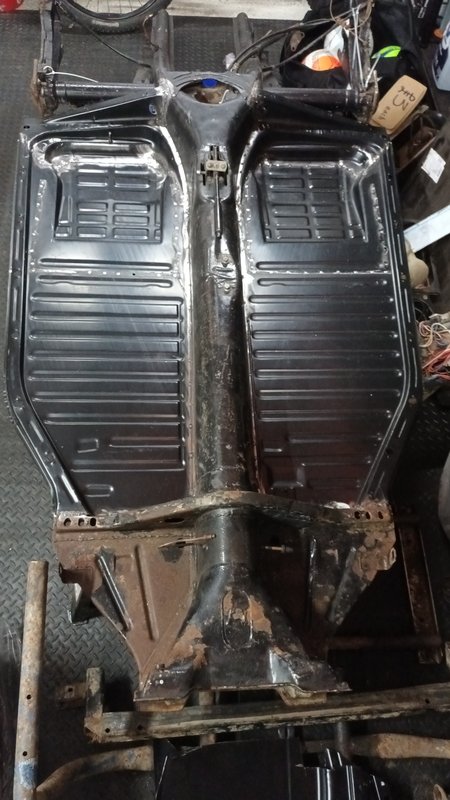
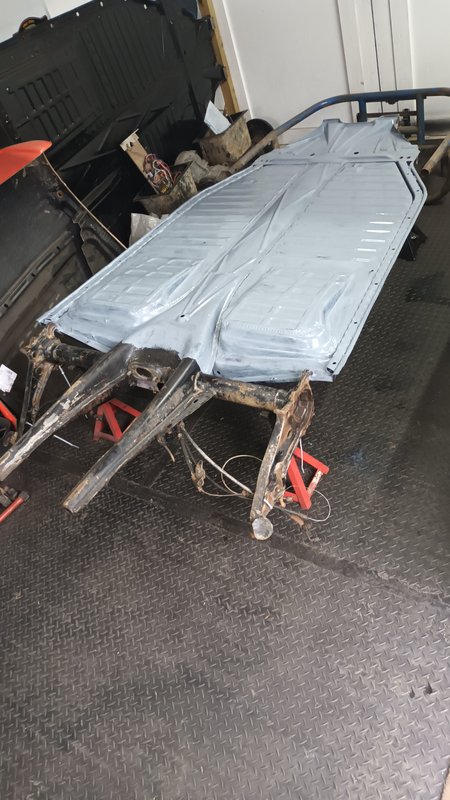
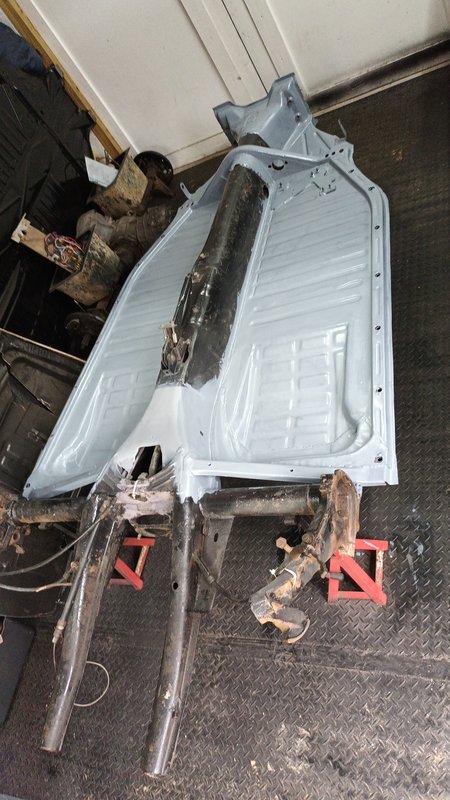
Anyway, as and when I had a bit of spare time I have managed to install new floors and get them primed ready for the top coat.


I decided to add box setion to the outer channels on the underside to strengthen the edges of the floopans. These have been welded in place and drilled through with the body mounting holes.

Once all was fully welded and the welds ground back, I treated the minor surface rust on the frame head and stripped back to bare metal the transport paint from the floors ready for priming.
I have decided to Raptor coat the chassis so in preparation I have applied Raptor 2K etch primer to both the top and bottom.


Next will be the application of the Raptor top coat.

Cheers
Steve
SMF spam blocked by CleanTalk