Show Posts

You can view here all posts made by this member. Note that you can only see posts made in areas to which you currently have access.

Messages - LUDICRUZ

#1
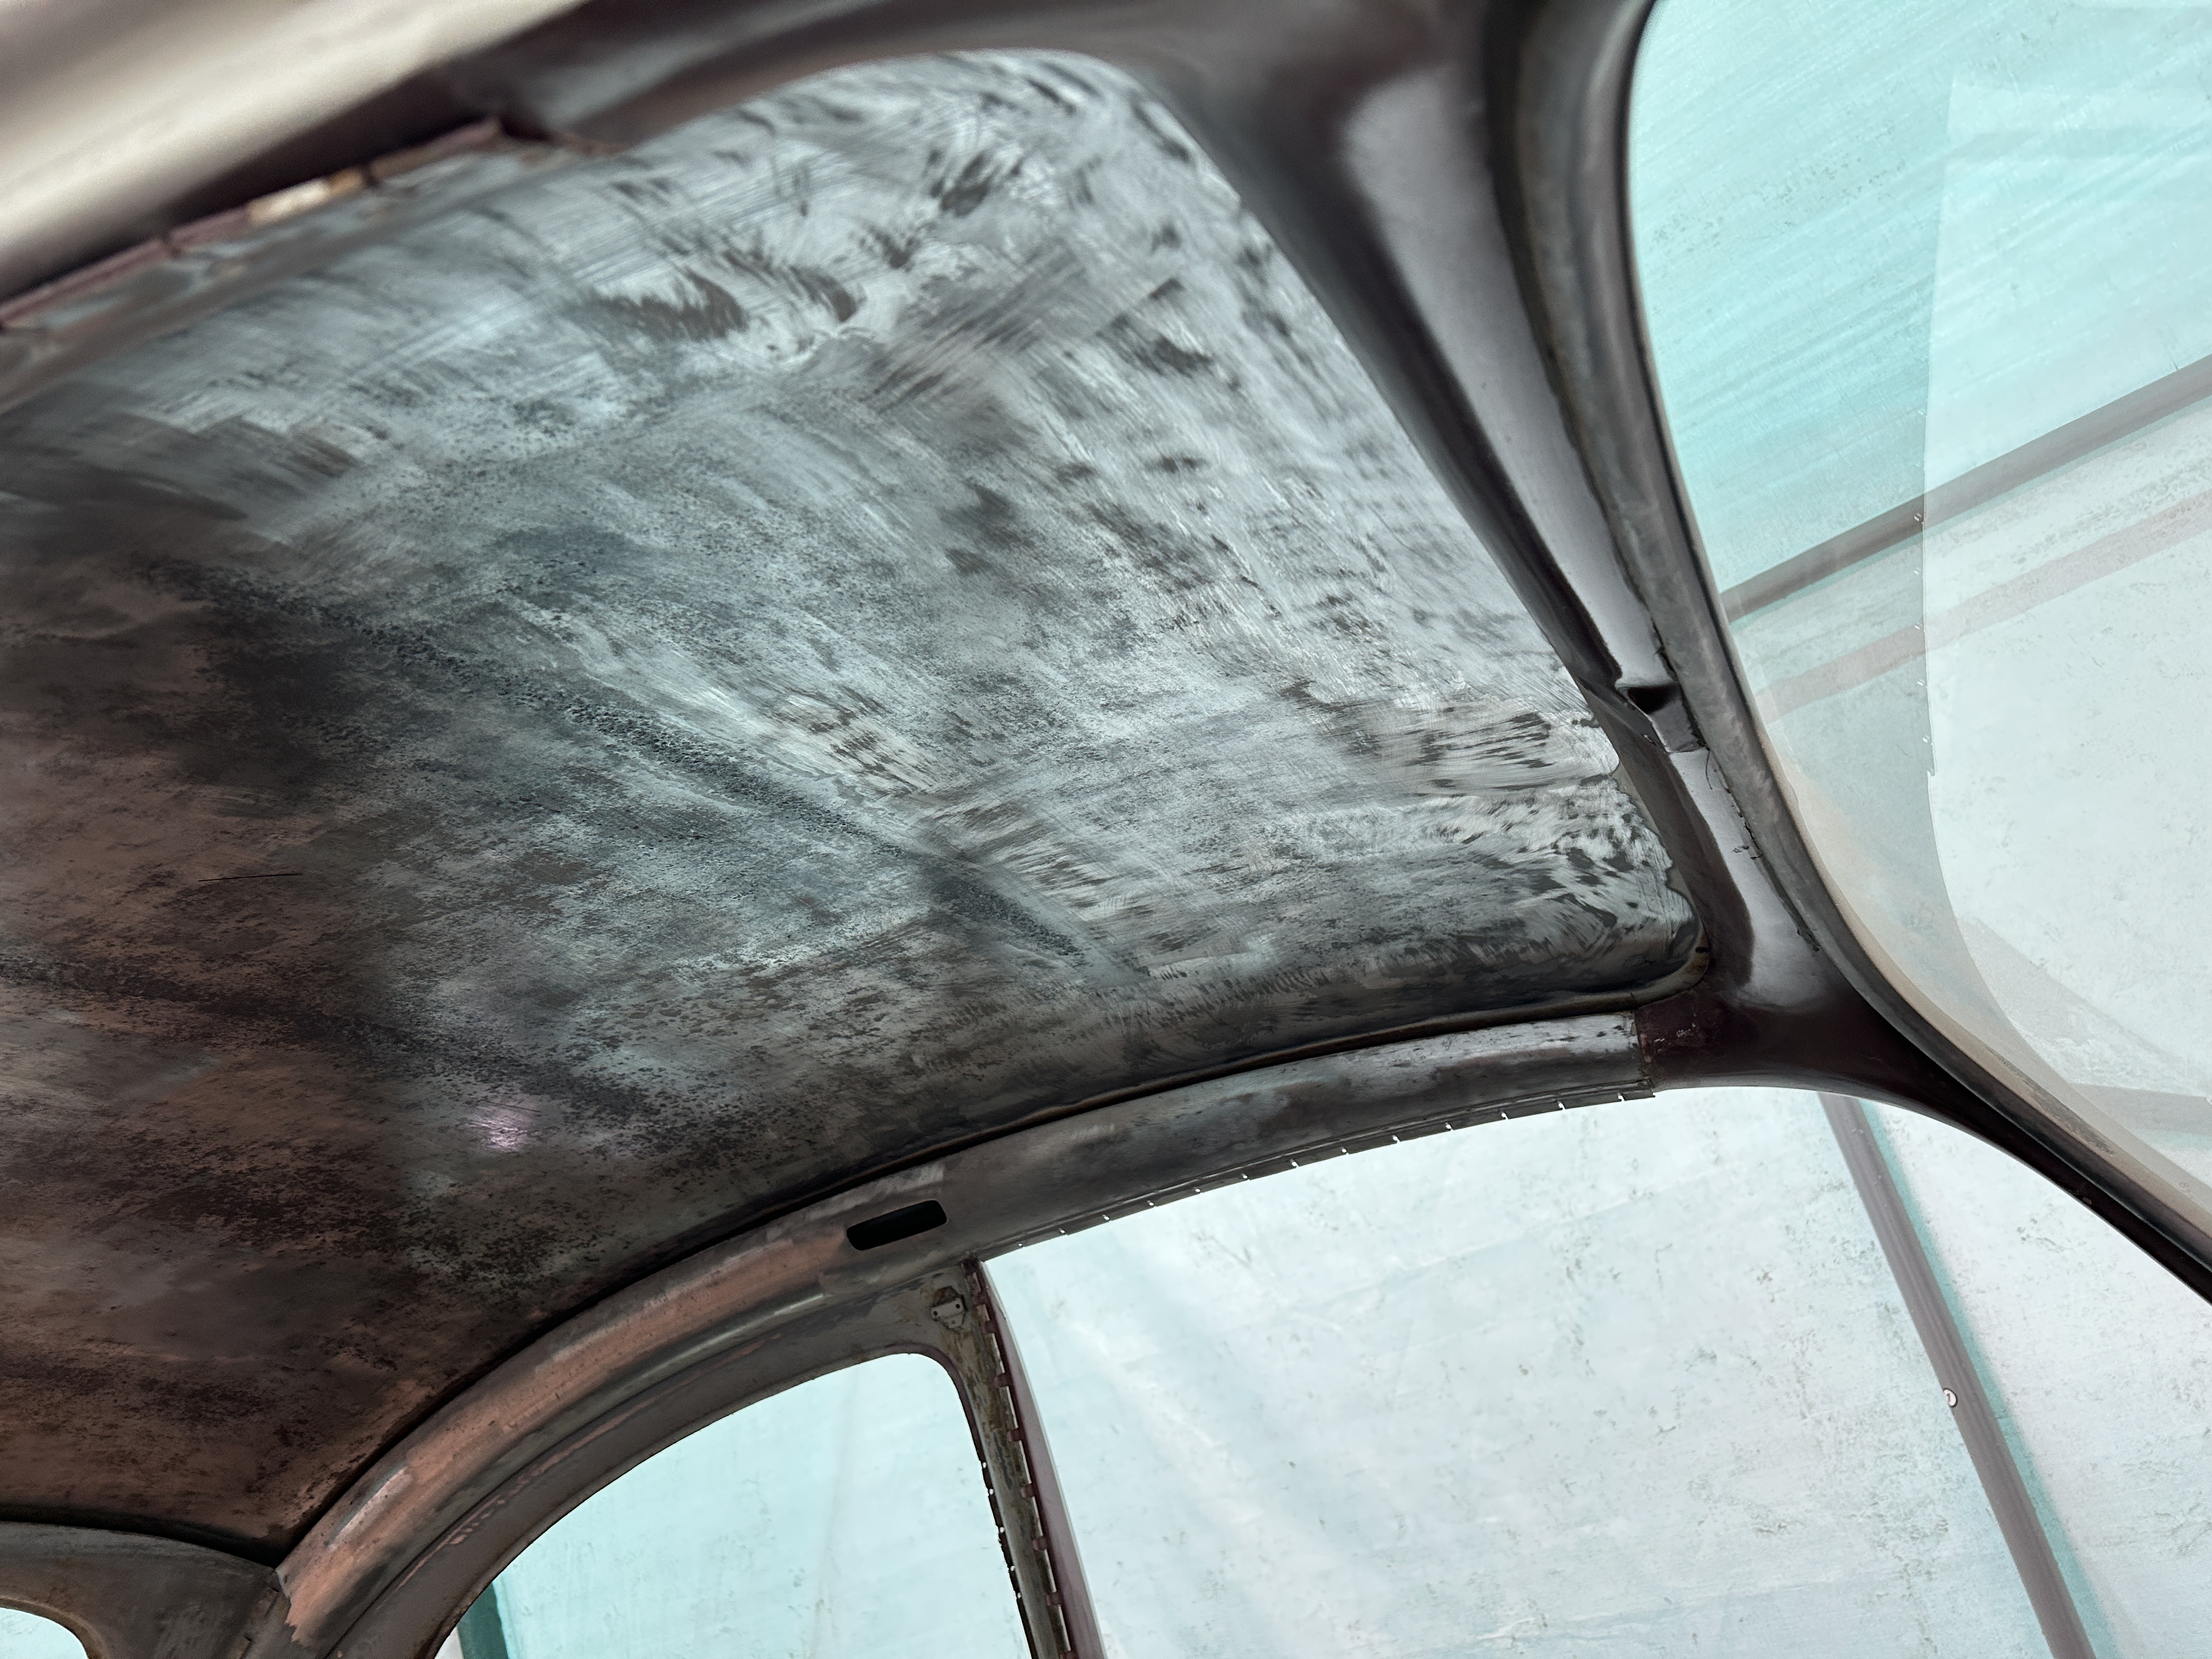
This weekend I woke up determined to tackle the largest surface area yet — the roof — quietly hoping I wouldn't uncover any corrosion, especially around the rain gutters.

I managed to remove the first two layers of paint reasonably quickly, knocking them back within an hour. However, it soon became clear that the stubborn red paint beneath, along with the older layers, was going to be a tougher challenge.
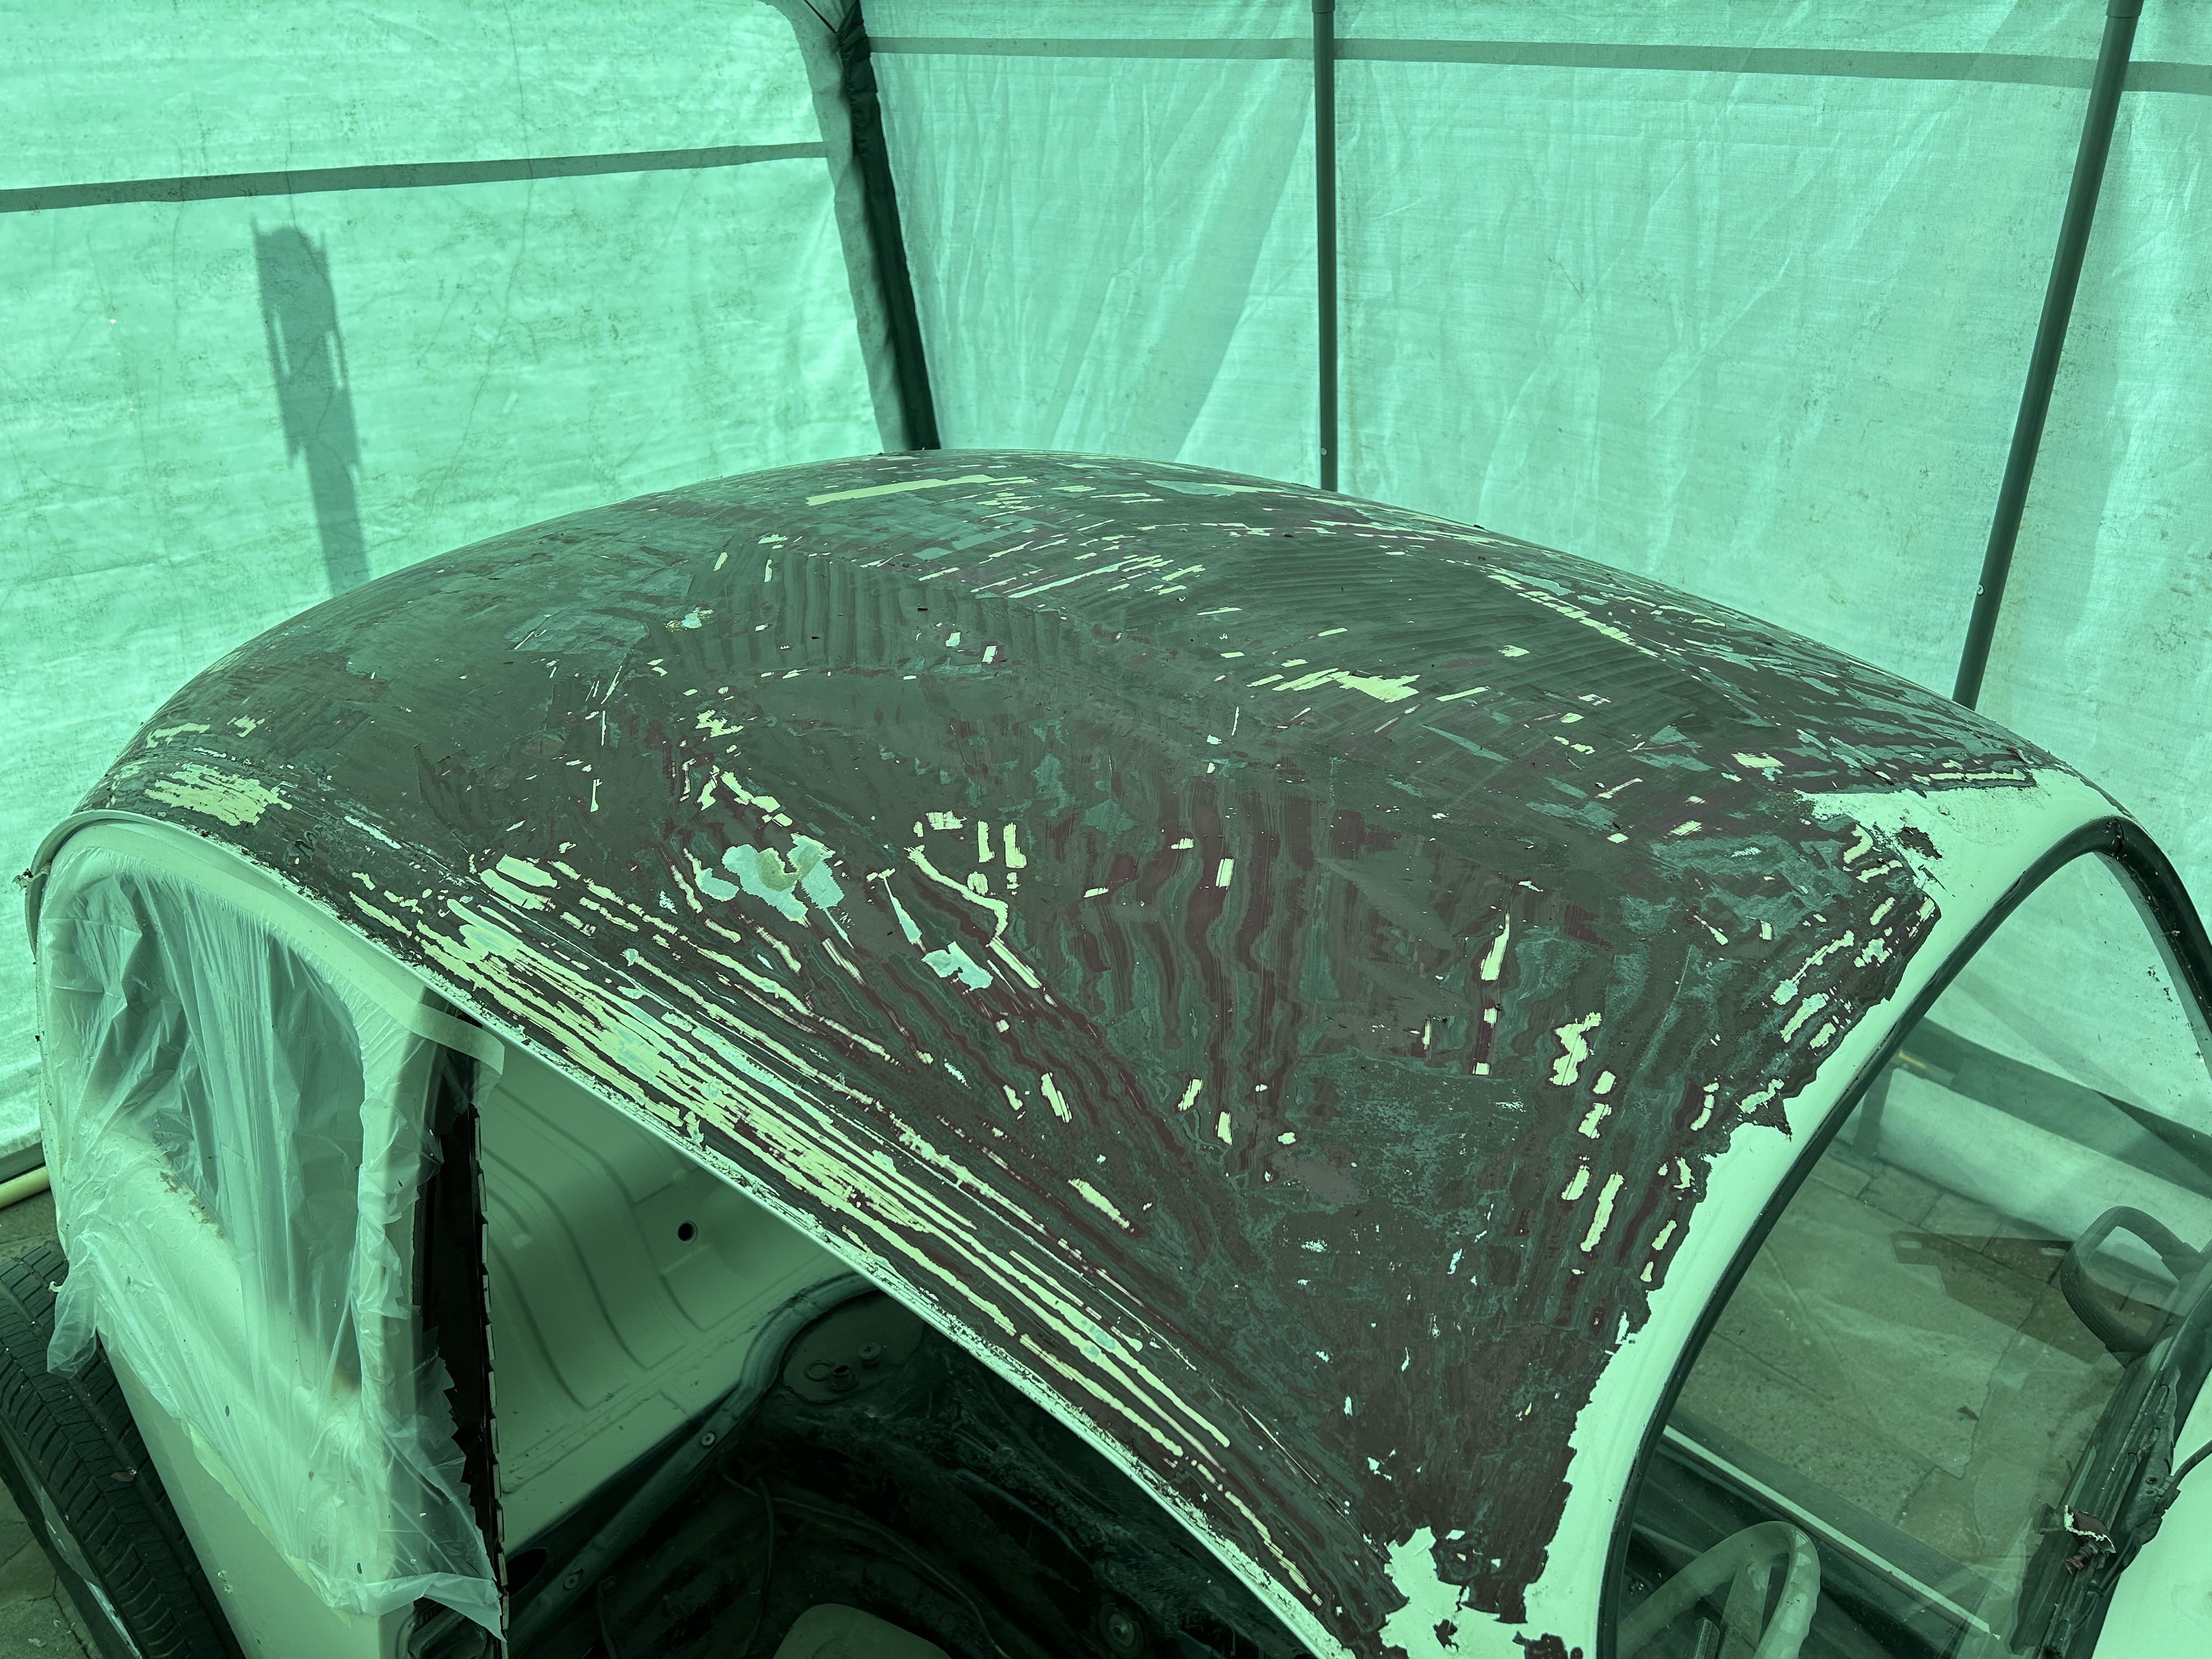
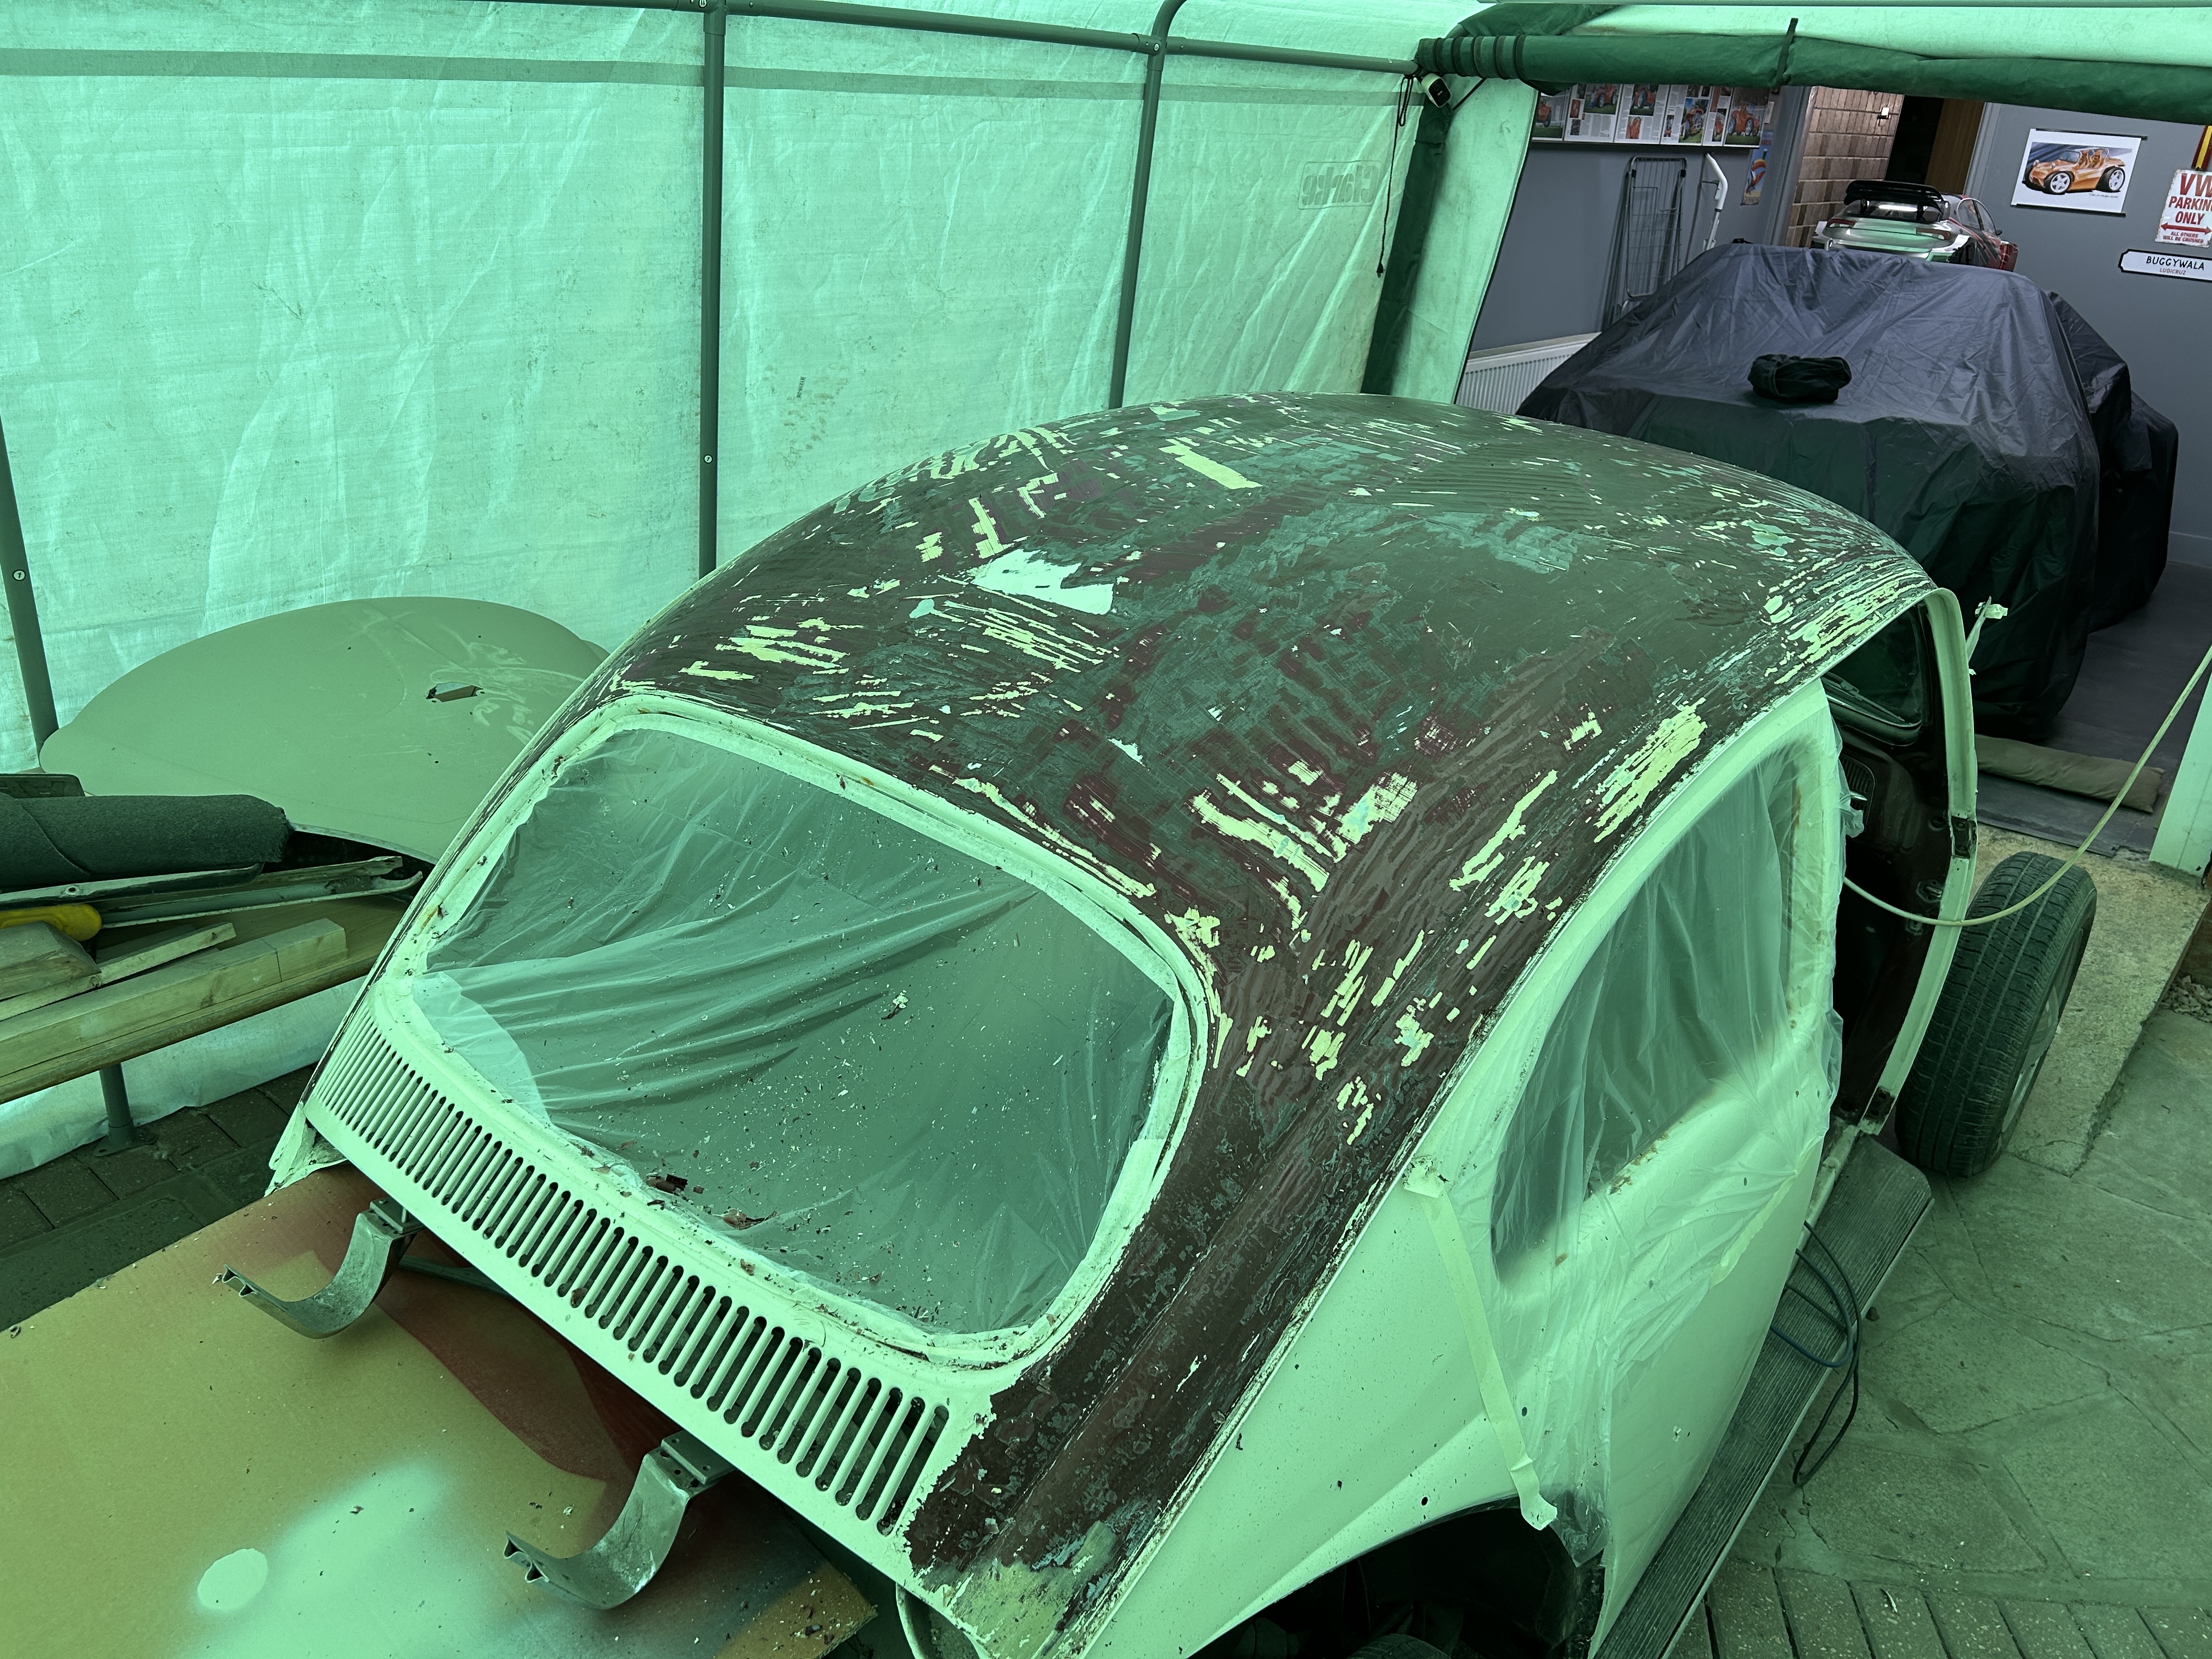


So I decided to try the trick Speedy shared: covering the brushed-on Starchem with polythene.
It worked brilliantly. Within minutes I could actually hear the stripping agent doing its thing — a faint sizzling, like bacon frying in a pan. After leaving it for about an hour, the paint came off with ease.
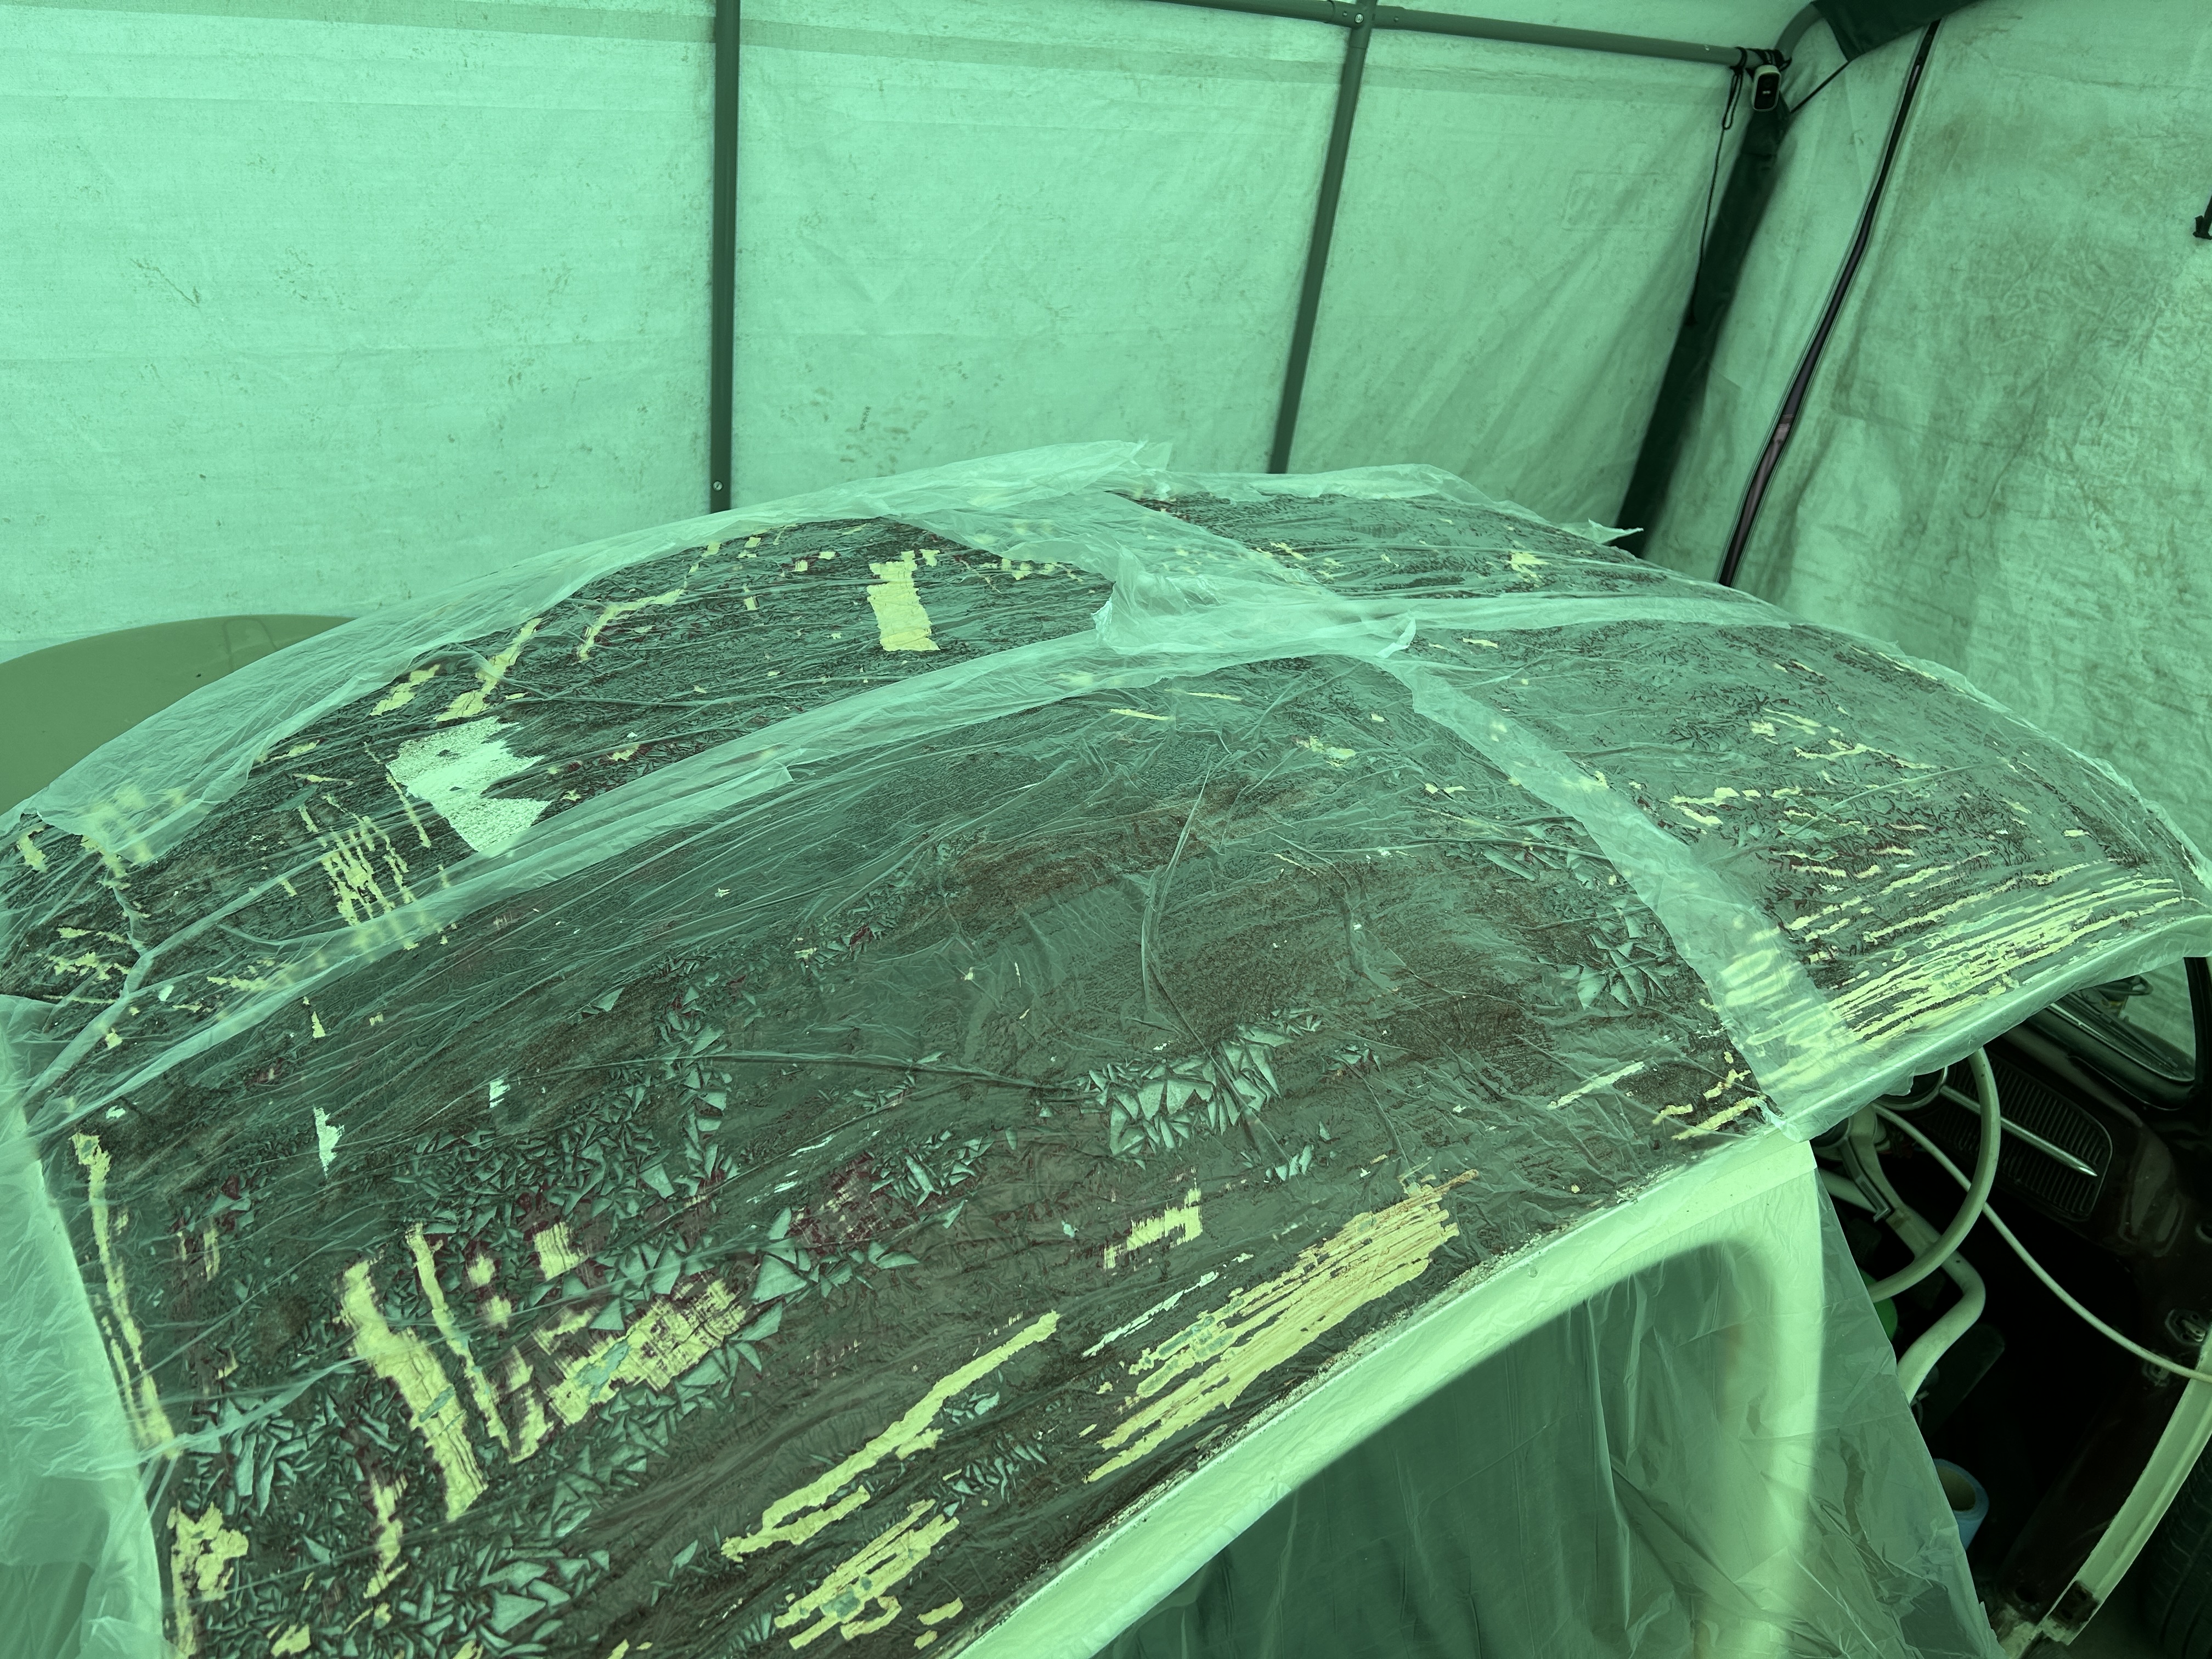
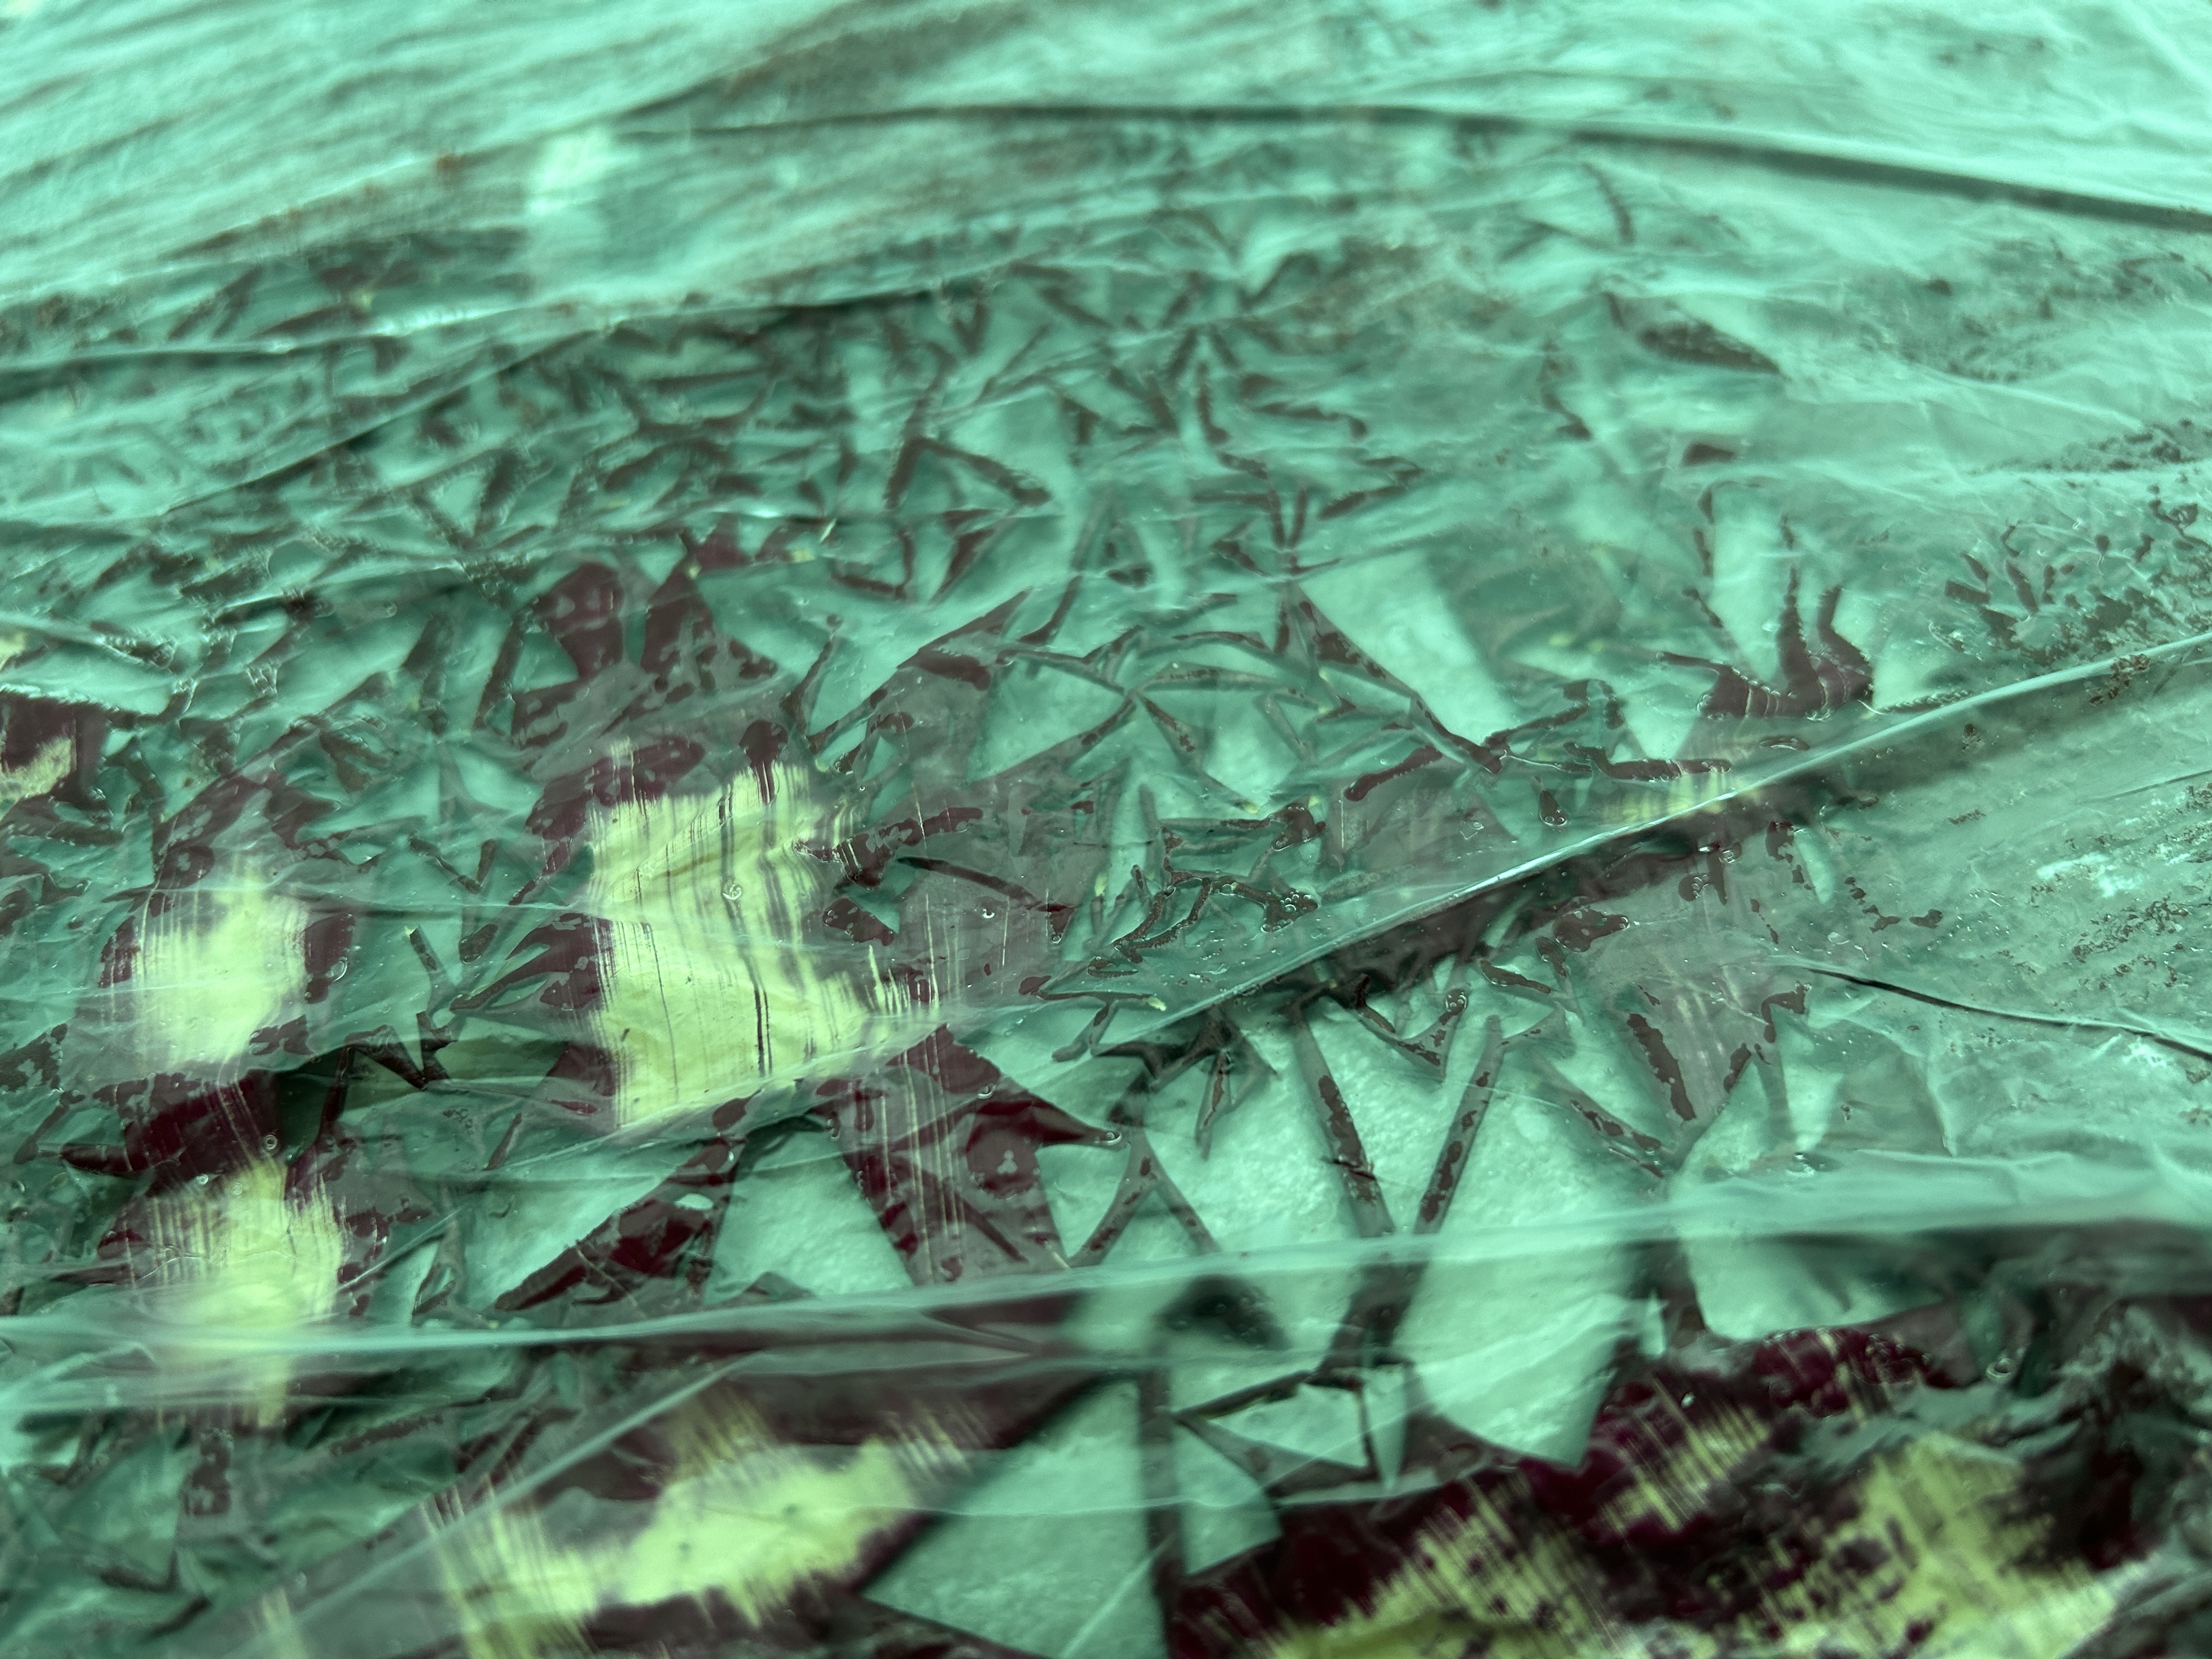


From there, it was a straightforward job to clean everything up and give the whole roof a quick sand down.


I was absolutely delighted to find no rust at all — not even around the rain gutters, which I had been most concerned about.
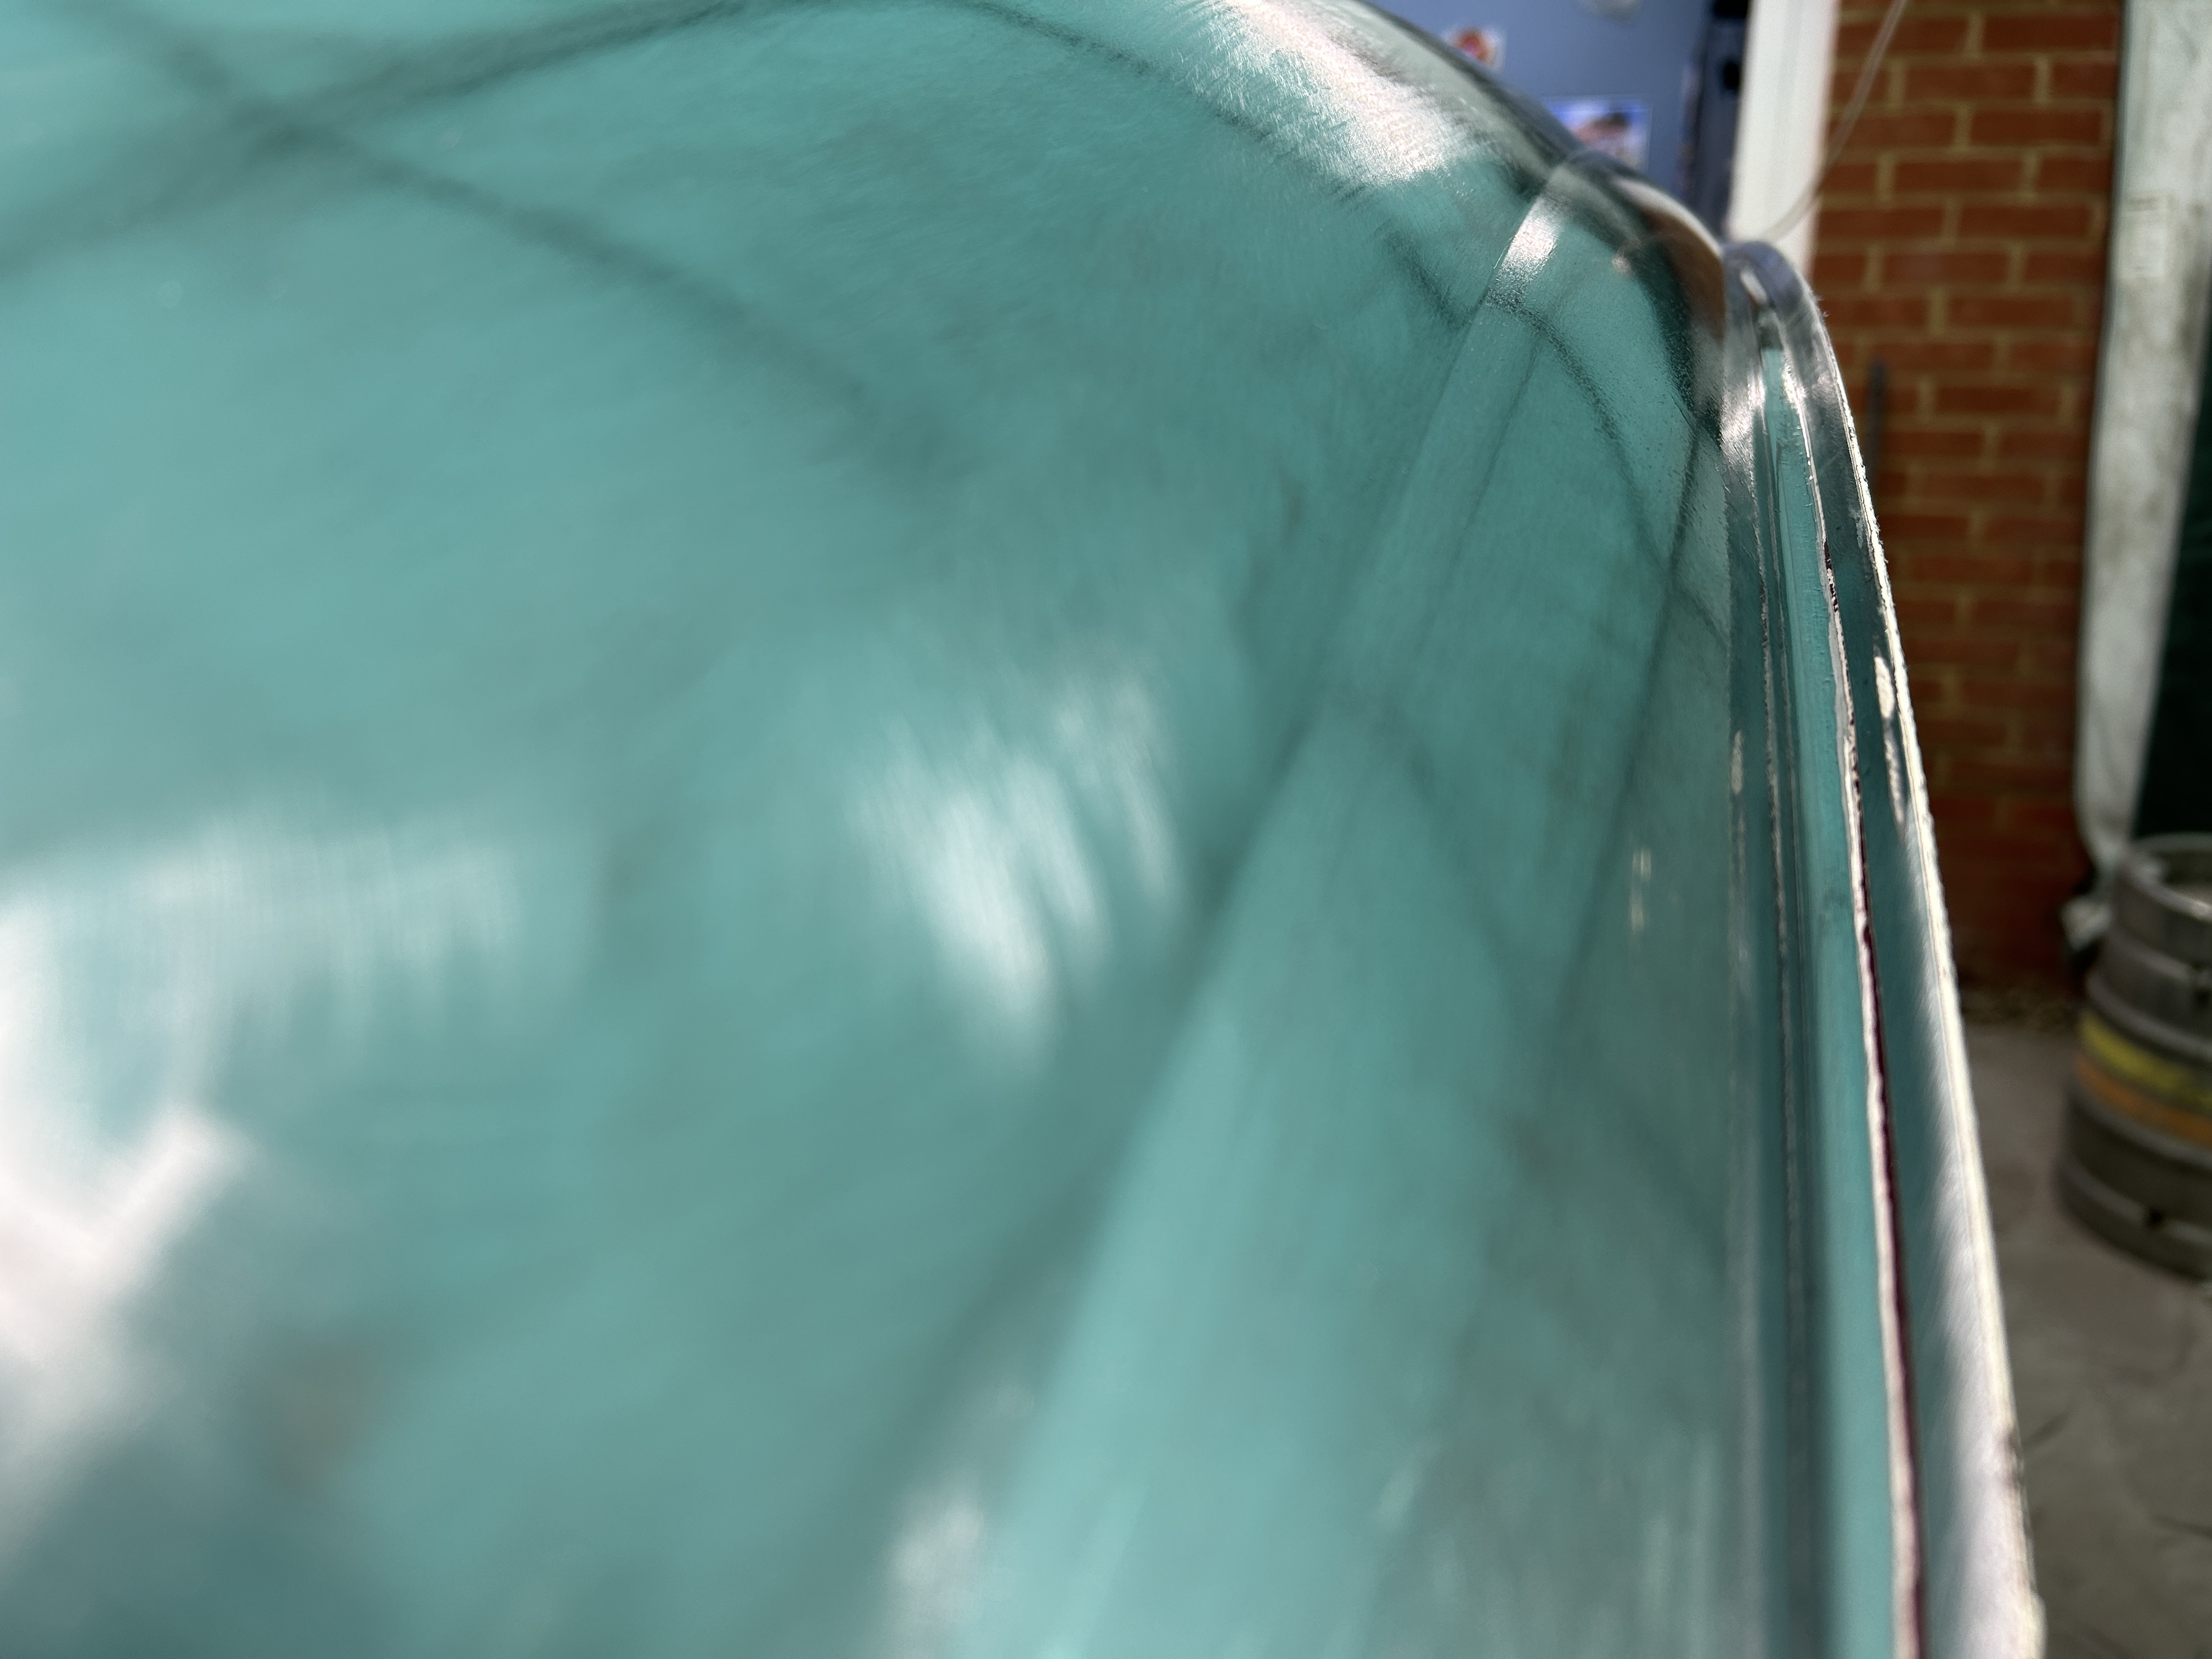


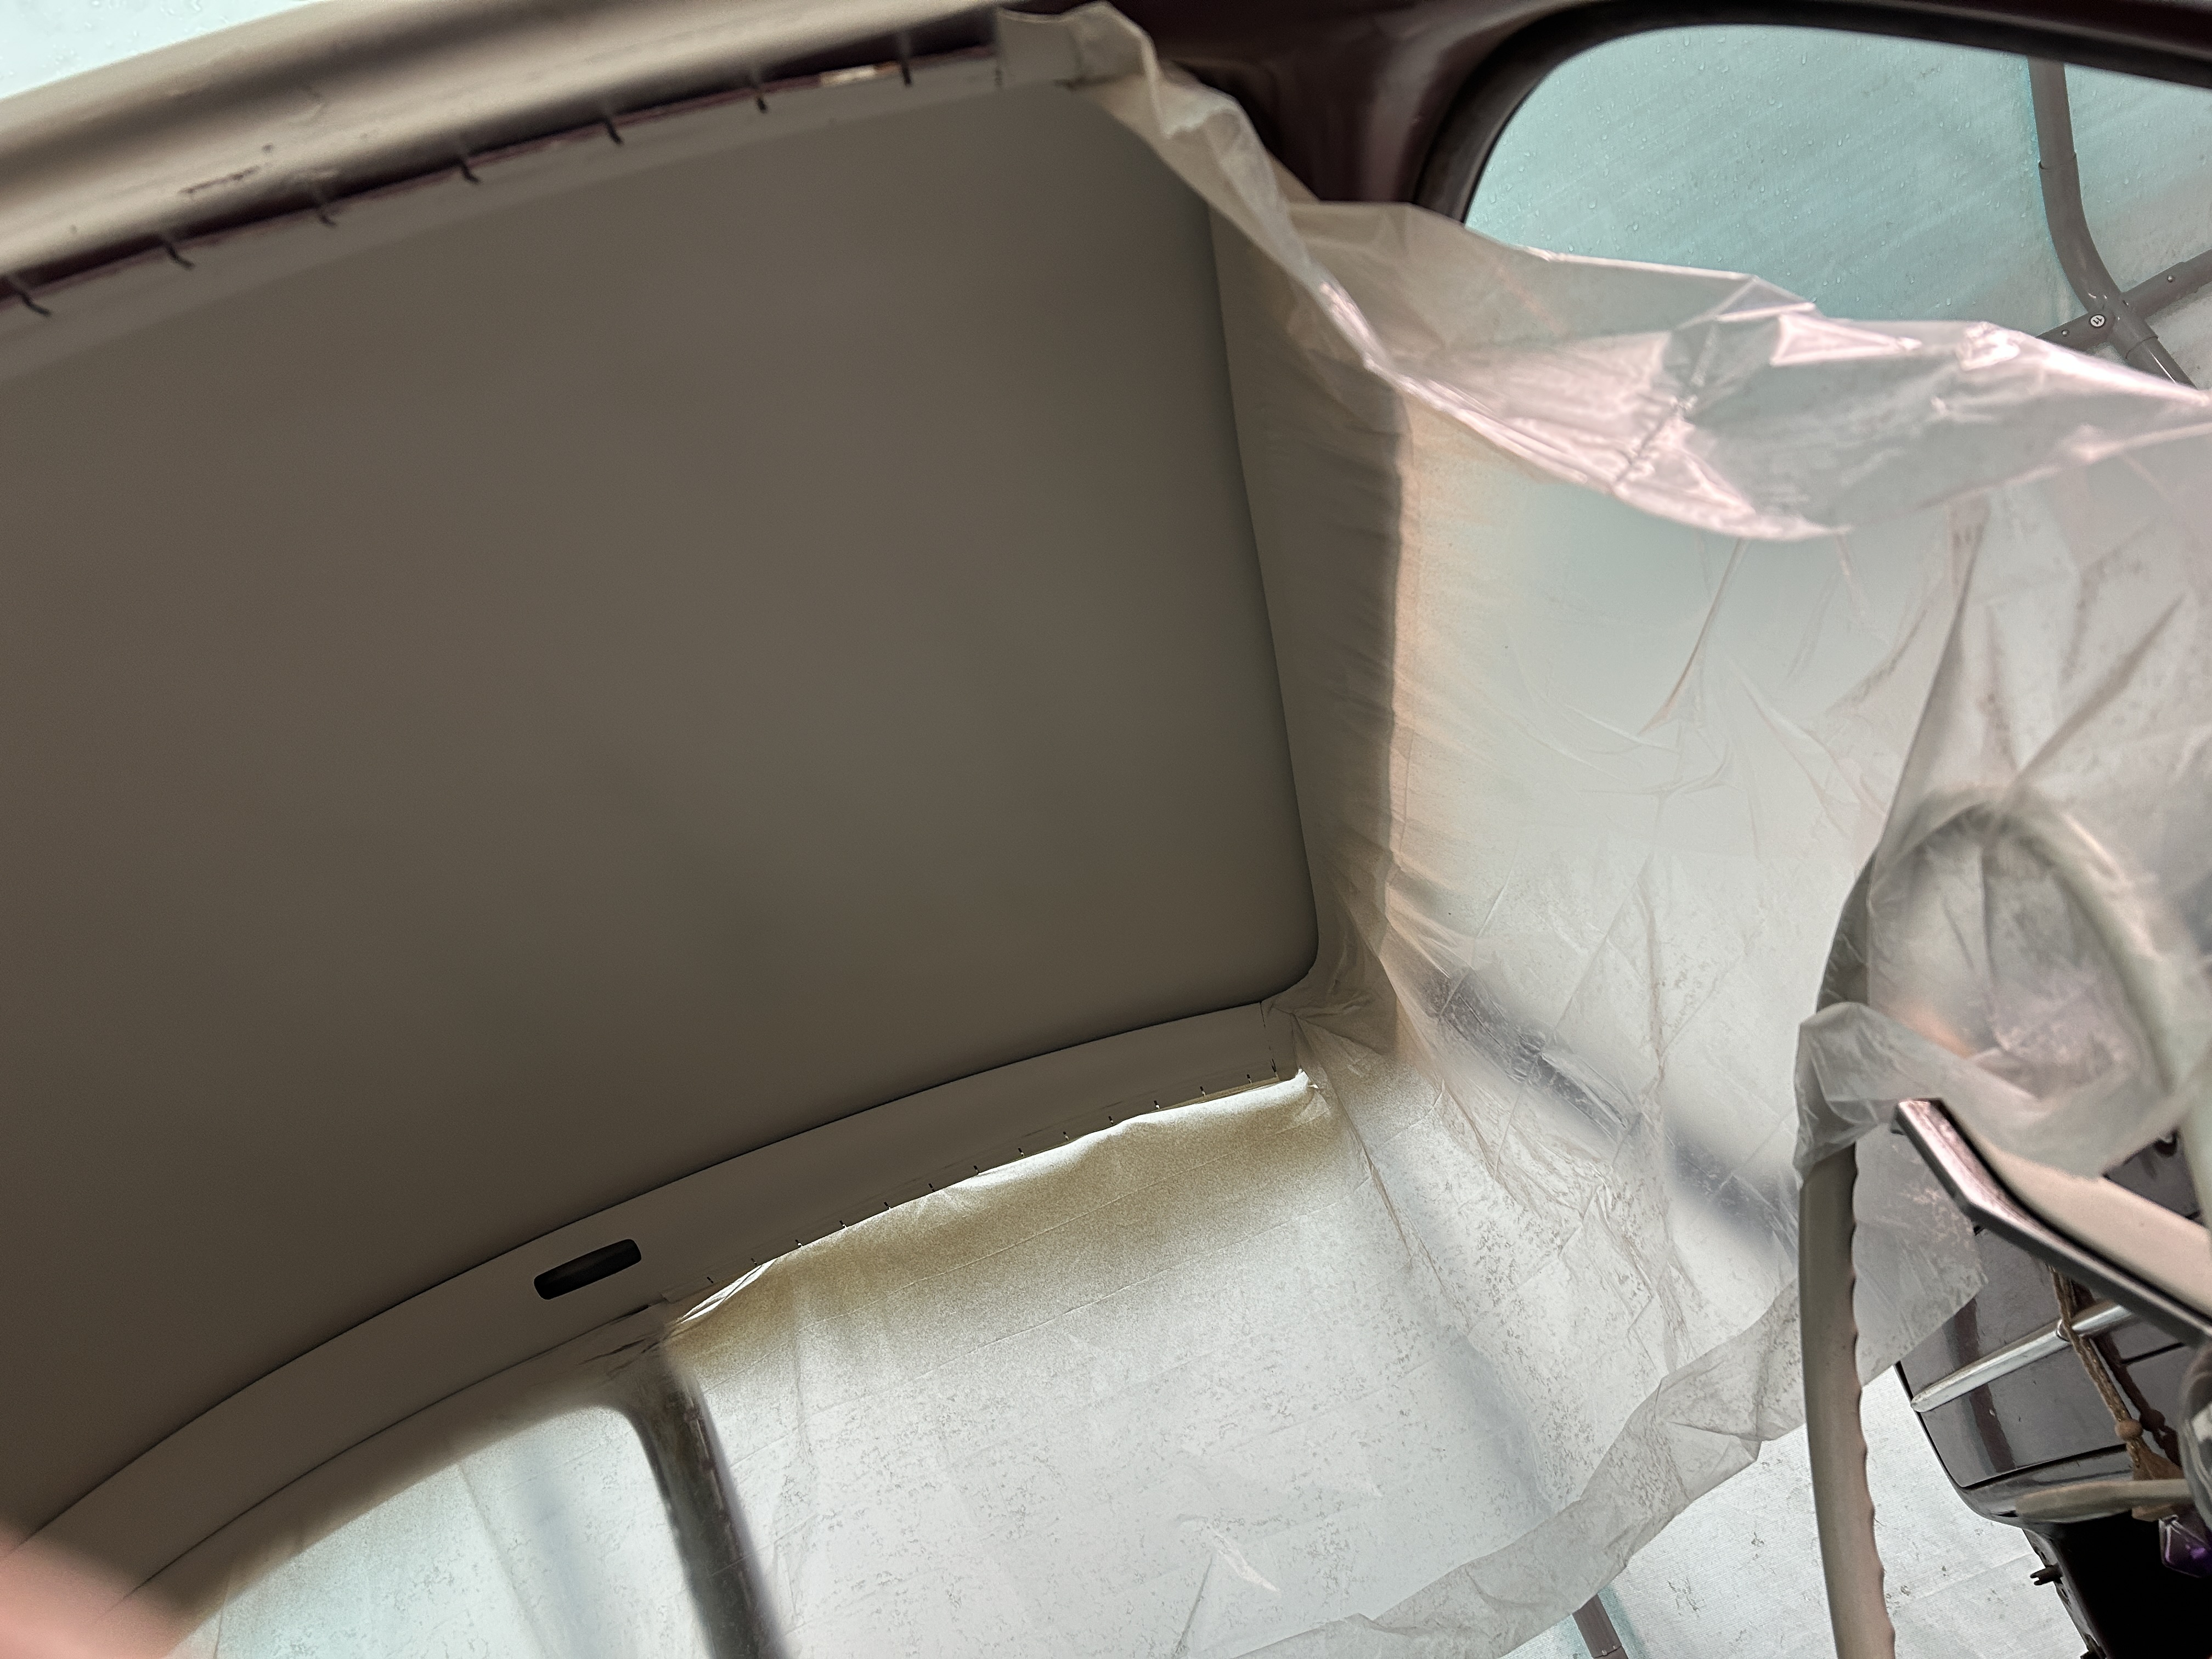
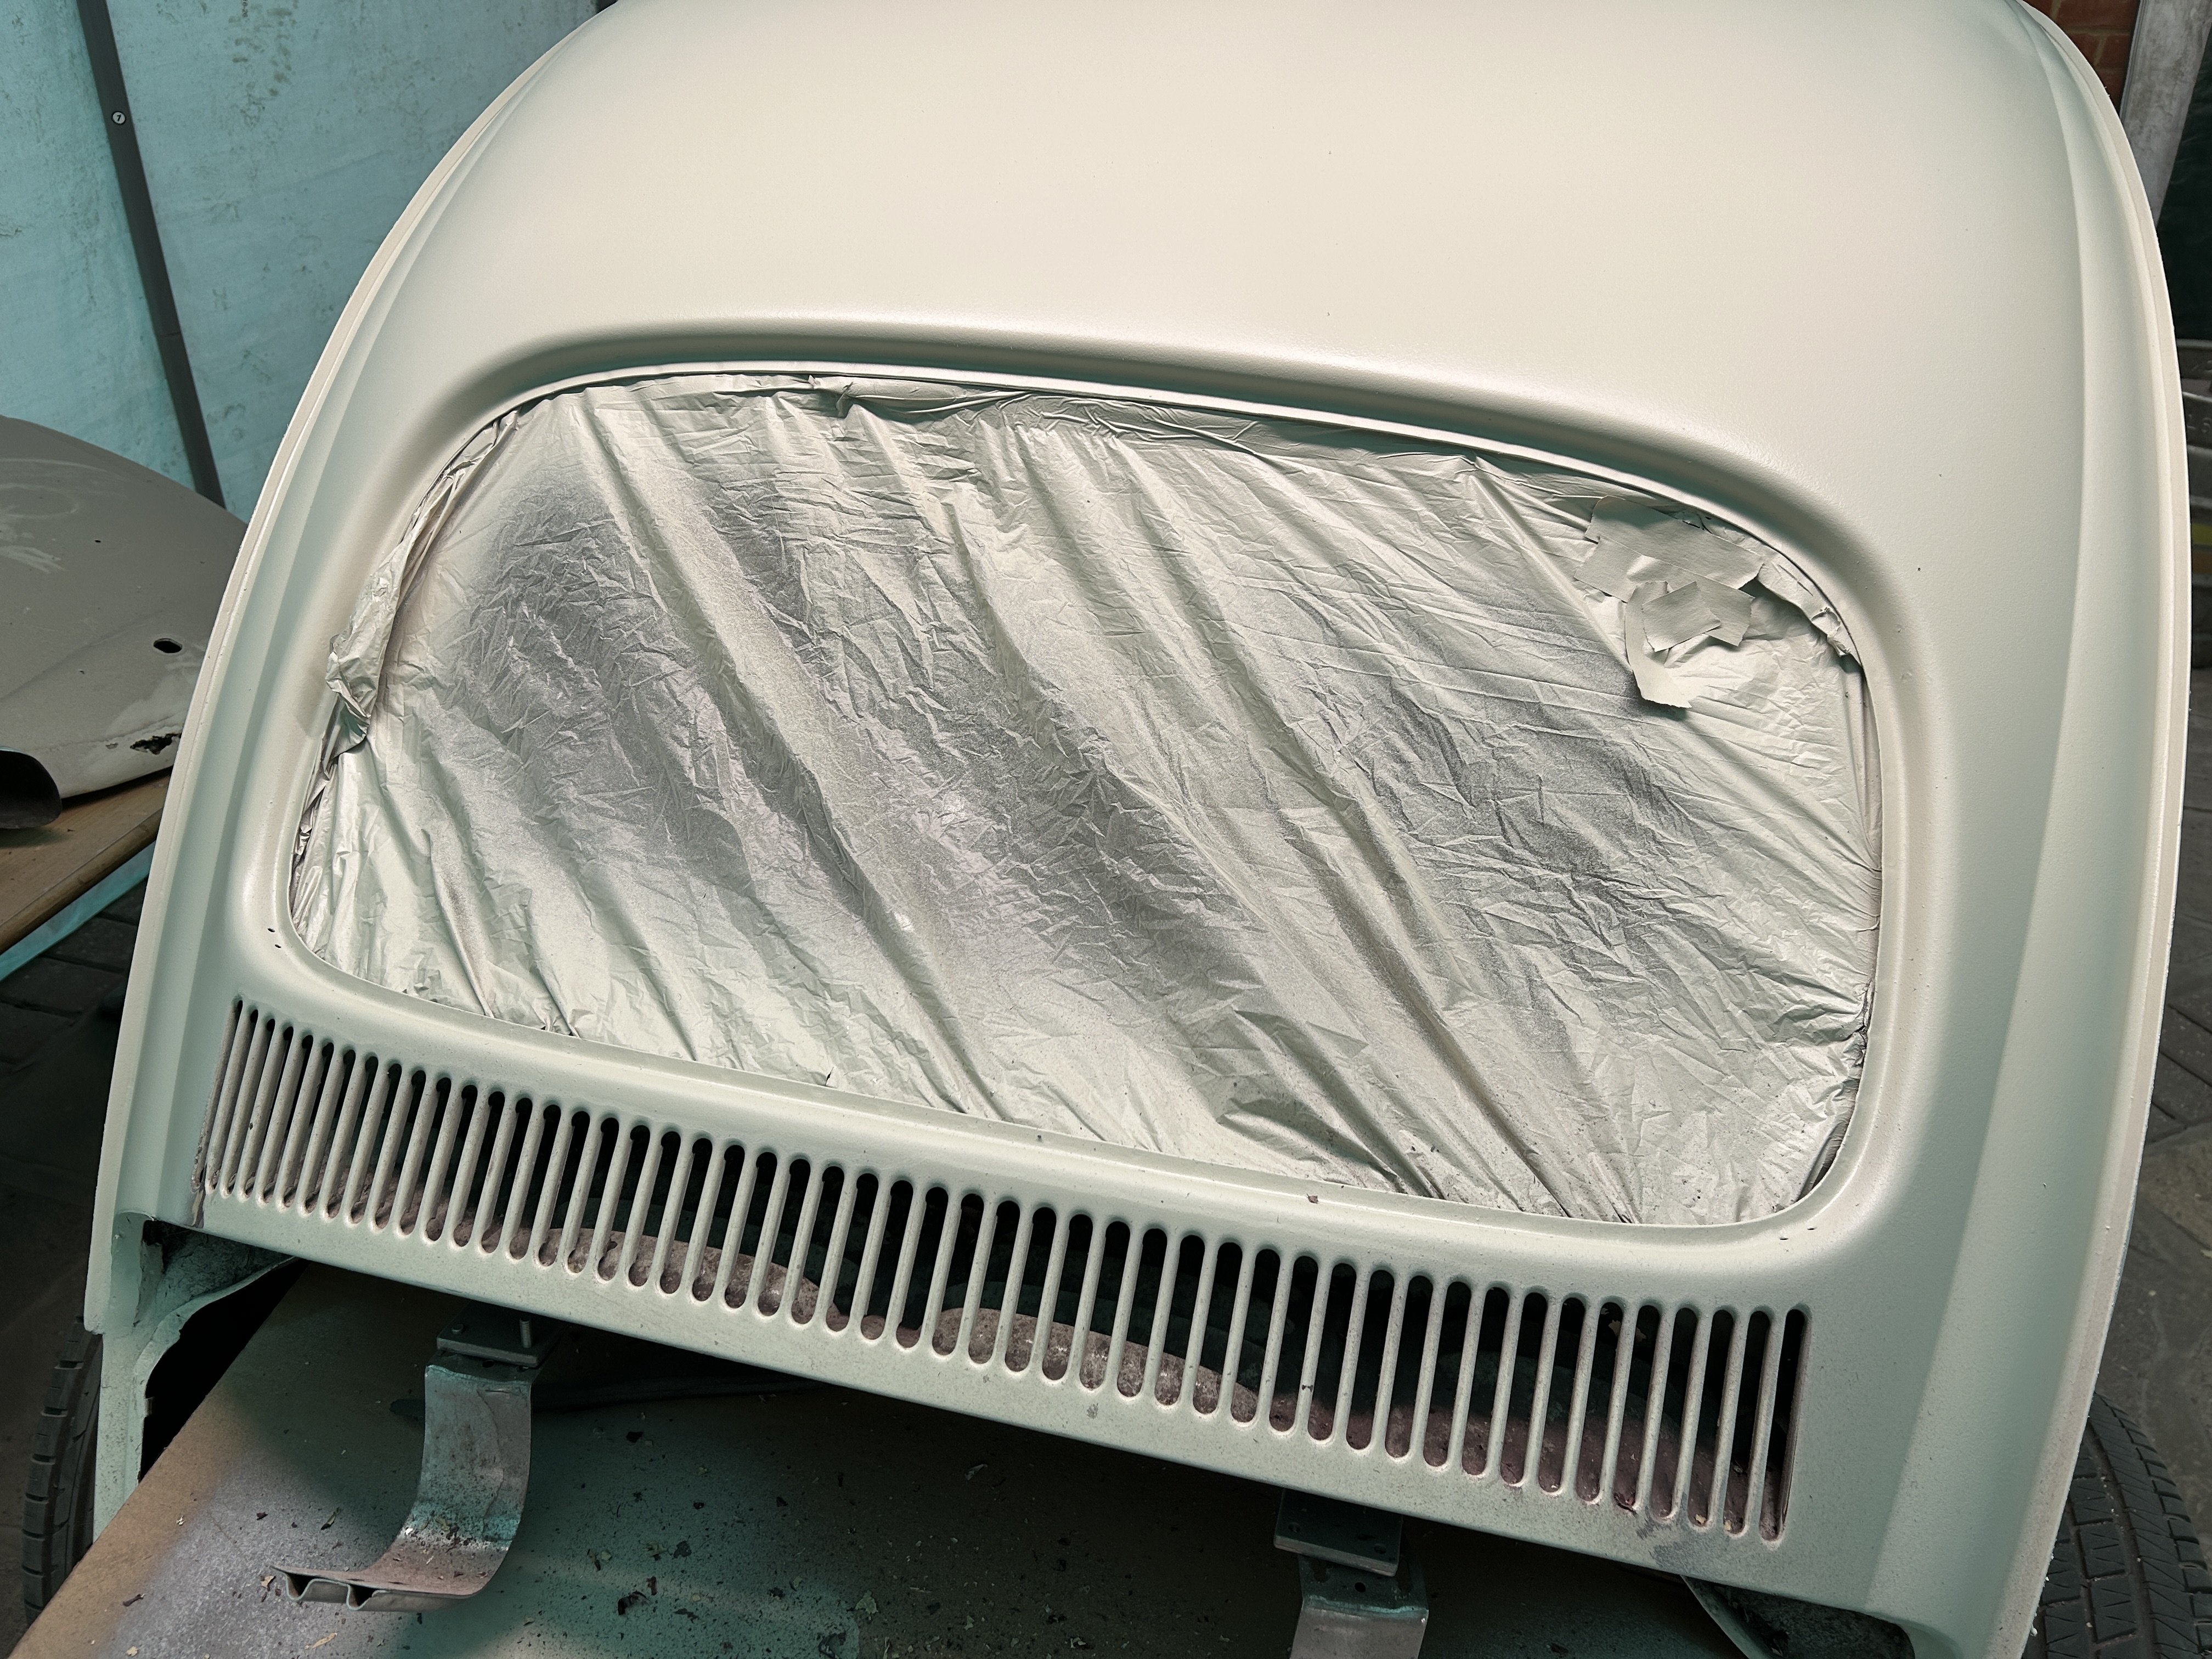
By the evening, I'd managed to get two coats of primer on as well. A full, productive day's work — and one that was definitely worthy of a couple of glasses of Rioja while admiring the progress.




#2
Up early on Saturday morning, I was ready to tackle the rear section, thinking I'd easily be able to strip off all the paint and glue residue and have it primed by the evening.


Well, I was completely wrong. By Saturday afternoon, all I'd managed to do was a small section, however i uncovered a repair panel on the wheel arch.


It wasn't until early Sunday evening that I finally got everything stripped and cleaned, and managed to get two coats of epoxy primer on.


#3
Quote from: Paul1953 on May 04, 2026, 09:23:01 AMHi Nav  Just had a look through the thread from beginning again.
A memory surfaced, (that`s was a bit of a surprise as I thought there was very little left floating around in my head now ;D  ;D )
One of my real pet hates about Beetle rebuilds stems from my first attempt at putting the metal "roof bows" back in and getting the lining material in a position to fit with no sags, stretches, tears etc.  If you are planning fit the metal bows again along with a standard style roof liner then you are in for some fun. Hope you have plenty of choice words ready. Having said that it`s all part of the fun.

Hey Paul I remember what a hassle it was just removing the bows and the roof liner — fortunately, they're now safely sitting on a pile of rubbish at my local refuse centre.

The plan will be to cover the roof with a layer of Dynamat, then finish it with a top layer of felt or leather. I'll add a thin foam lining underneath to keep everything smooth and to hide the Dynamat joint lines.
#4
Plans for the weekend ahead are to focus on the rear bench area and the inner quarter panels.

I've also been in talks with someone very well known in the beach buggy world regarding my floor pan. I have a suspicion it may have been heavily coated in layers of thick paint to conceal some questionable rust areas, so I'm now exploring options for replacing it altogether.
#5
Hi Folks, Apologies - I've been away for a while tending to other priorities, and then things got quite busy preparing for and attending the Classic & Restoration Show at the NEC with Ludicruz. It was a fantastic venue and a great show overall. Even better, though, was the warm welcome I received from the buggy community members who were there - really appreciated that.

Anyway, I'm well overdue for an update.

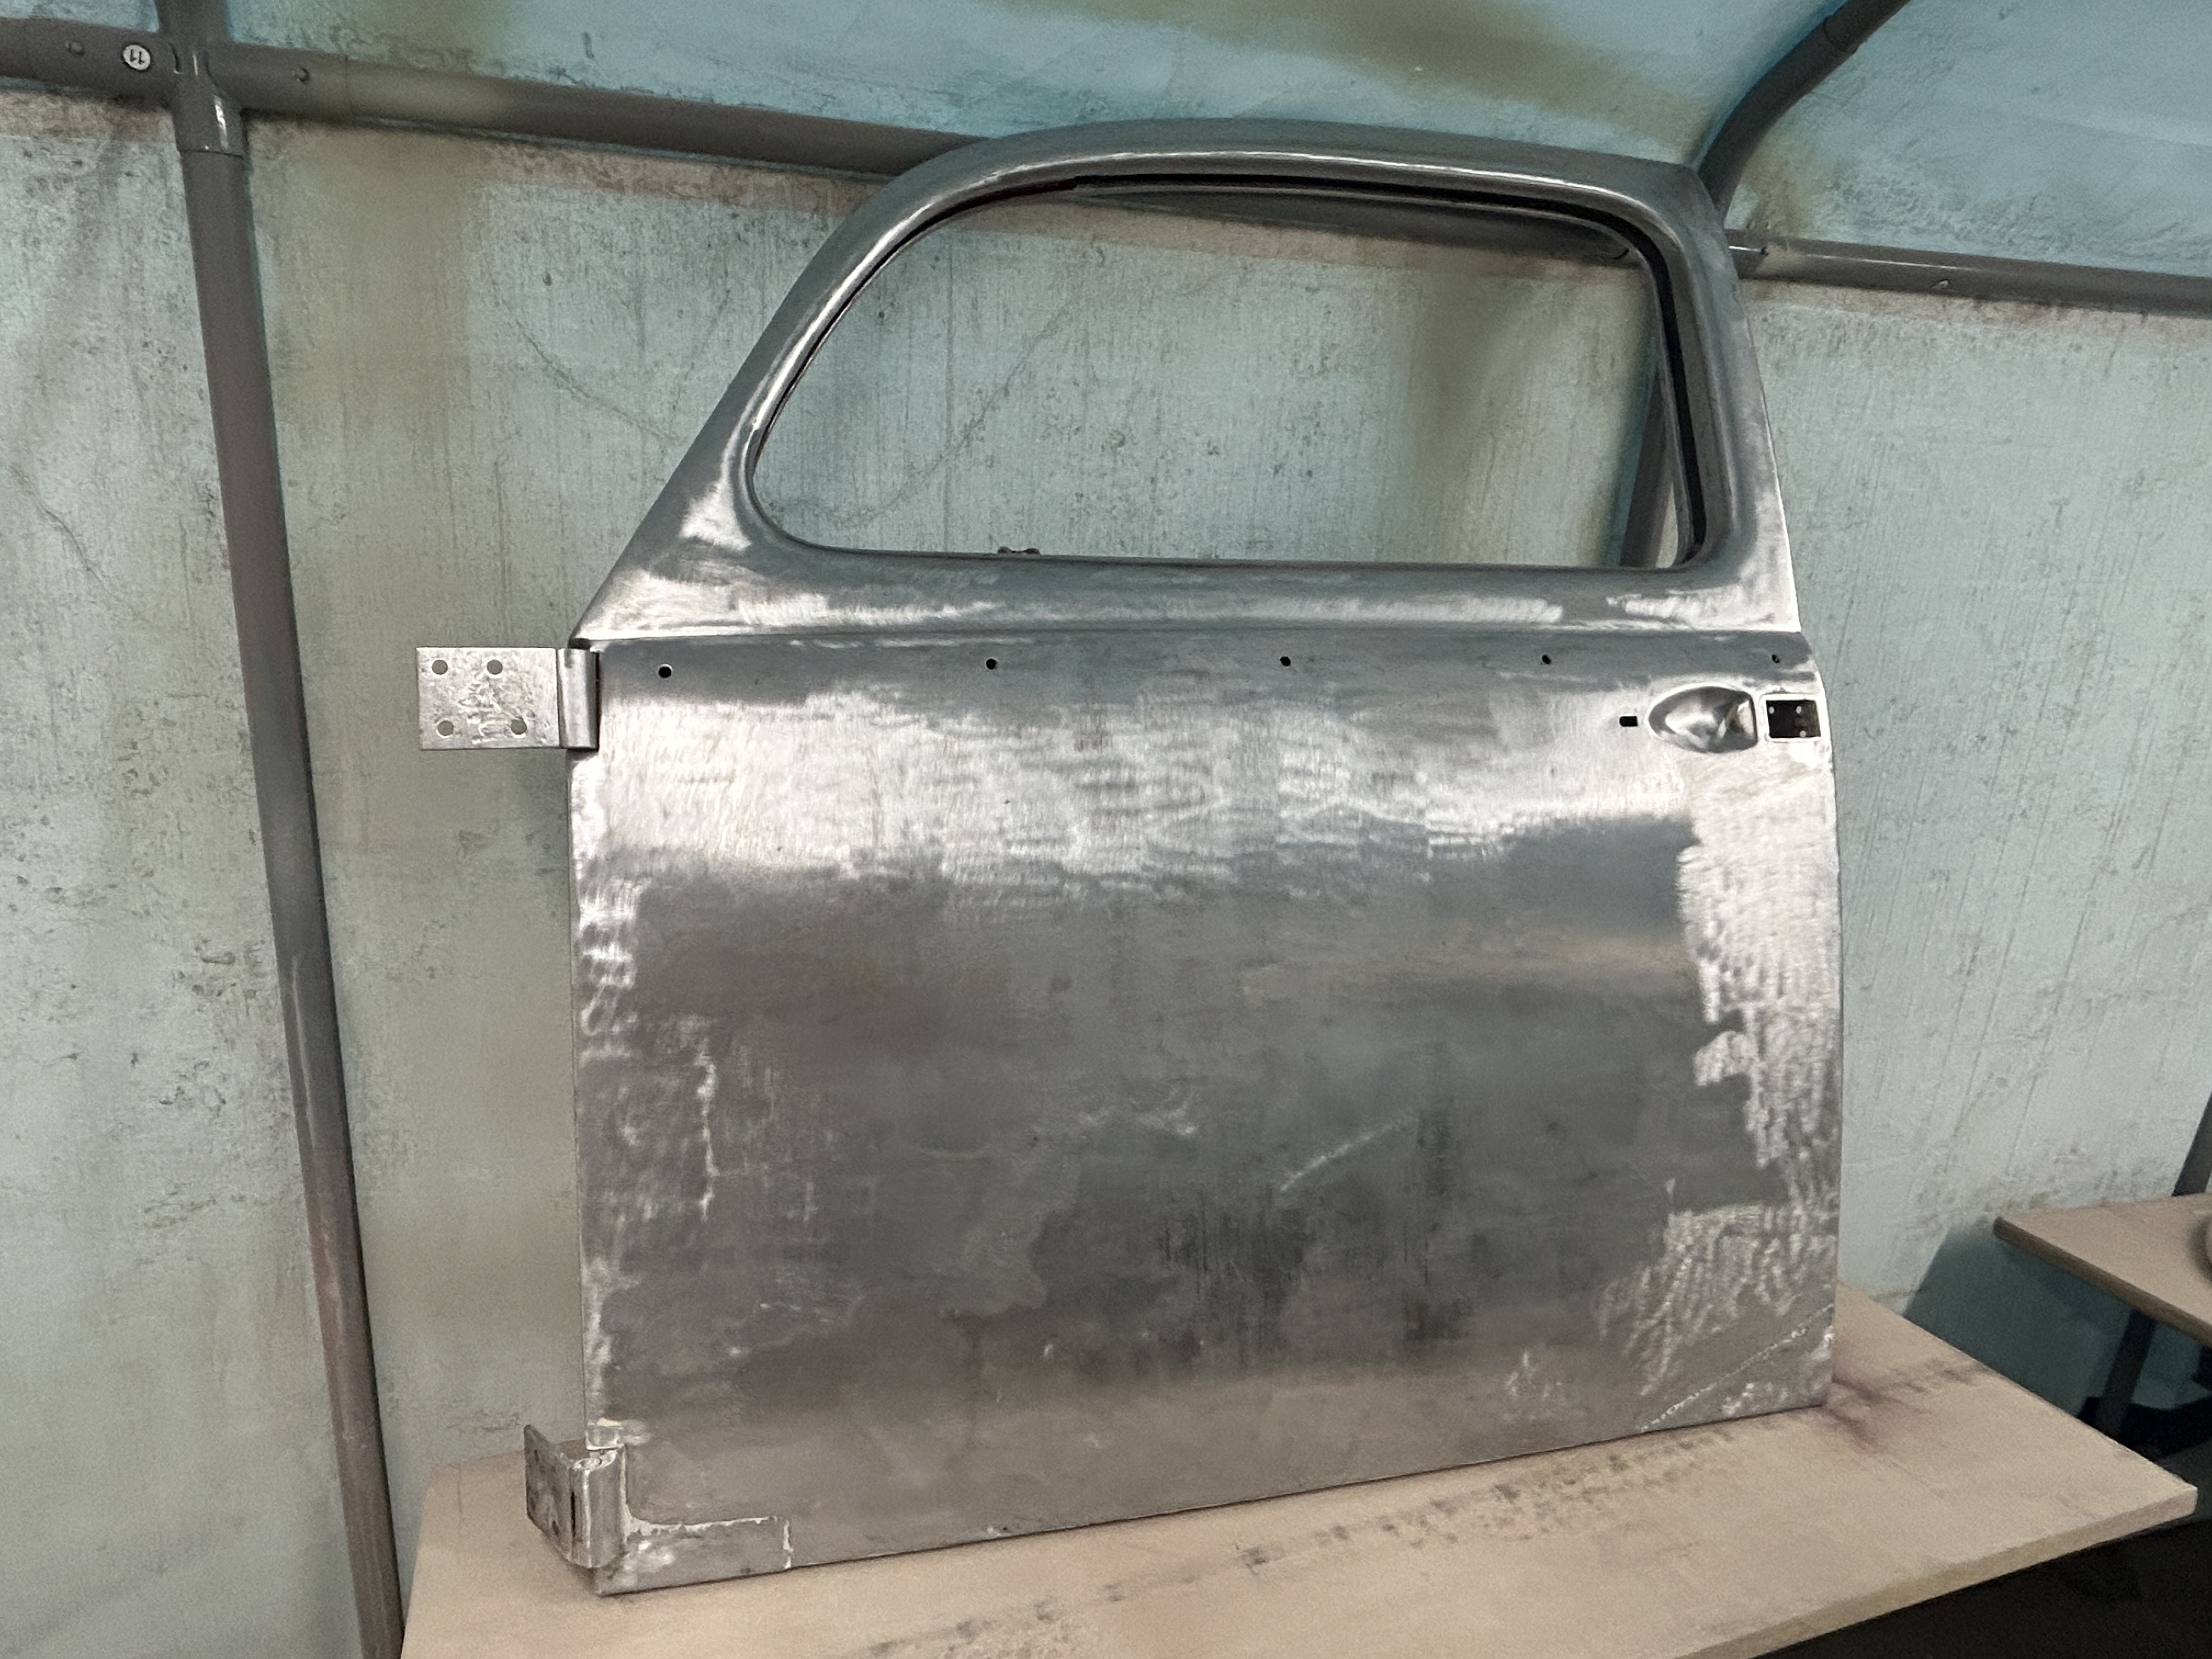
A few weeks ago, I started to tackle the doors. I was pleasantly surprised with the driver's door once stripped back, it turned out to be in very good condition. There are no rust patches or dents on the main structure, which was a nice bonus.
There is, however, a previous repair in the outer skin, roughly 8 inches above the handle, so that will need a bit of attention.


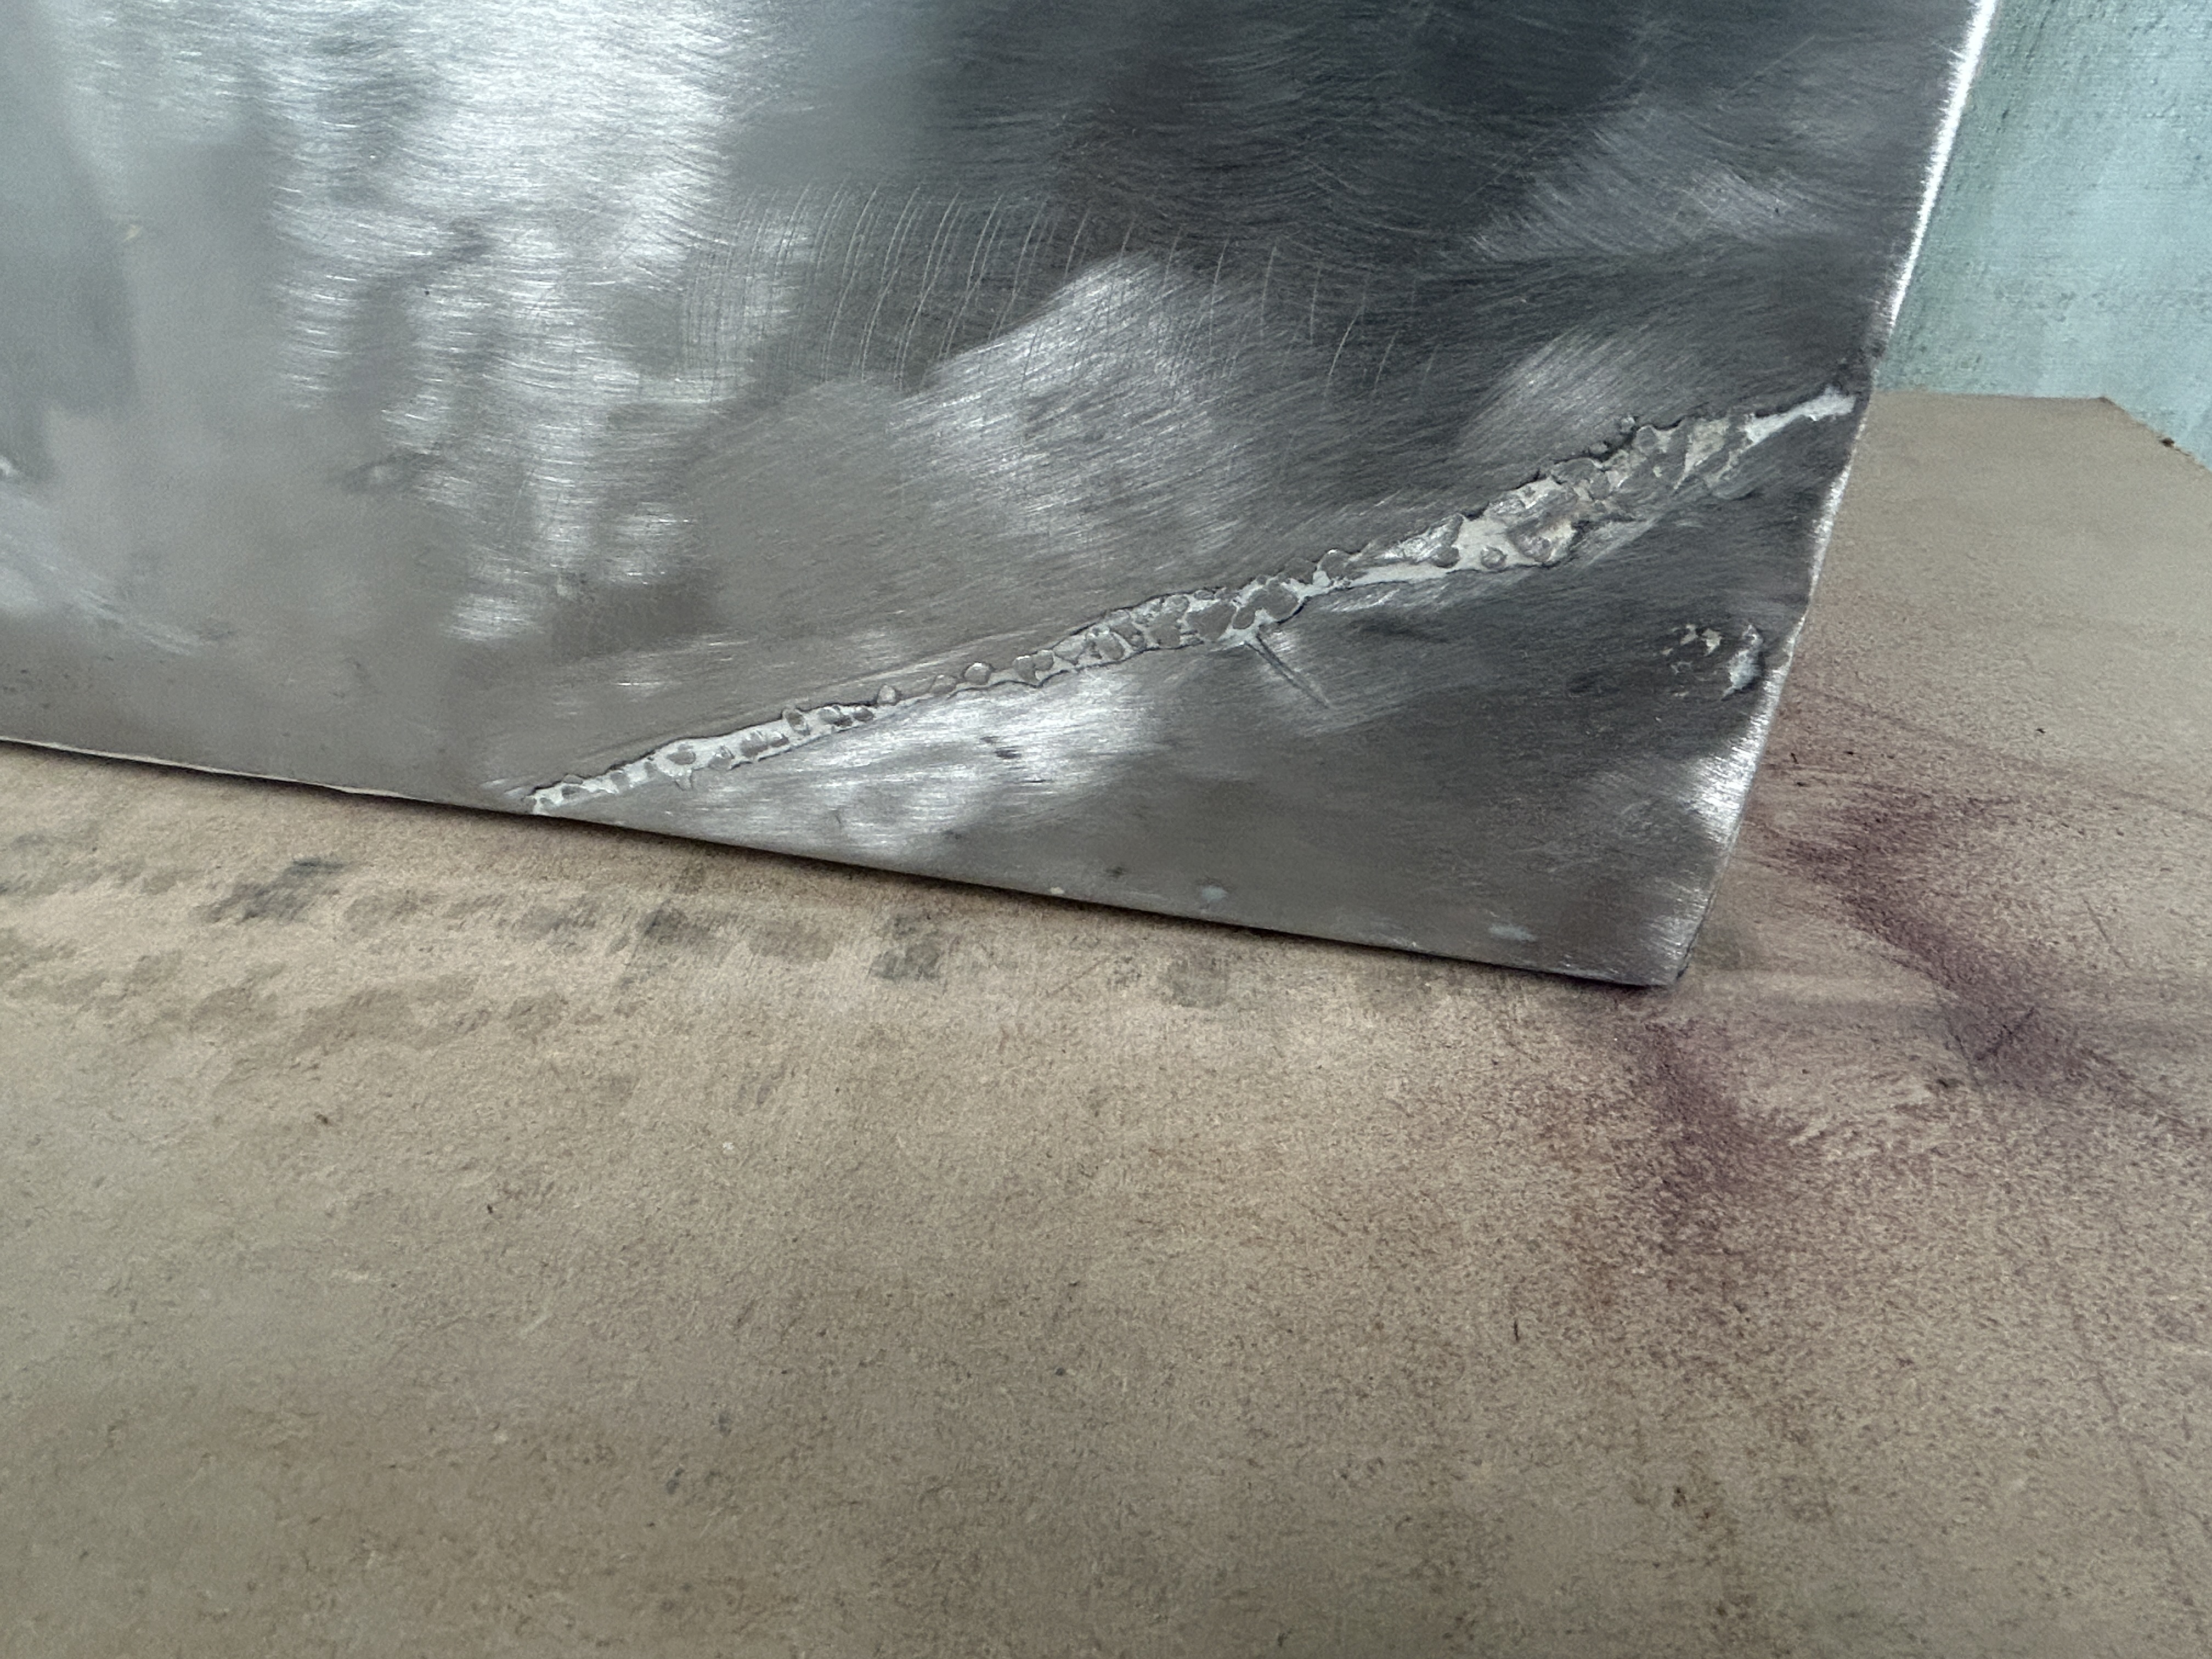
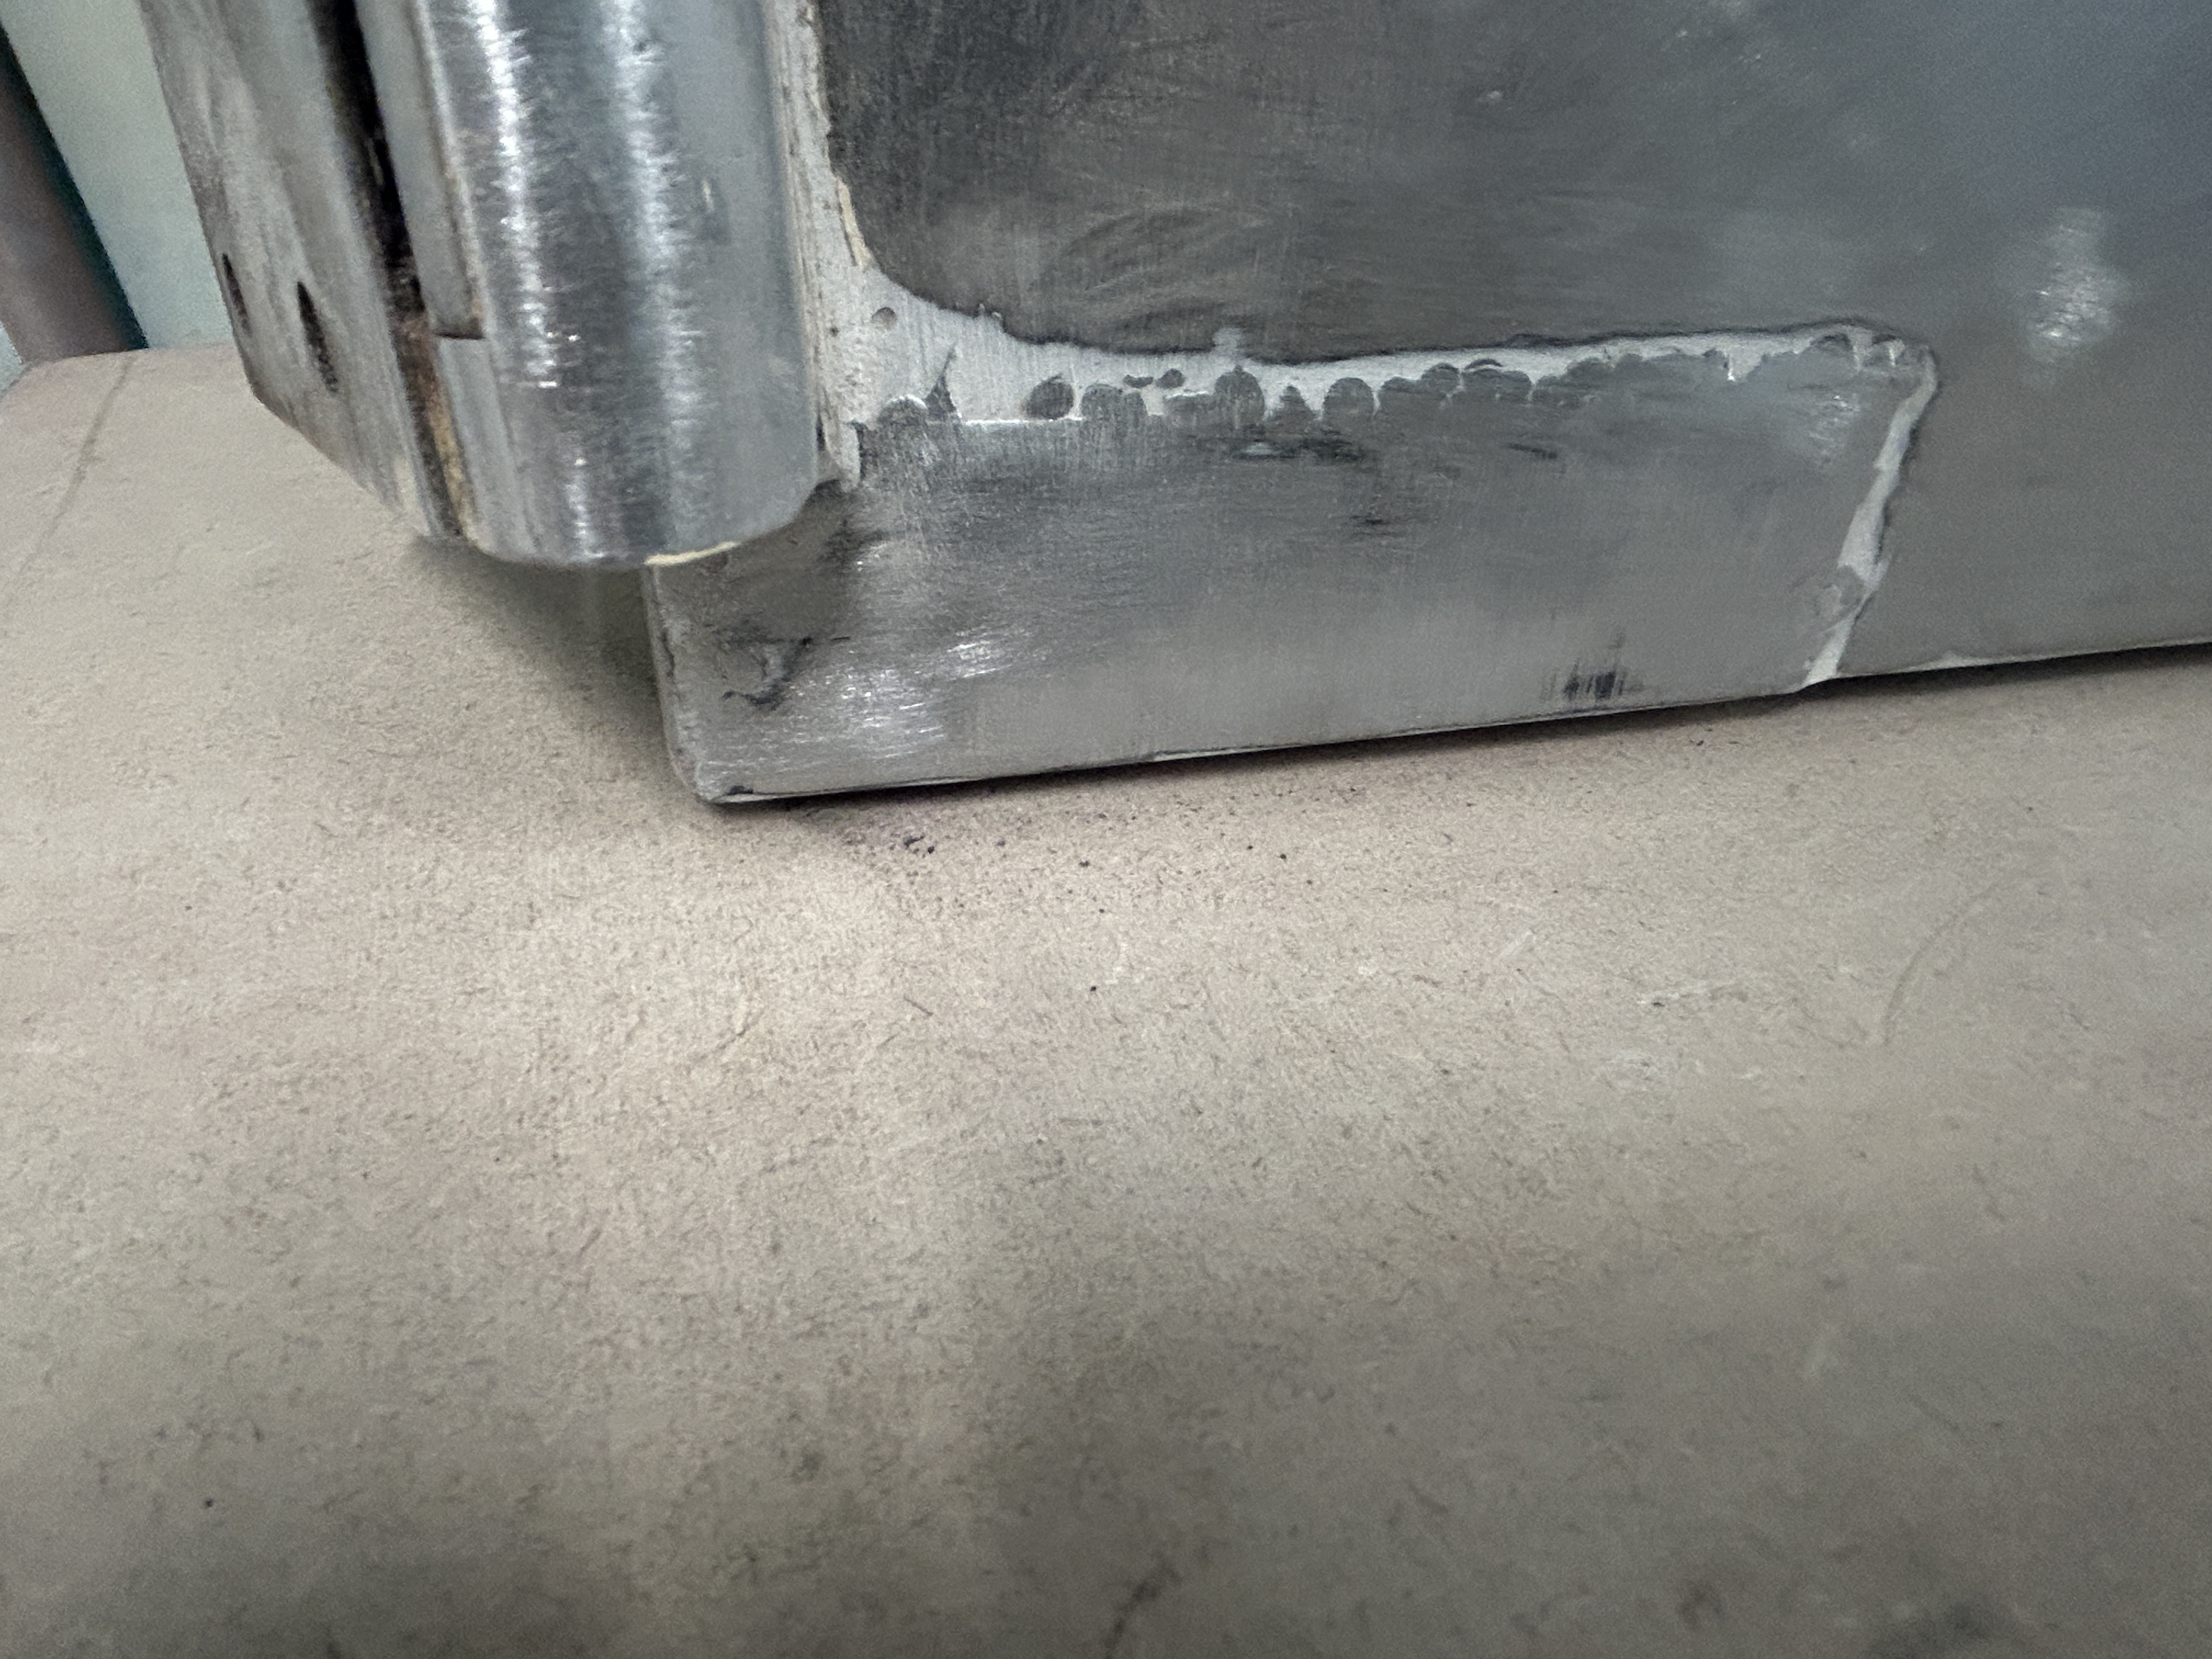
Unfortunately, the passenger door didn't turn out quite as well. Whilst stripping back the paint, I uncovered two large areas of heavy filler. Underneath, it became clear that some fairly poor-quality repairs had been carried out, with no real attempt made to straighten the metal beforehand.


One of these areas is on the bottom corner of the outer side....


The second is on the other corner on the outer side....
Both will need some proper attention to get them back into shape..


#6
Members Buggies / Re: Tamiya Sand Scorcher Baja Bug
February 03, 2026, 09:36:53 PM
 Now that's thinking out of the box, totally amazing!!!! Can't wait to see the finished bonnet....
#7
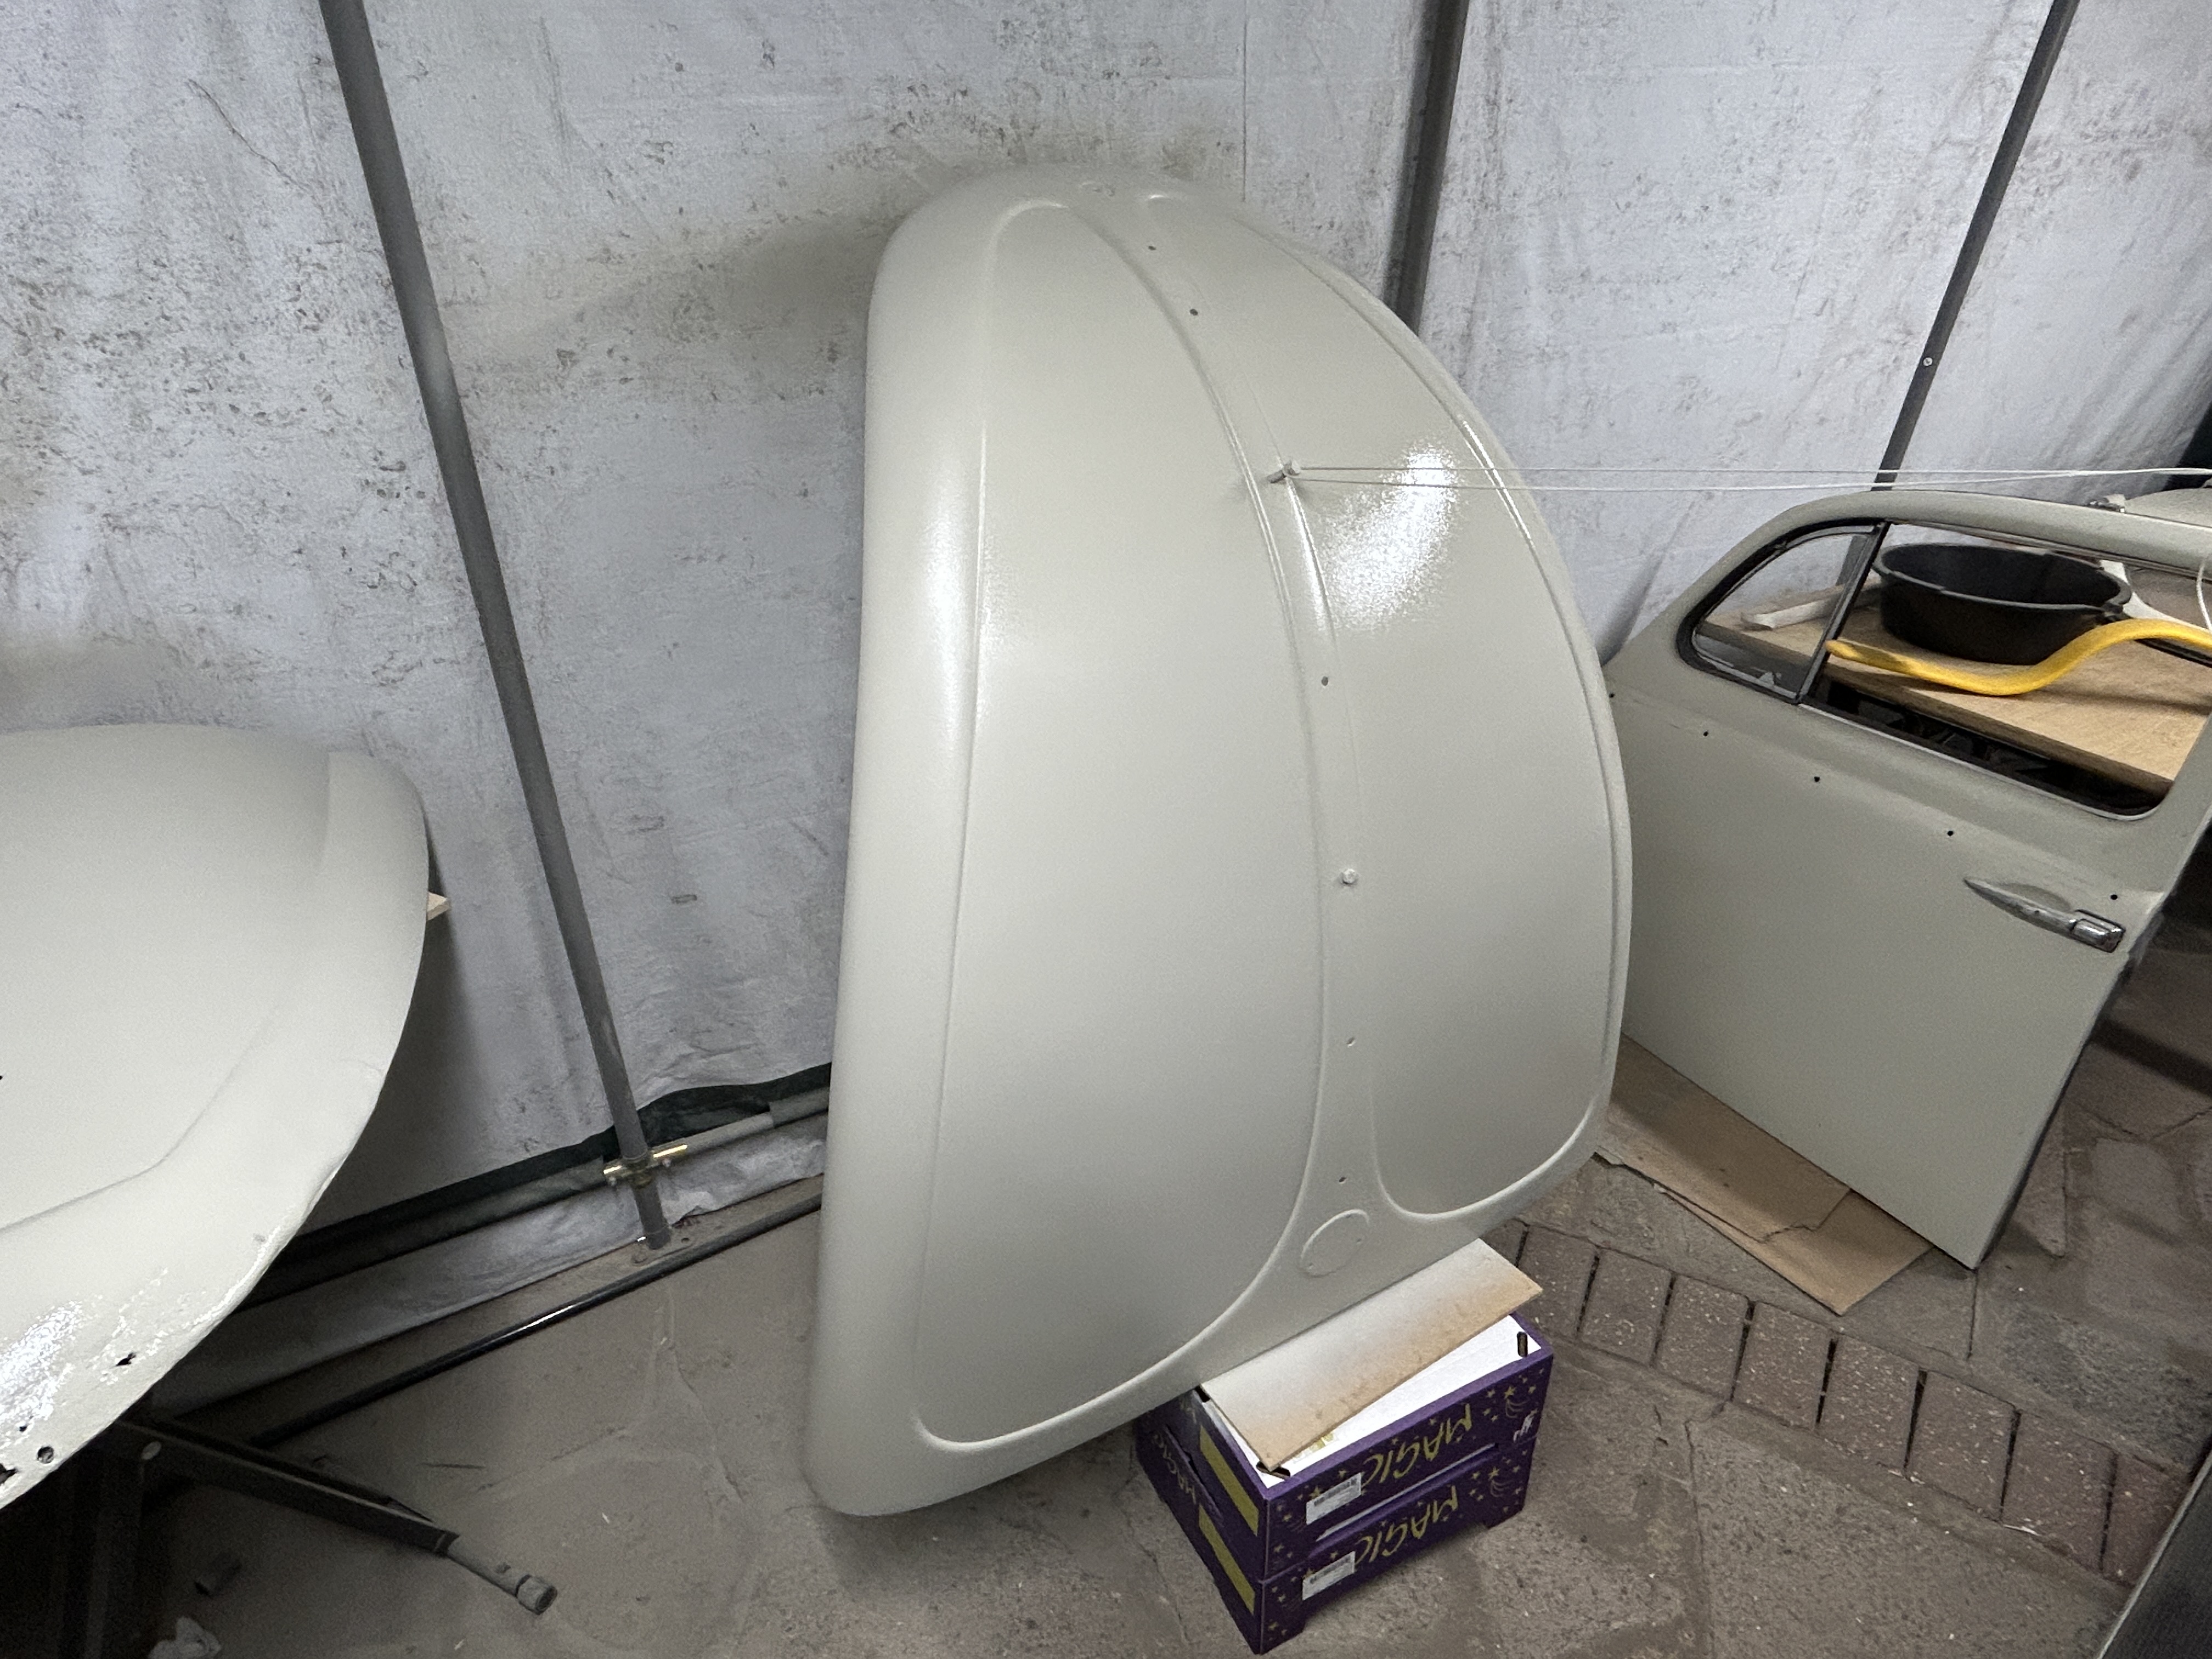
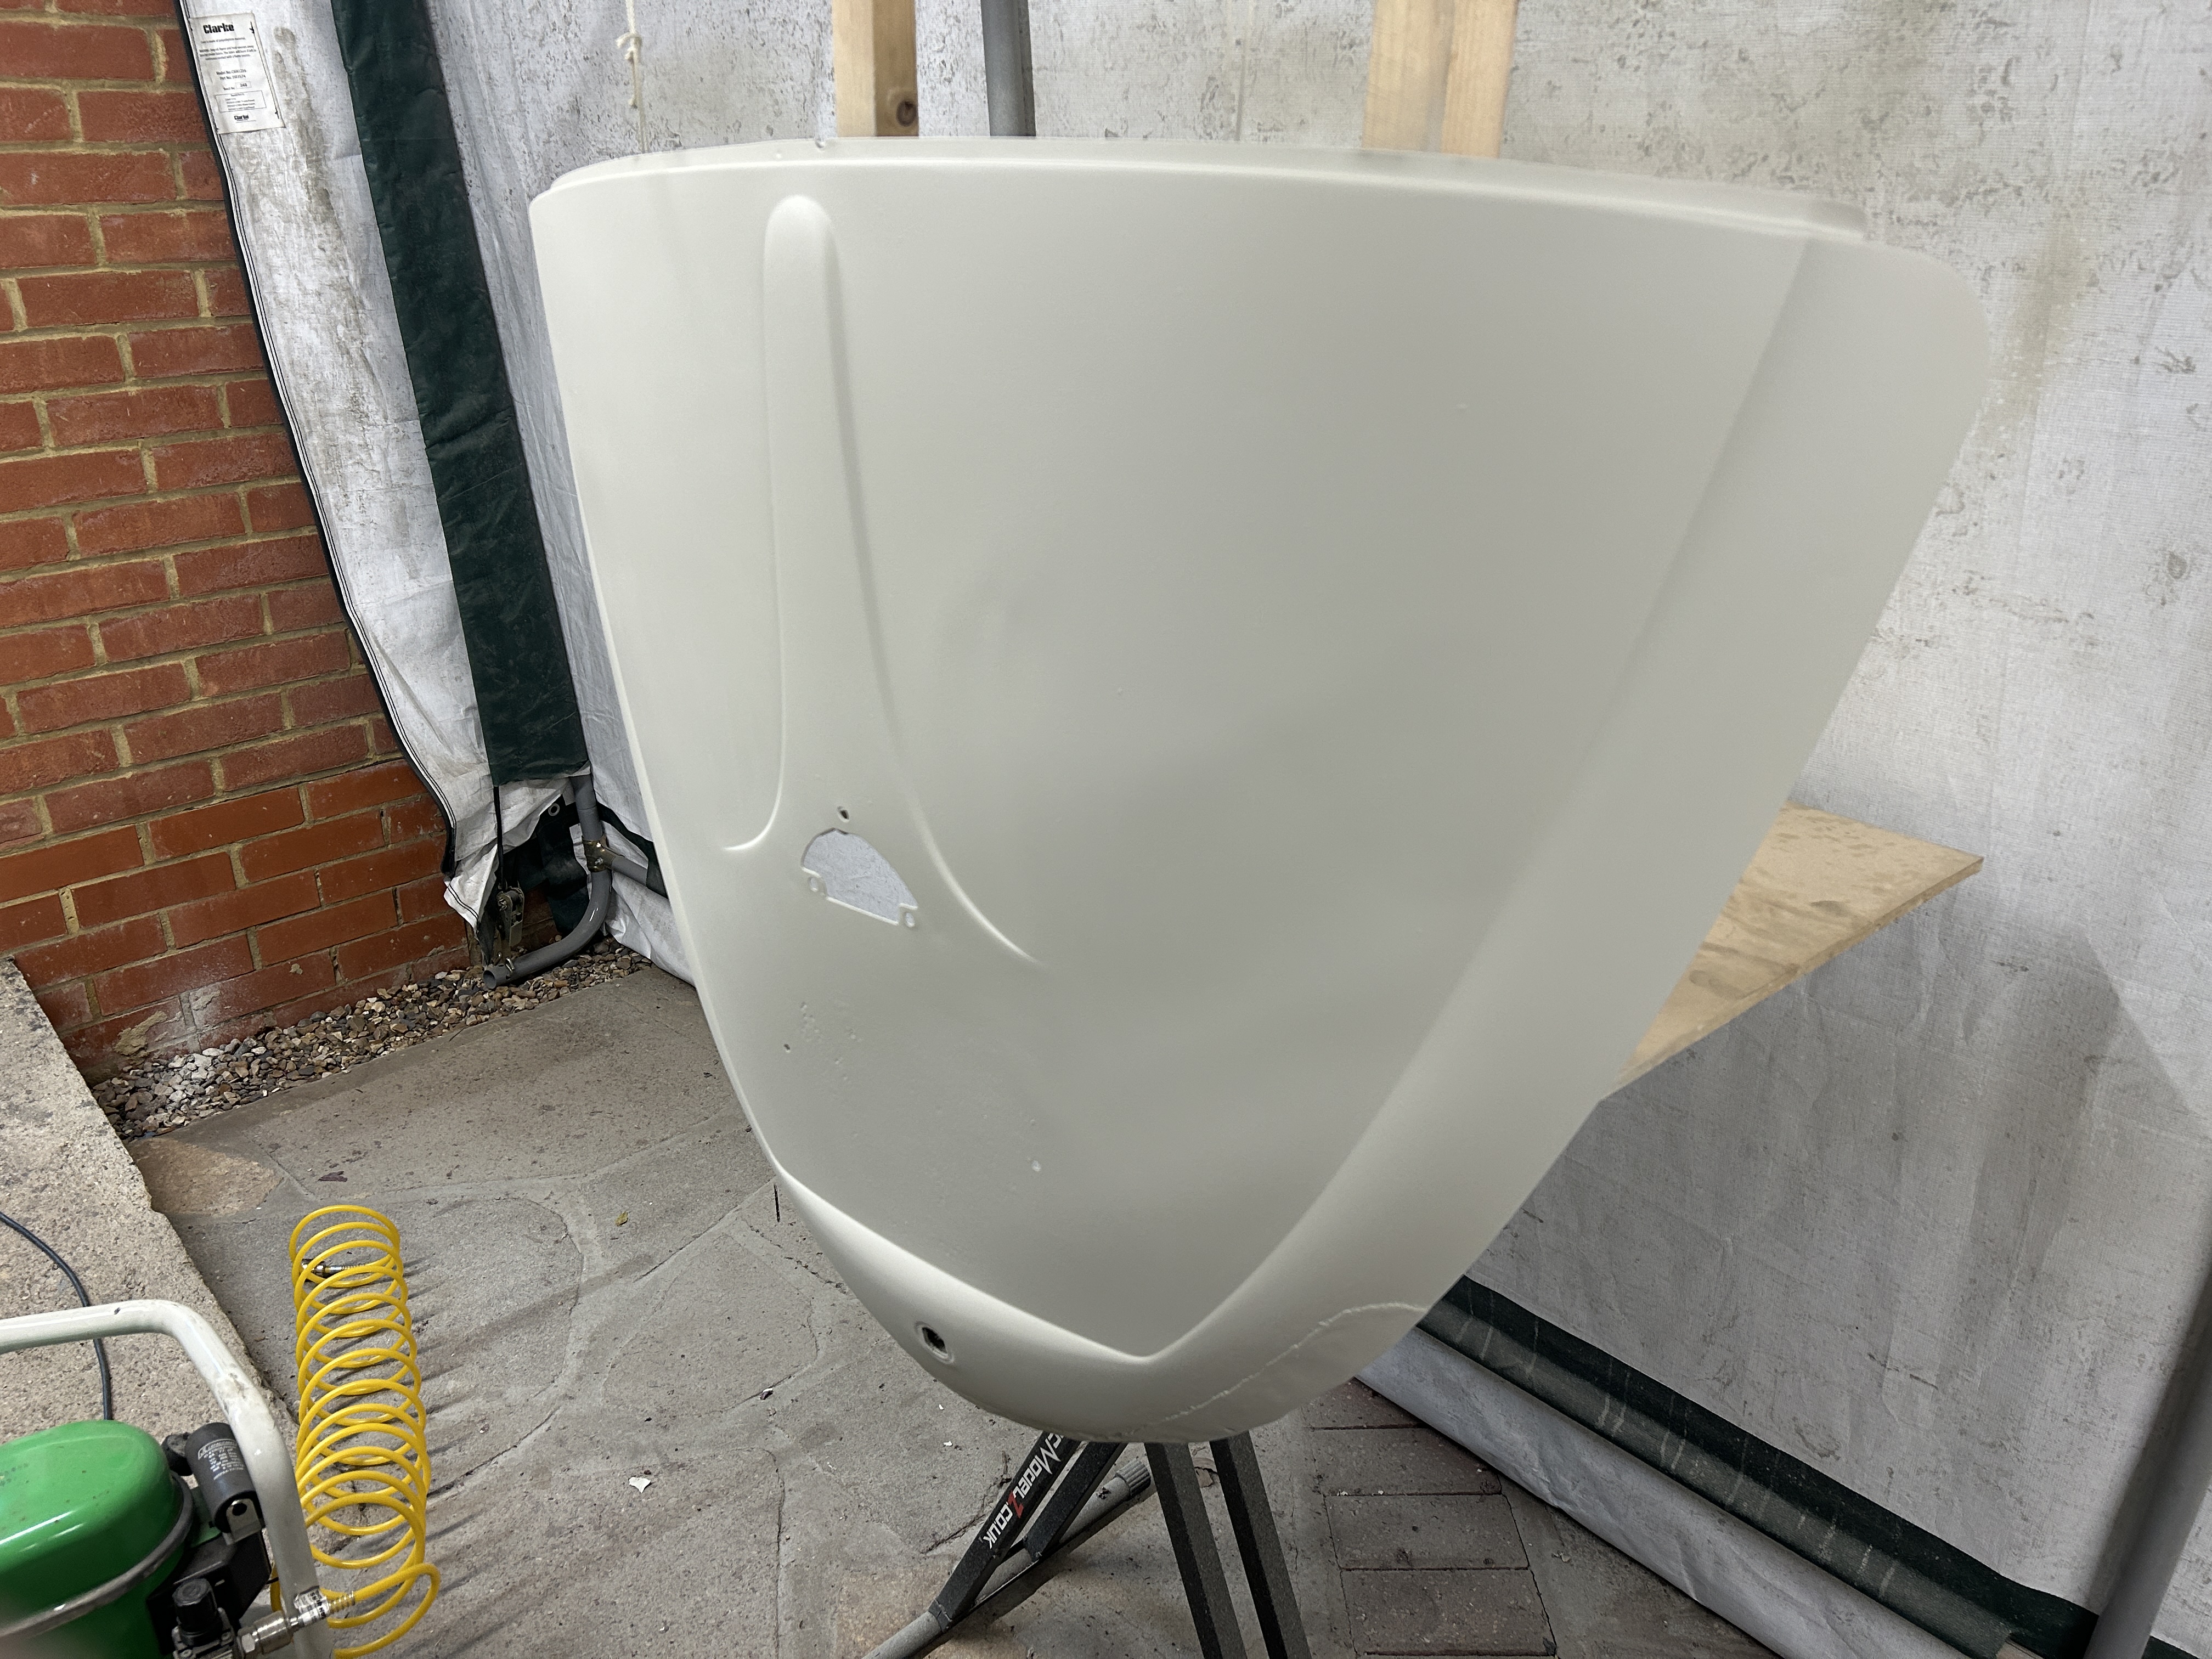
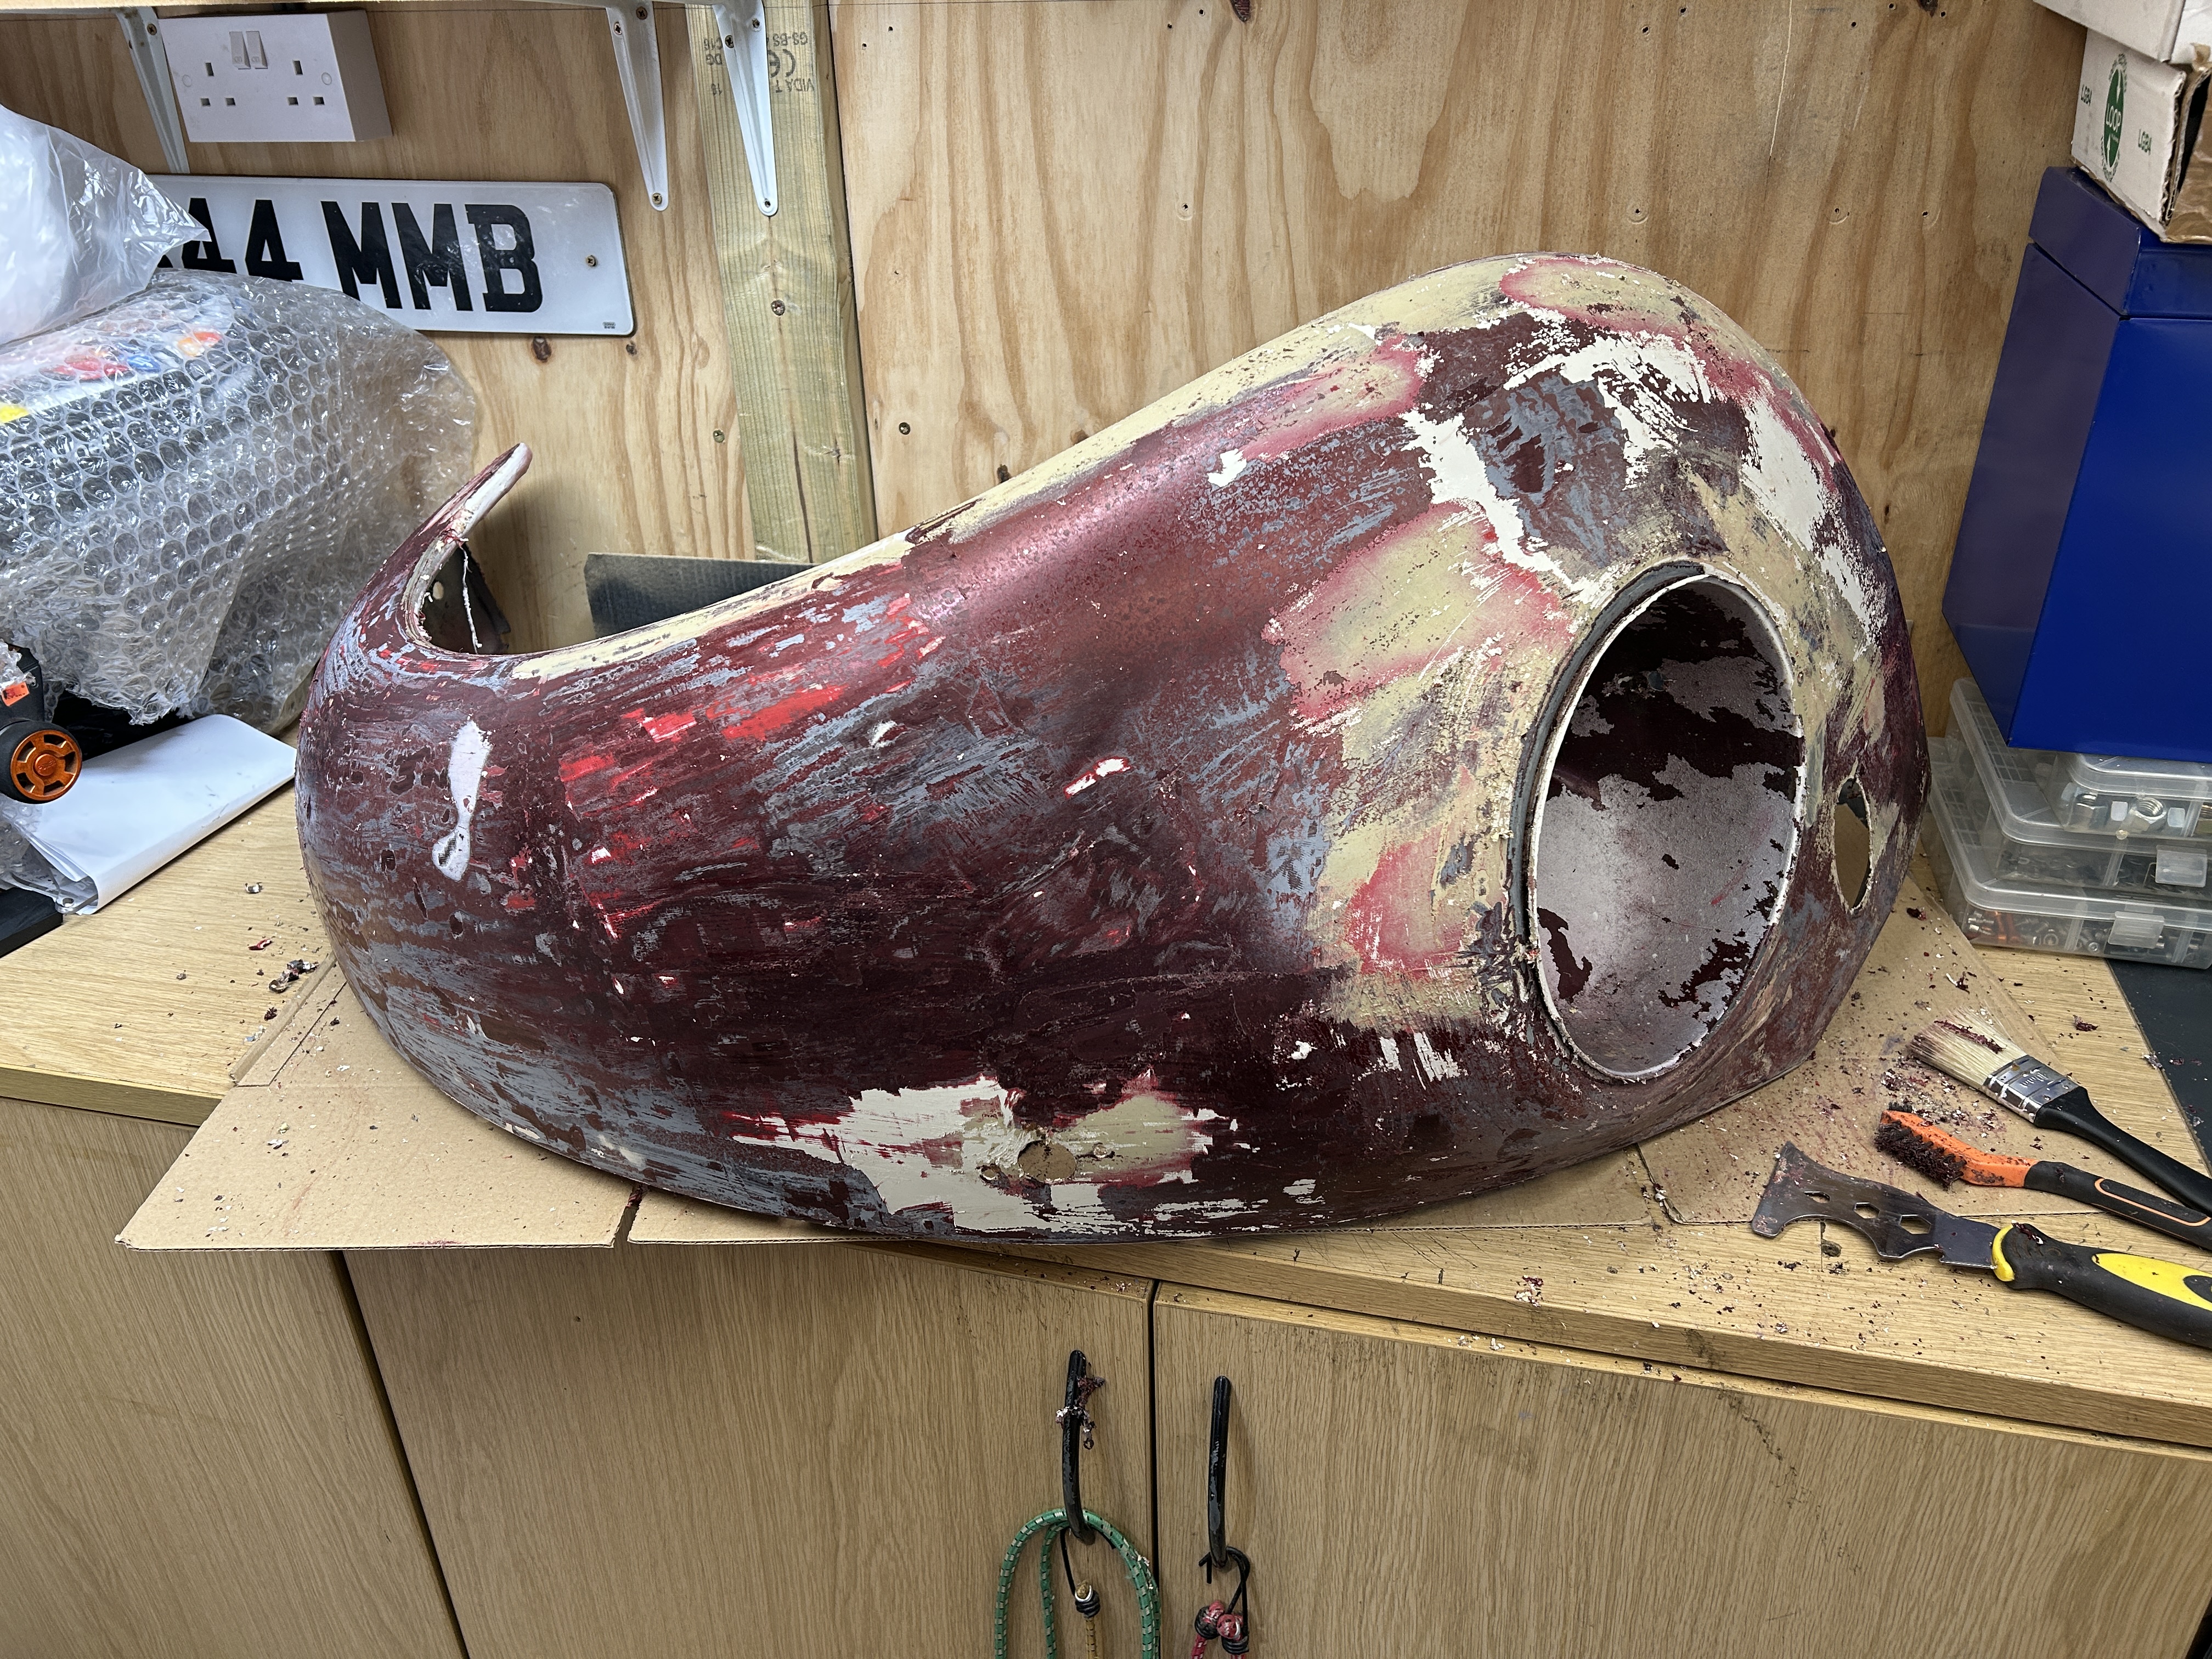
While I was searching for a new engine lid on various sites, it was time to tackle the bonnet.
I was dreading what I might uncover, hoping I wouldn't find the same problems as I did with the engine lid.

Luck was on my side — the bonnet was in excellent condition overall, with only a small area at the bottom that needs attention. It's nothing as major as the engine lid, and I'm confident I can repair it and get a really good finish


It took almost 30 minutes to get both sides in primer because the compressor kept needing to refill, but the finish came out perfect in the end.


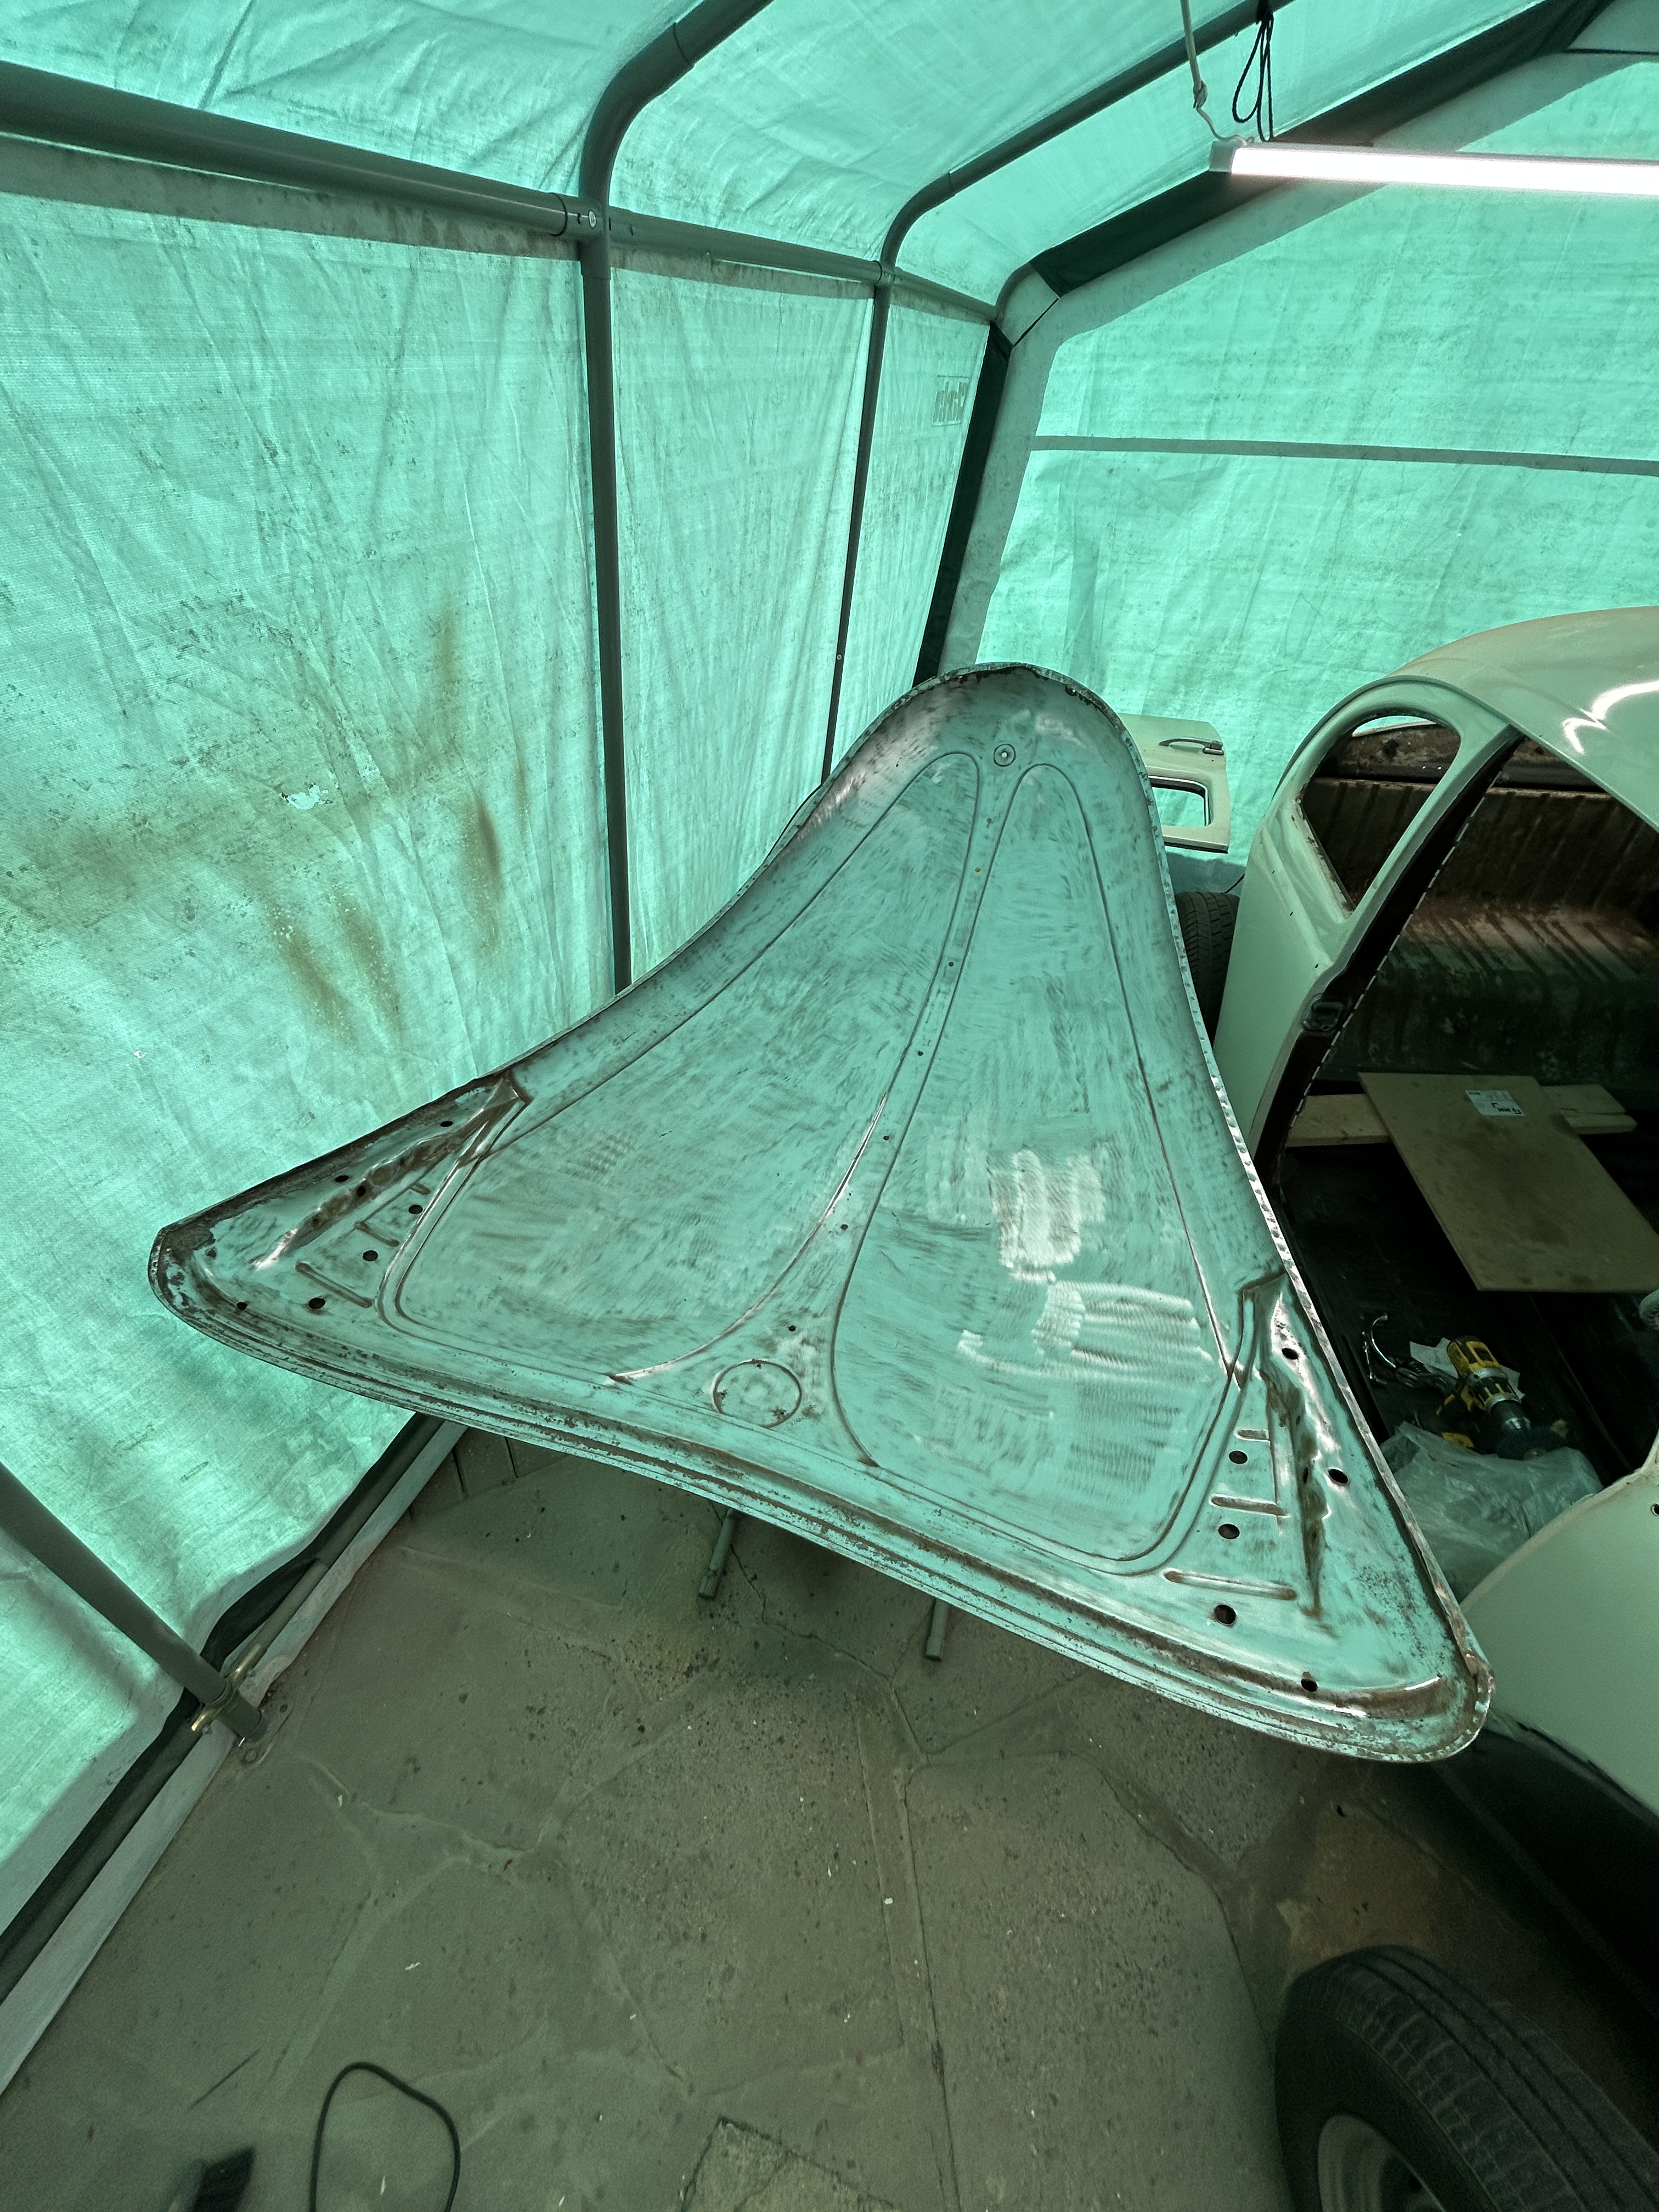
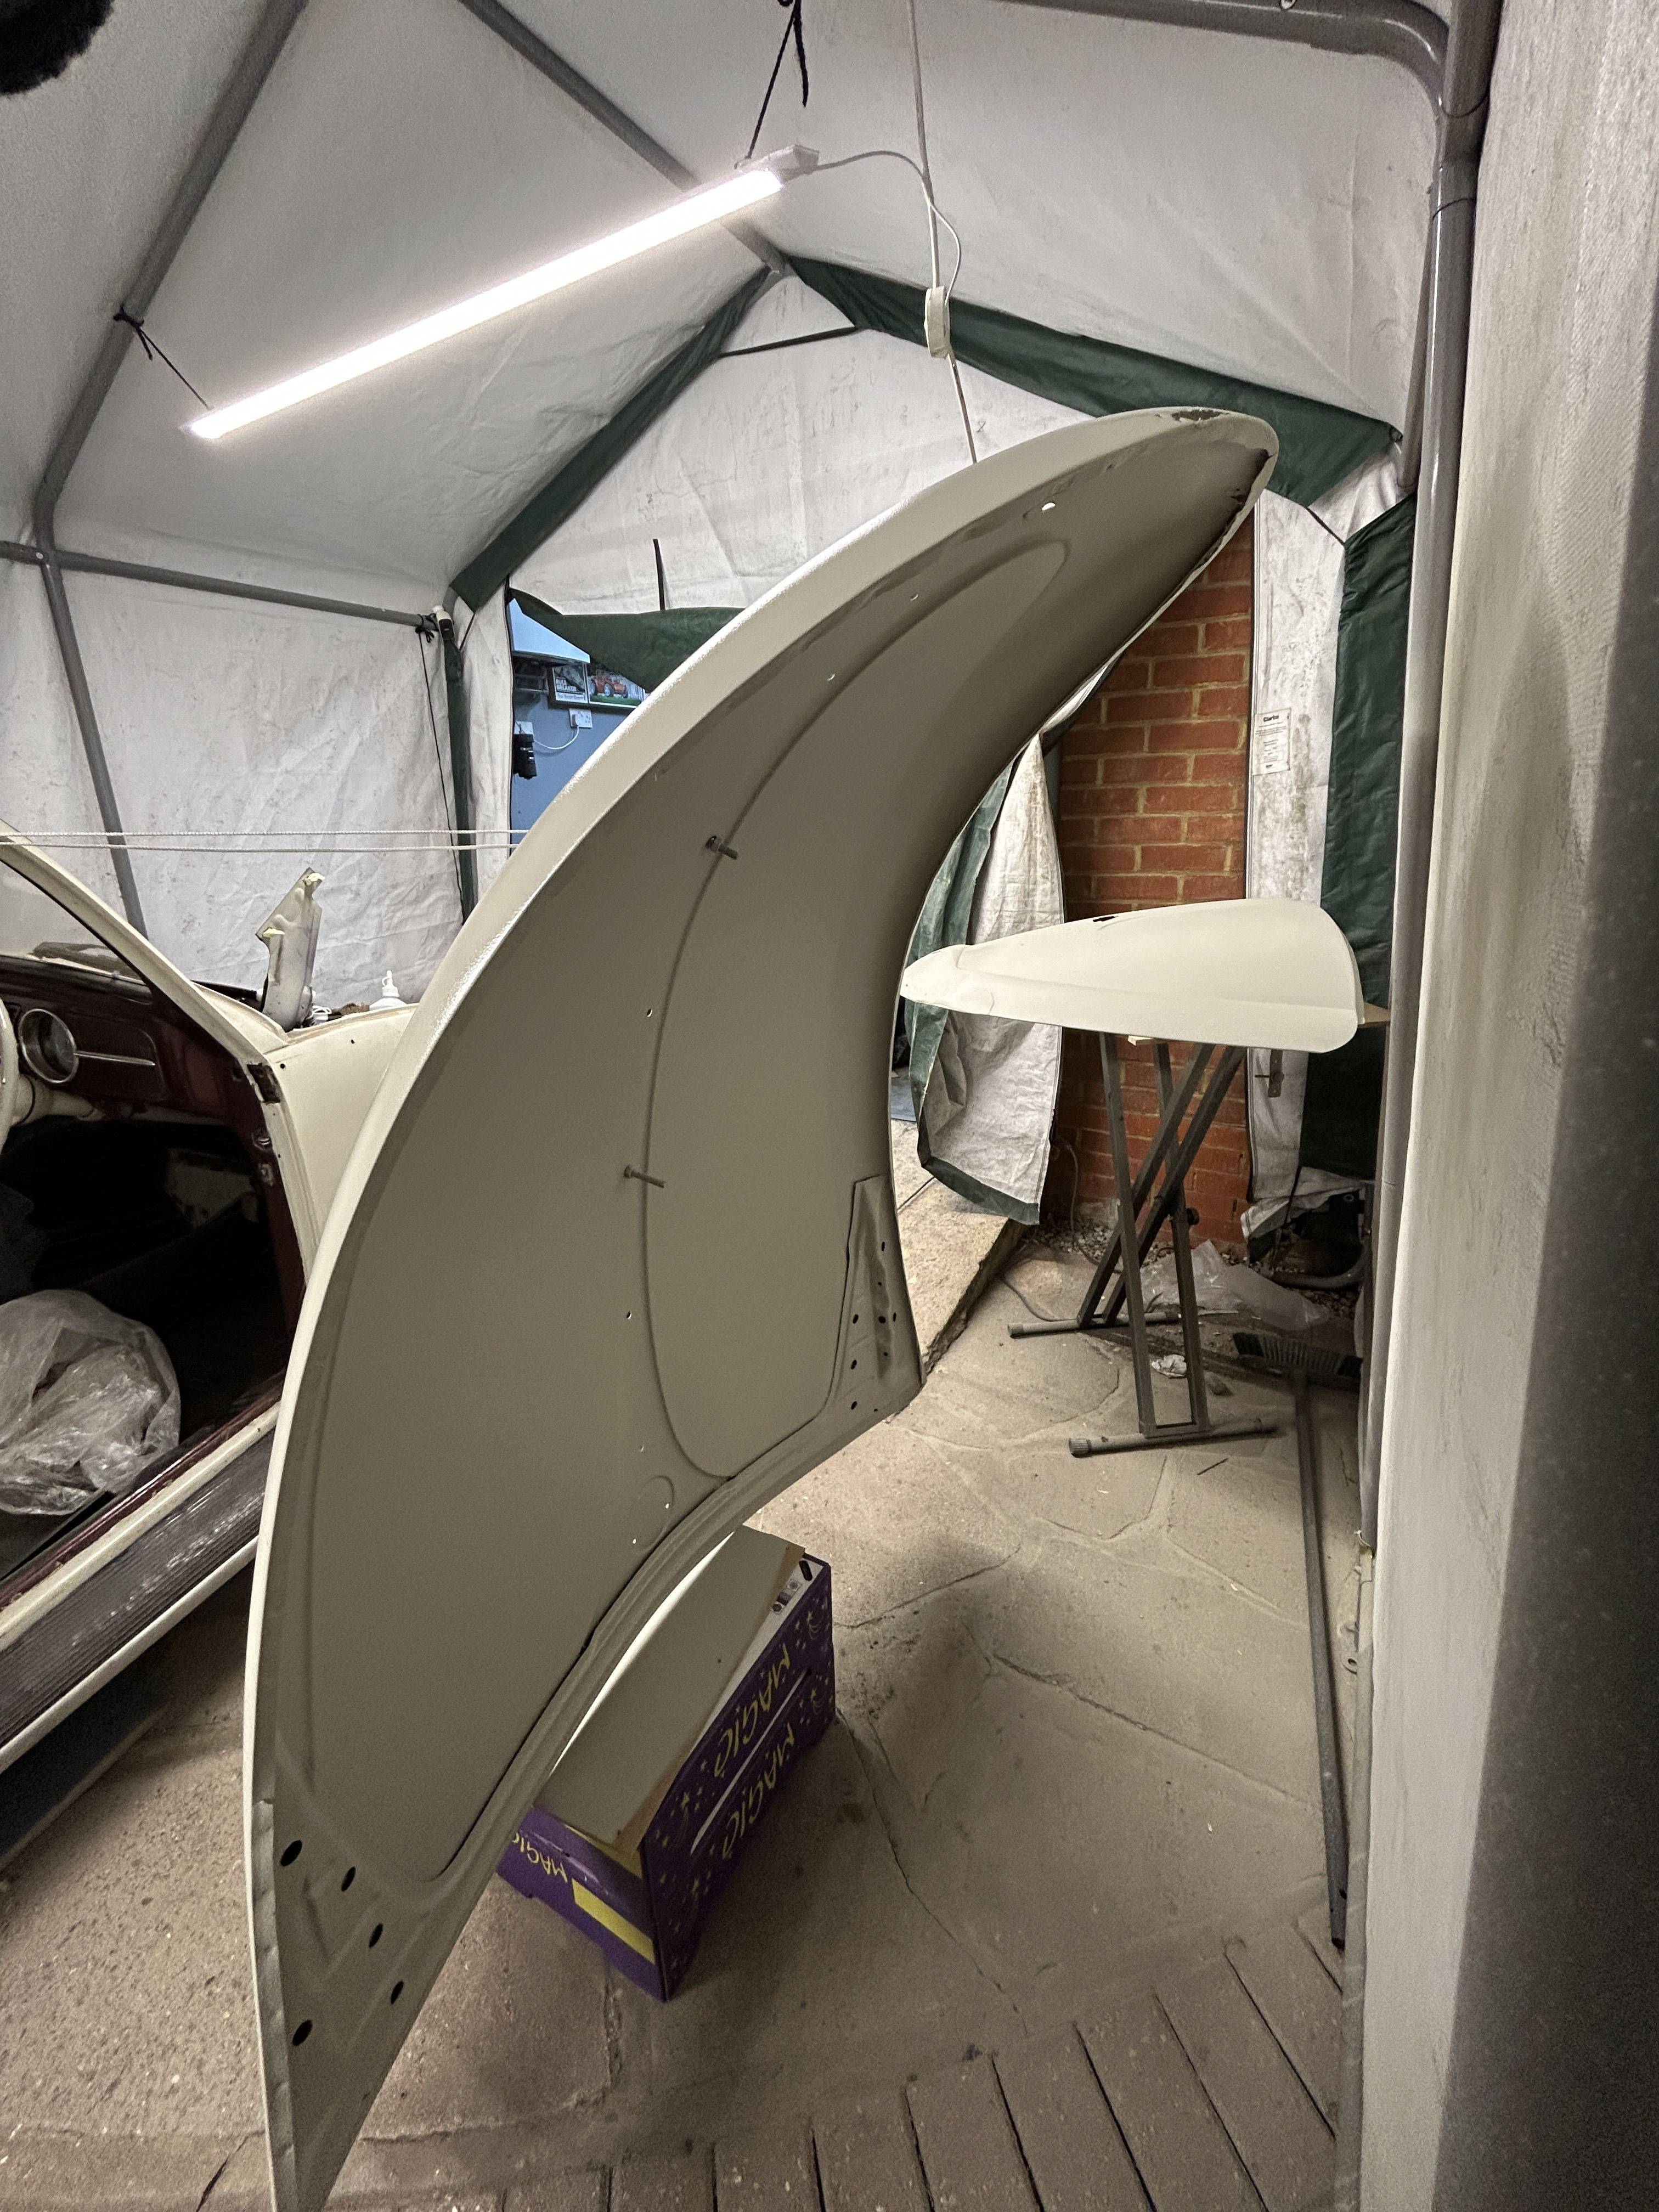
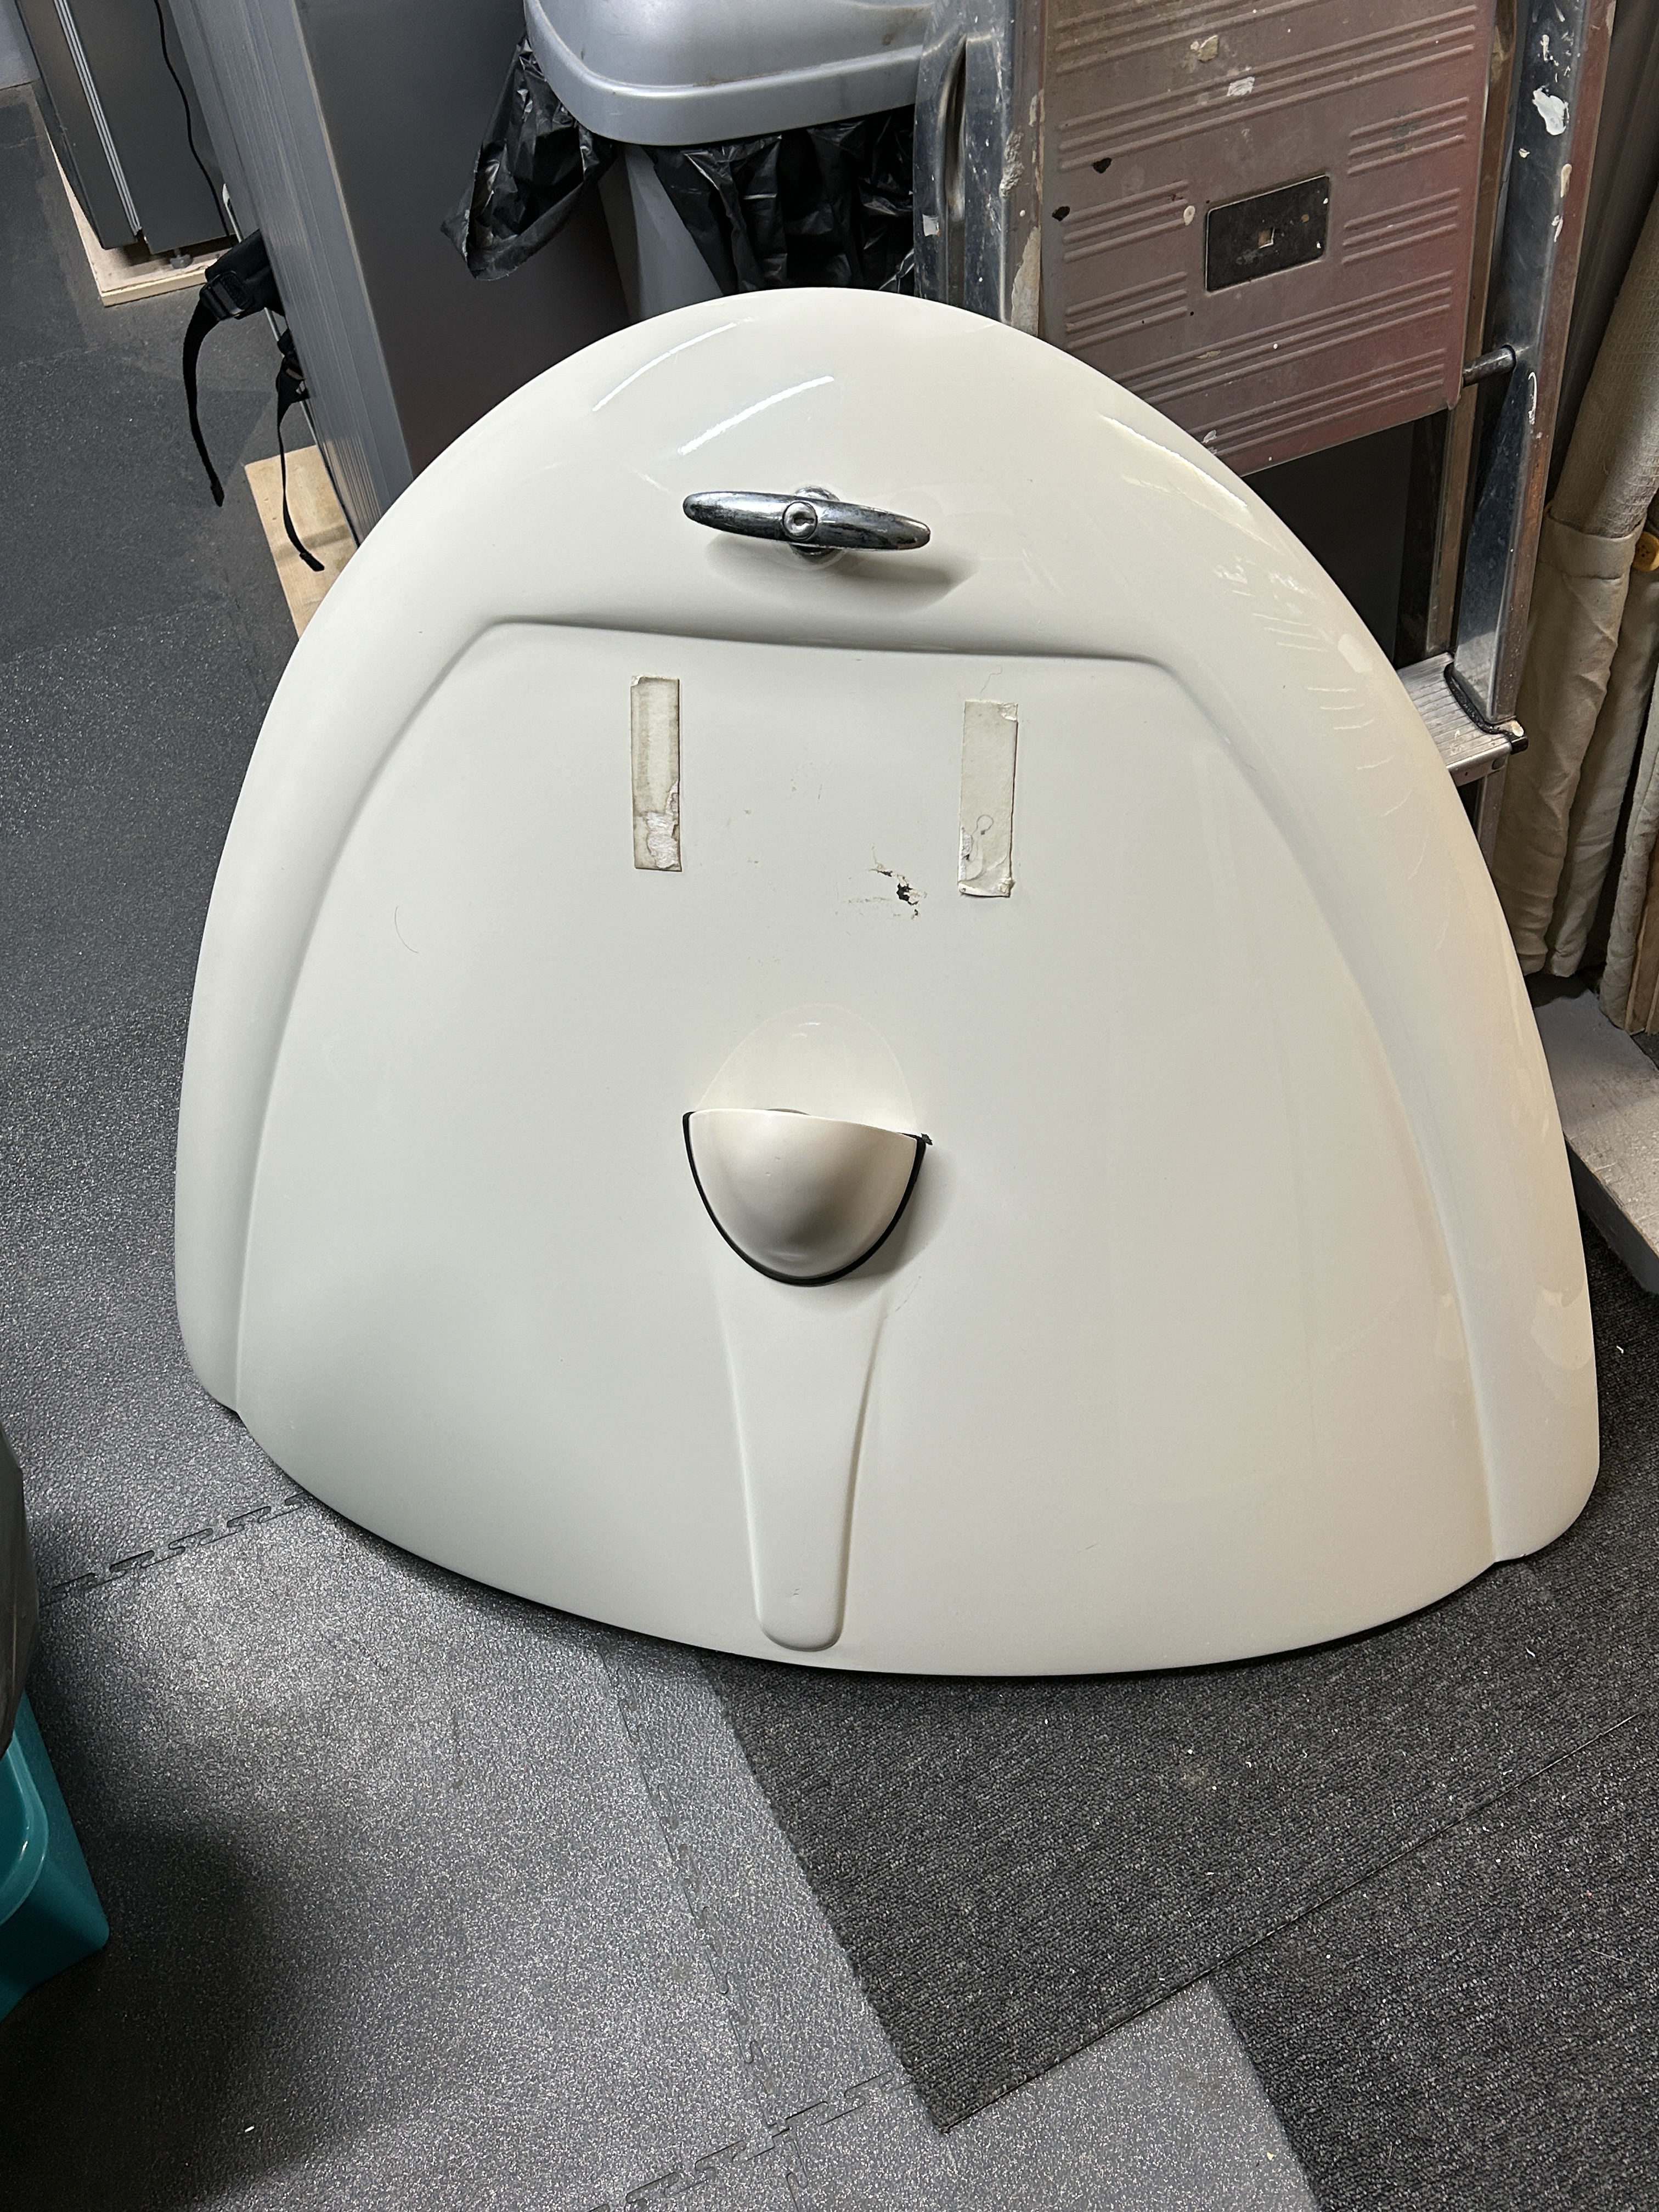
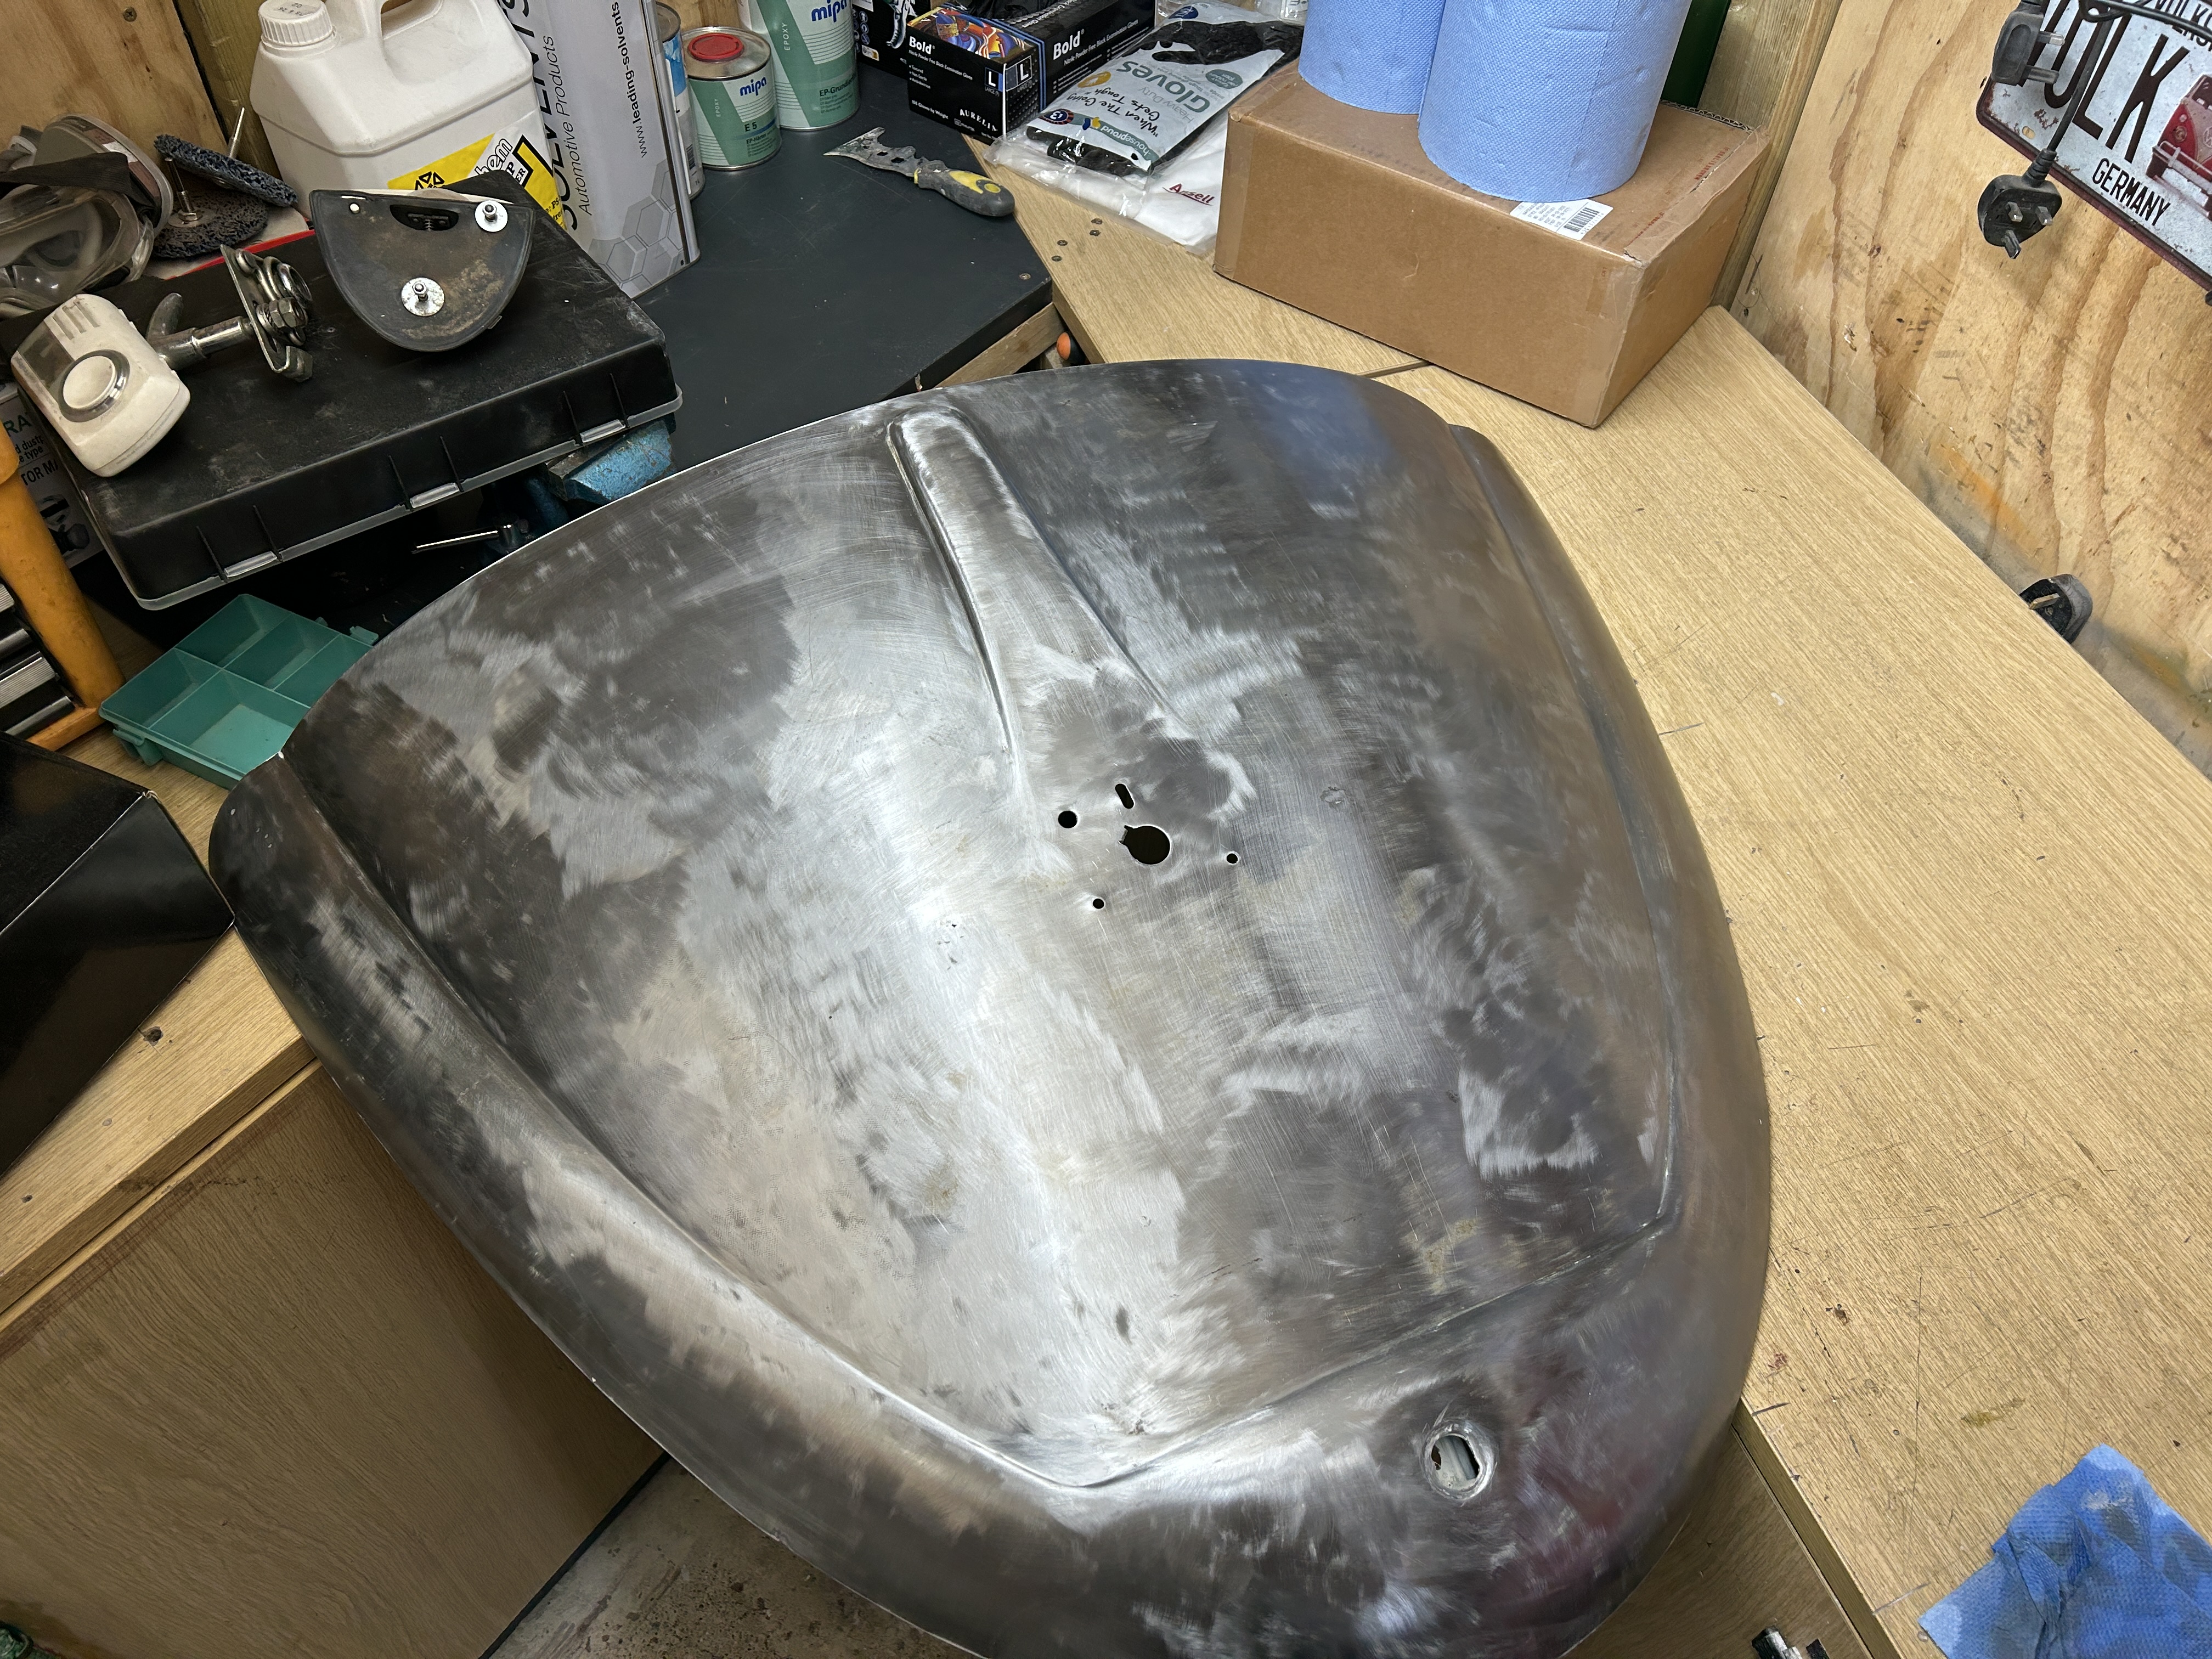
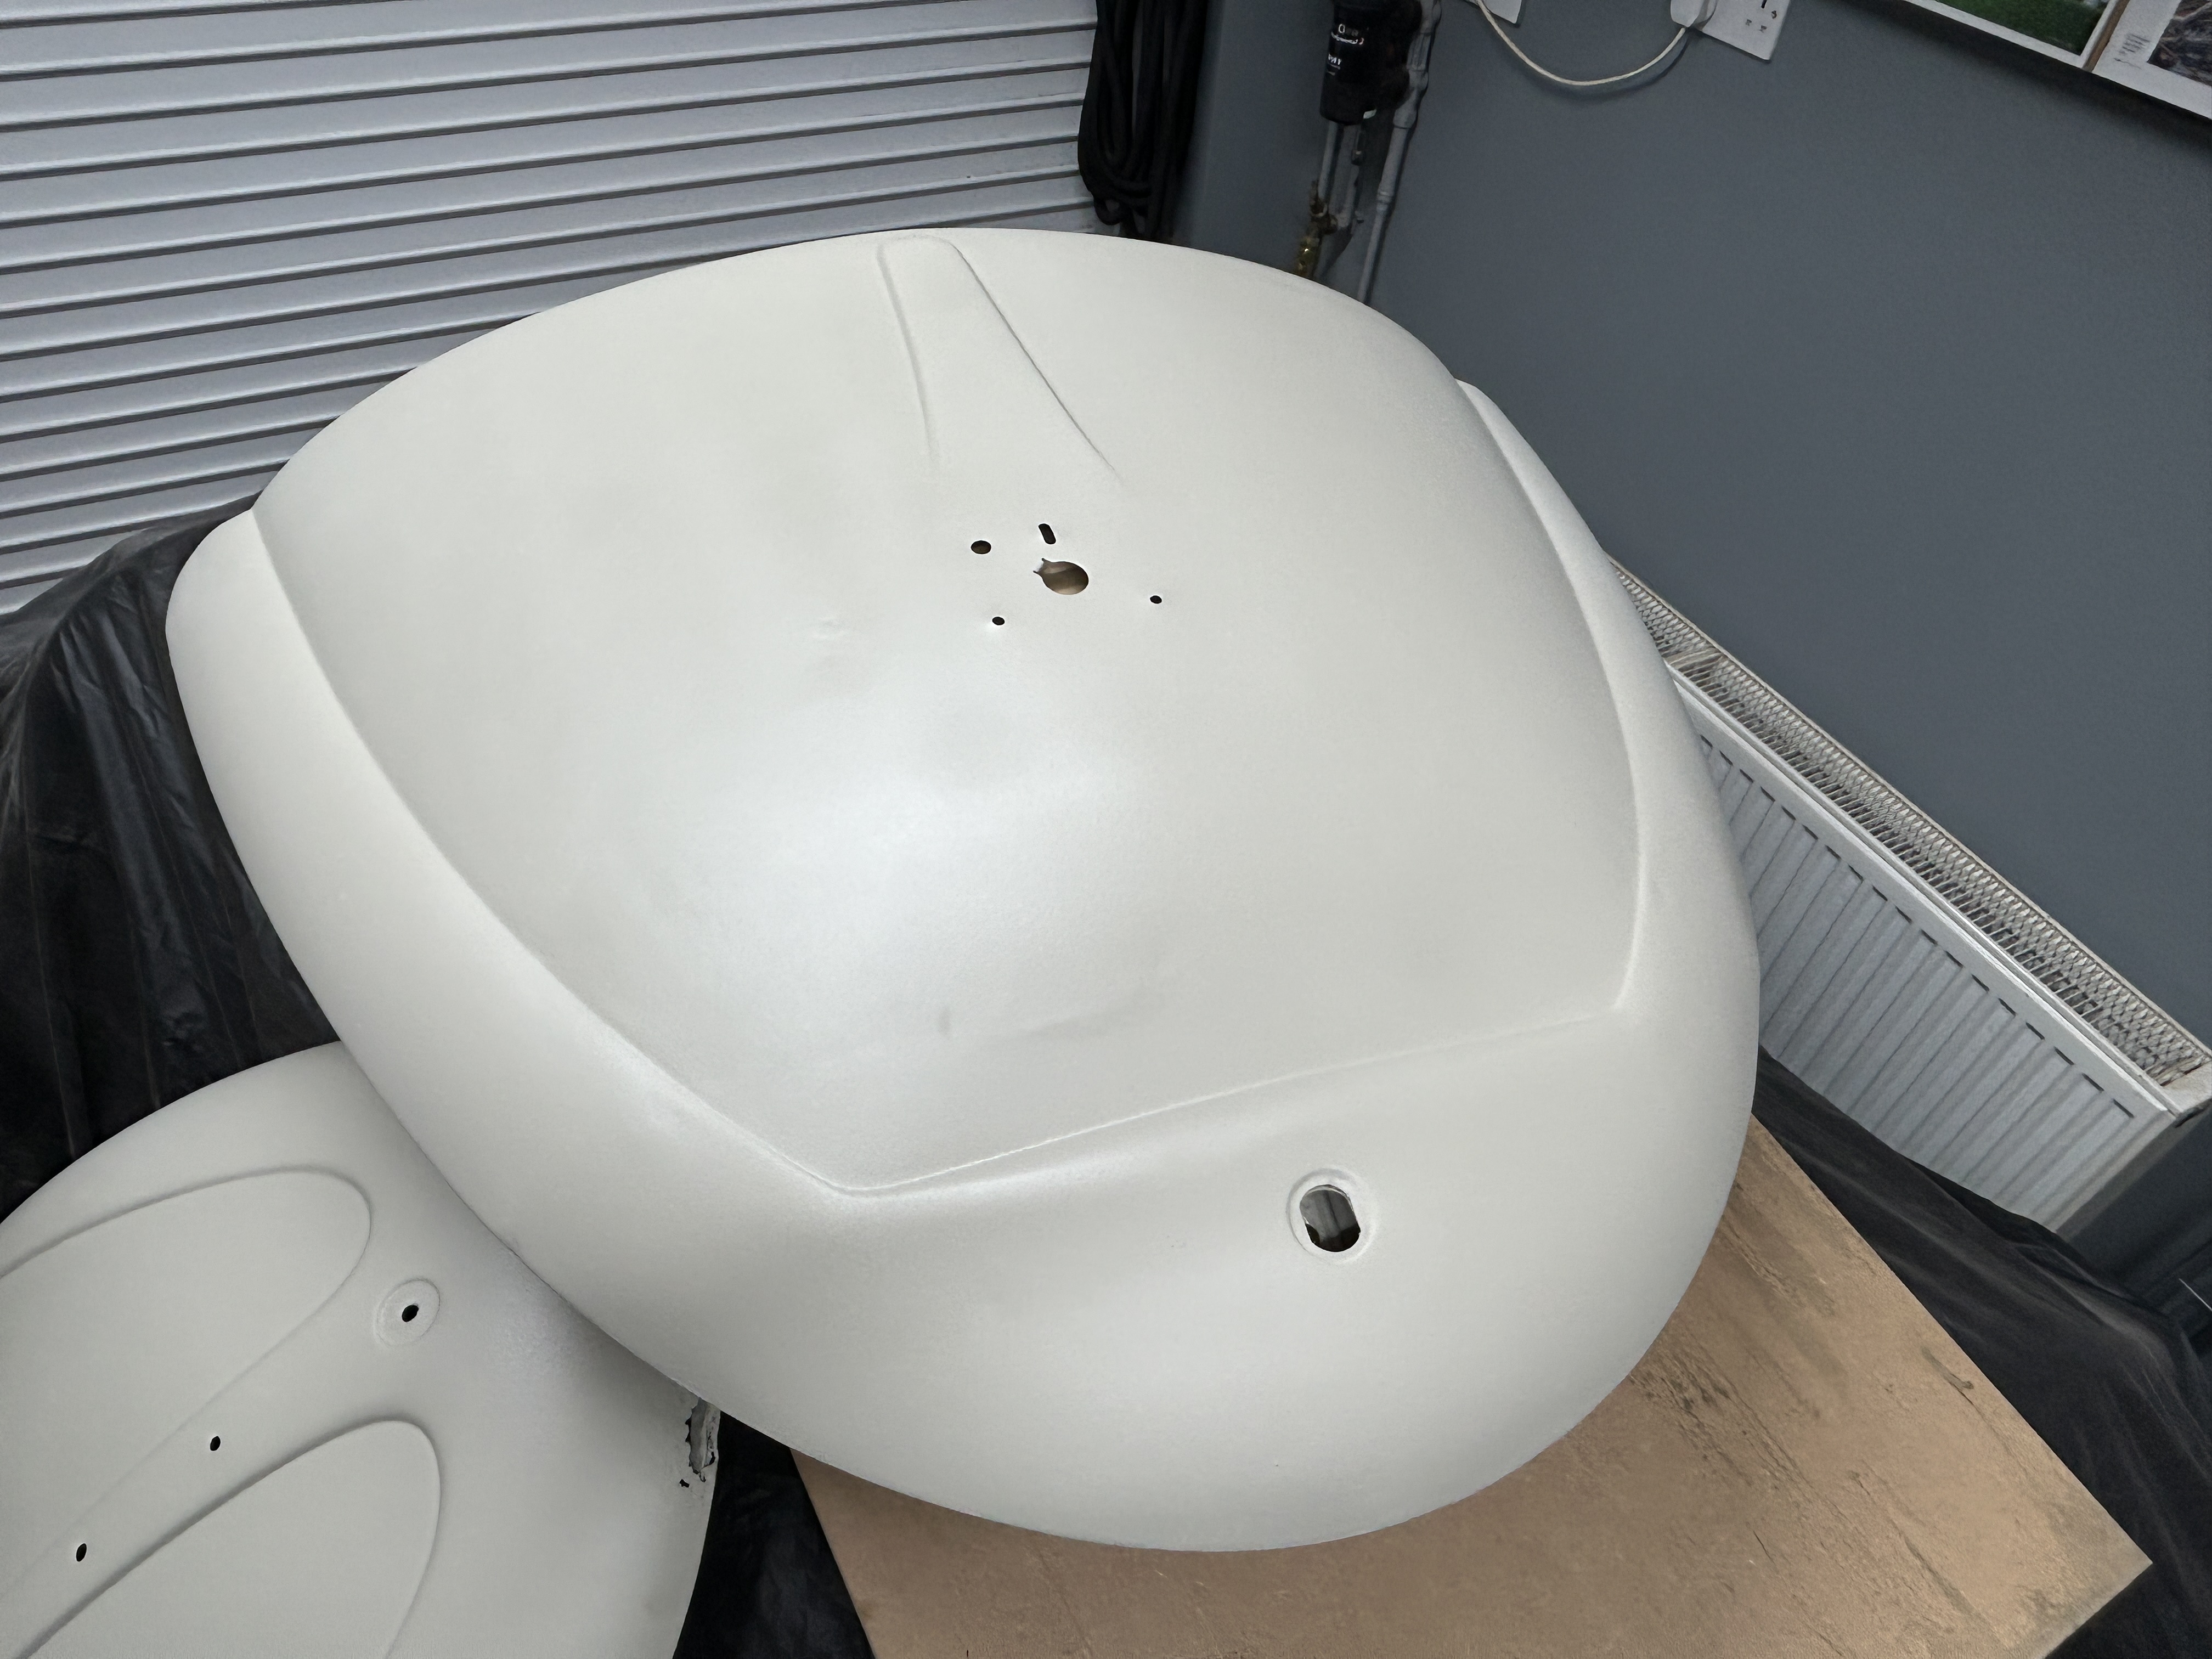
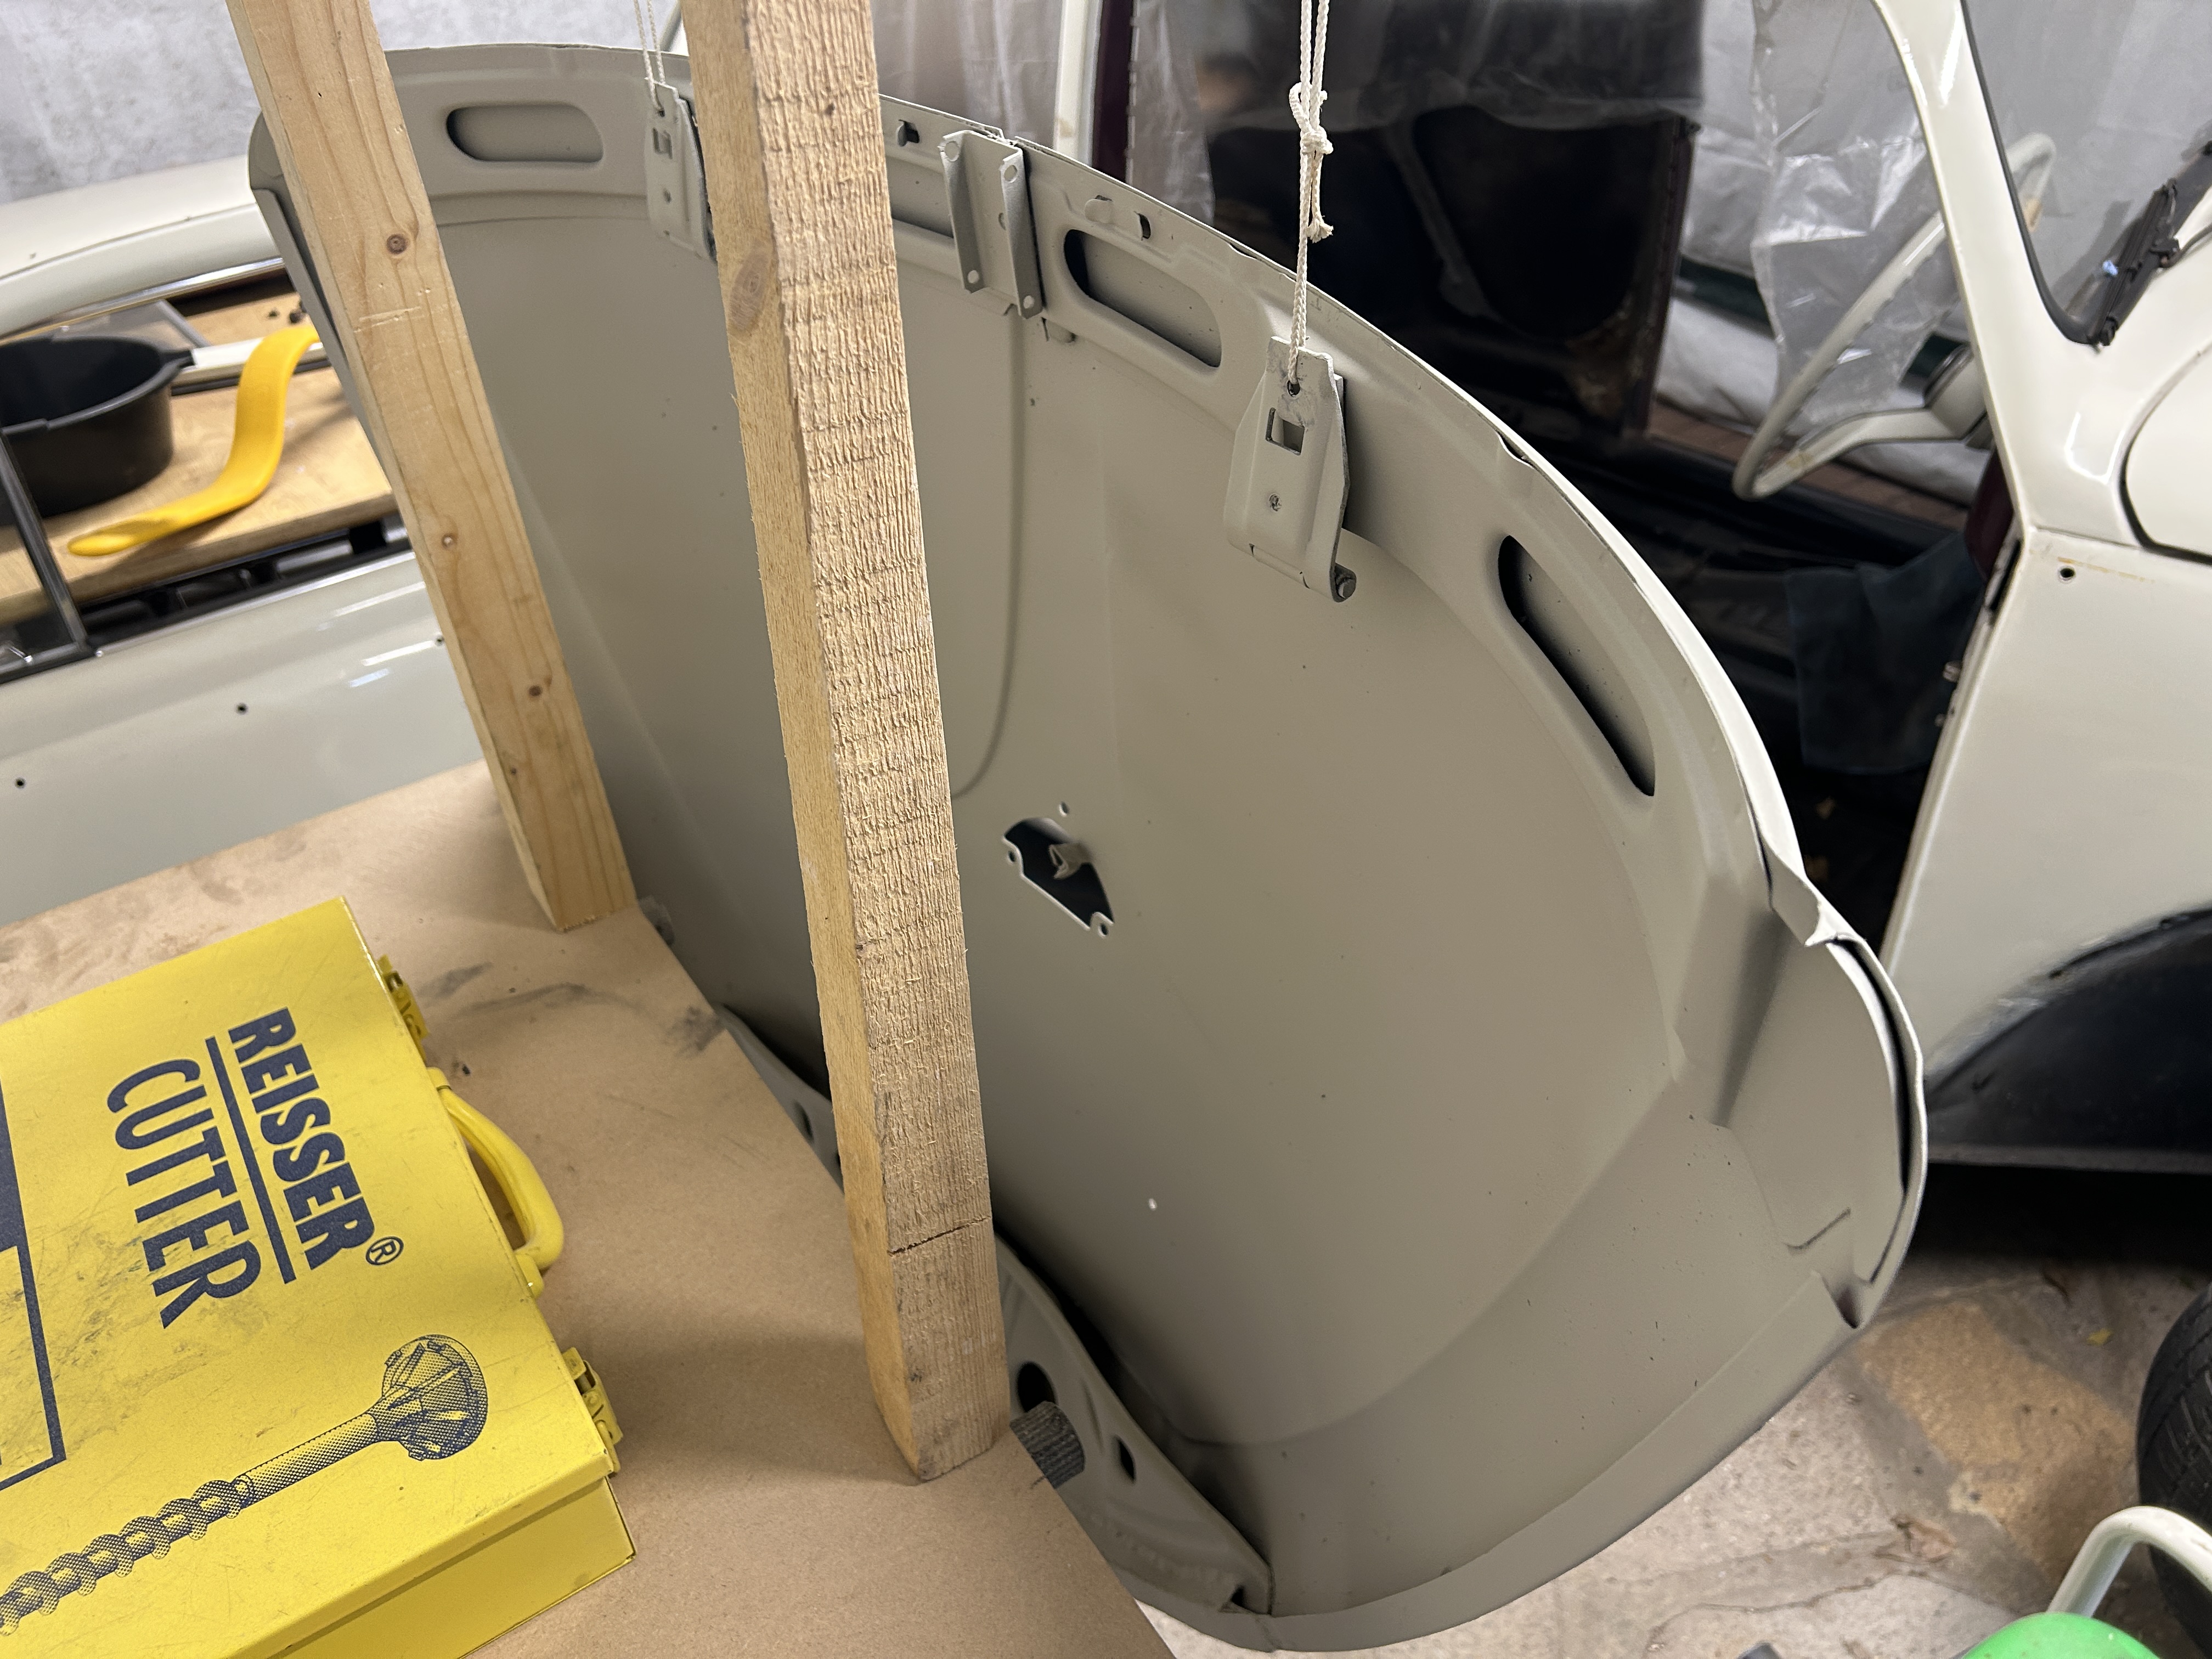
After a couple of weeks of digging through various Facebook groups, I finally came across a really clean, well‑looked‑after engine lid.
Within a few hours of getting it home, I had it fully stripped and in primer.


#8
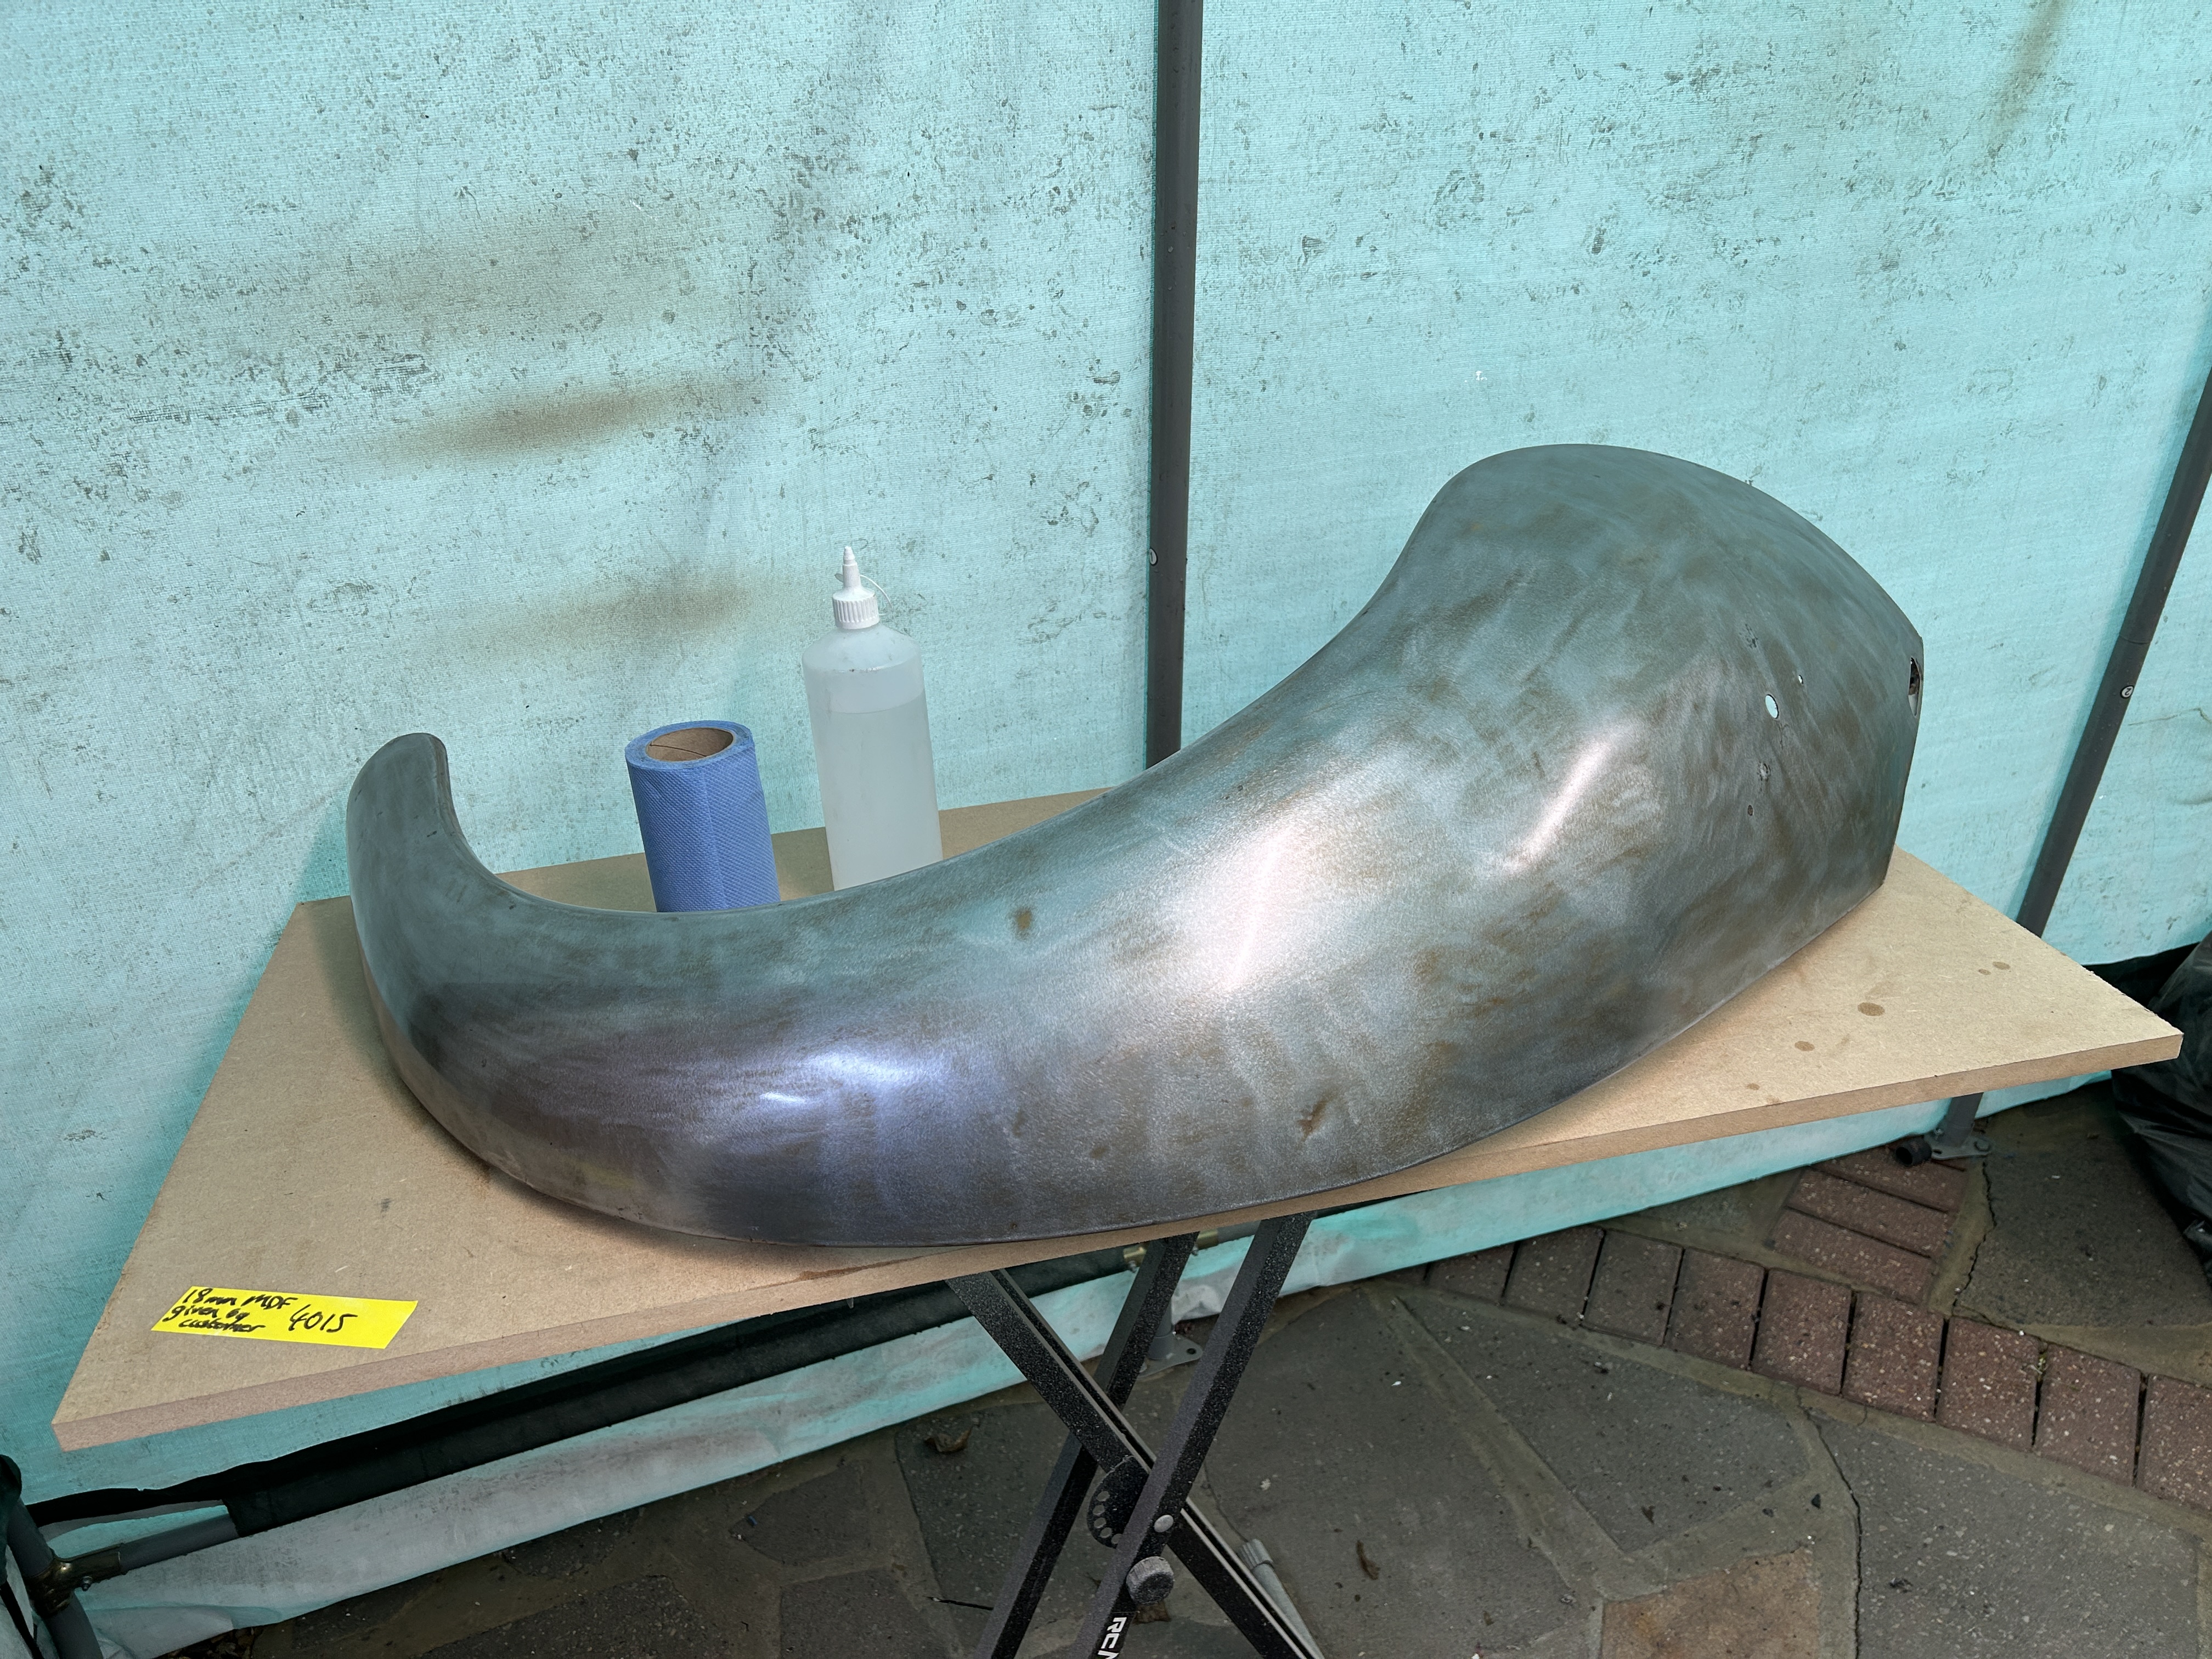
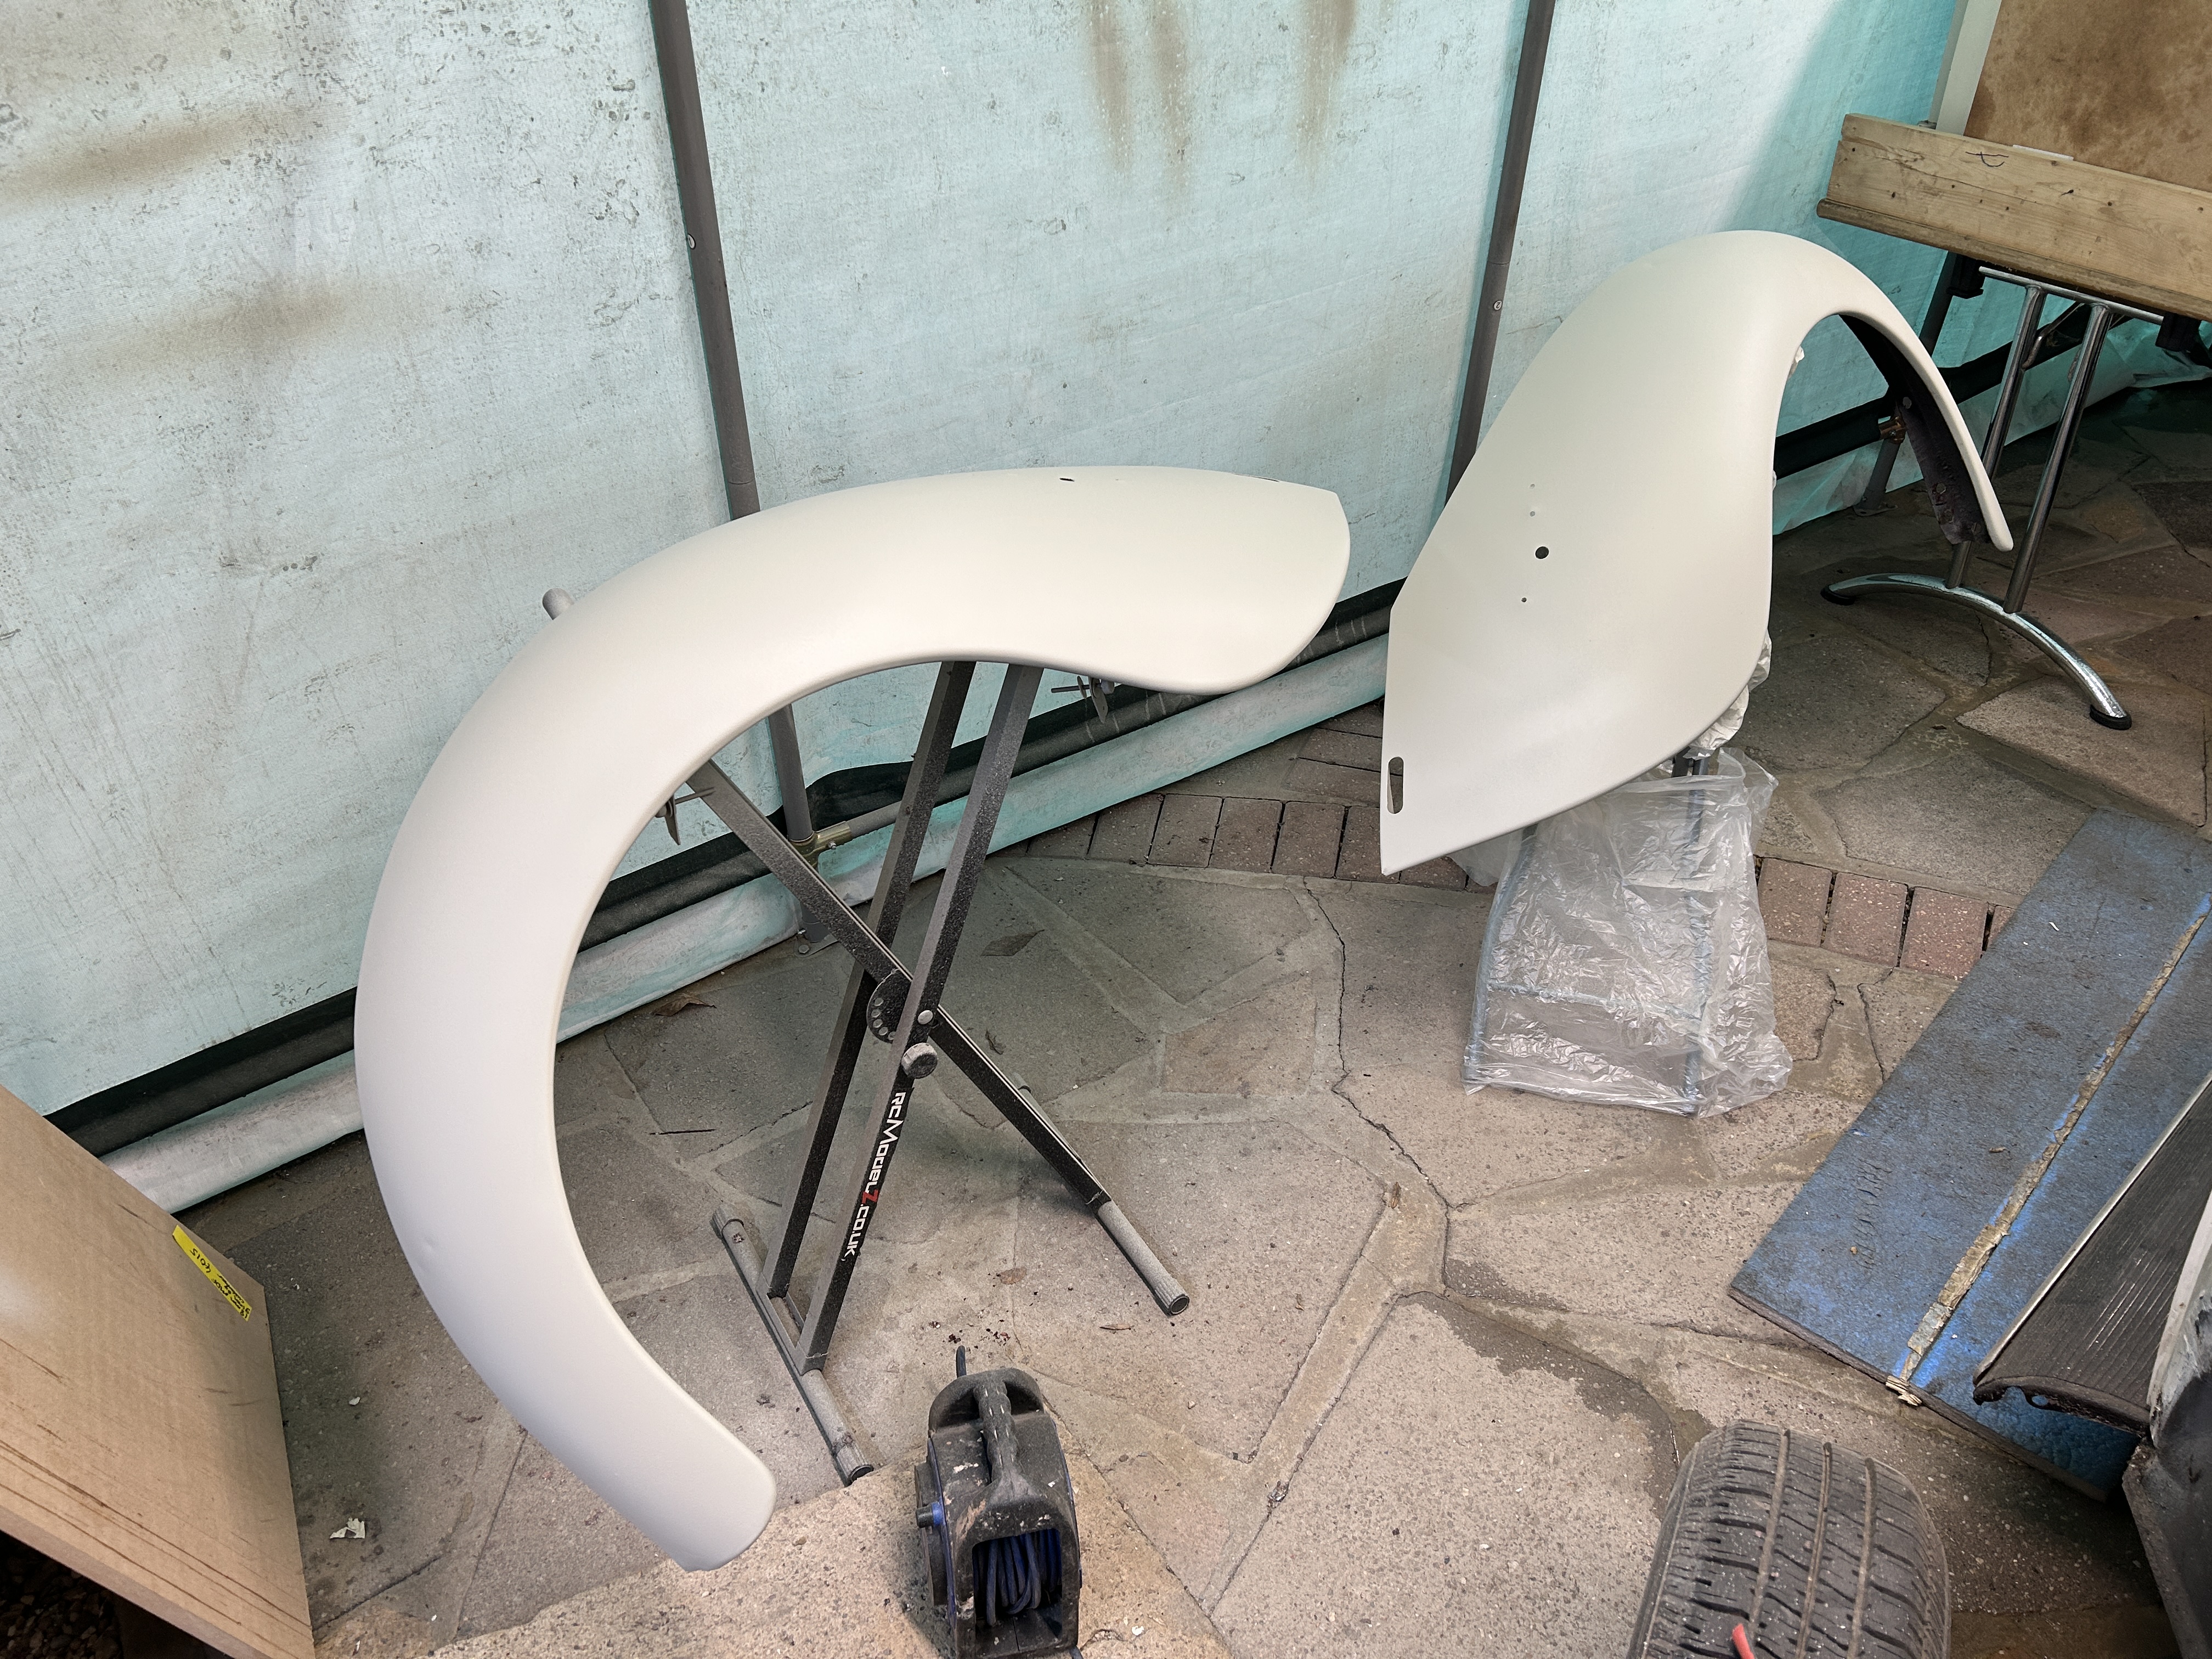
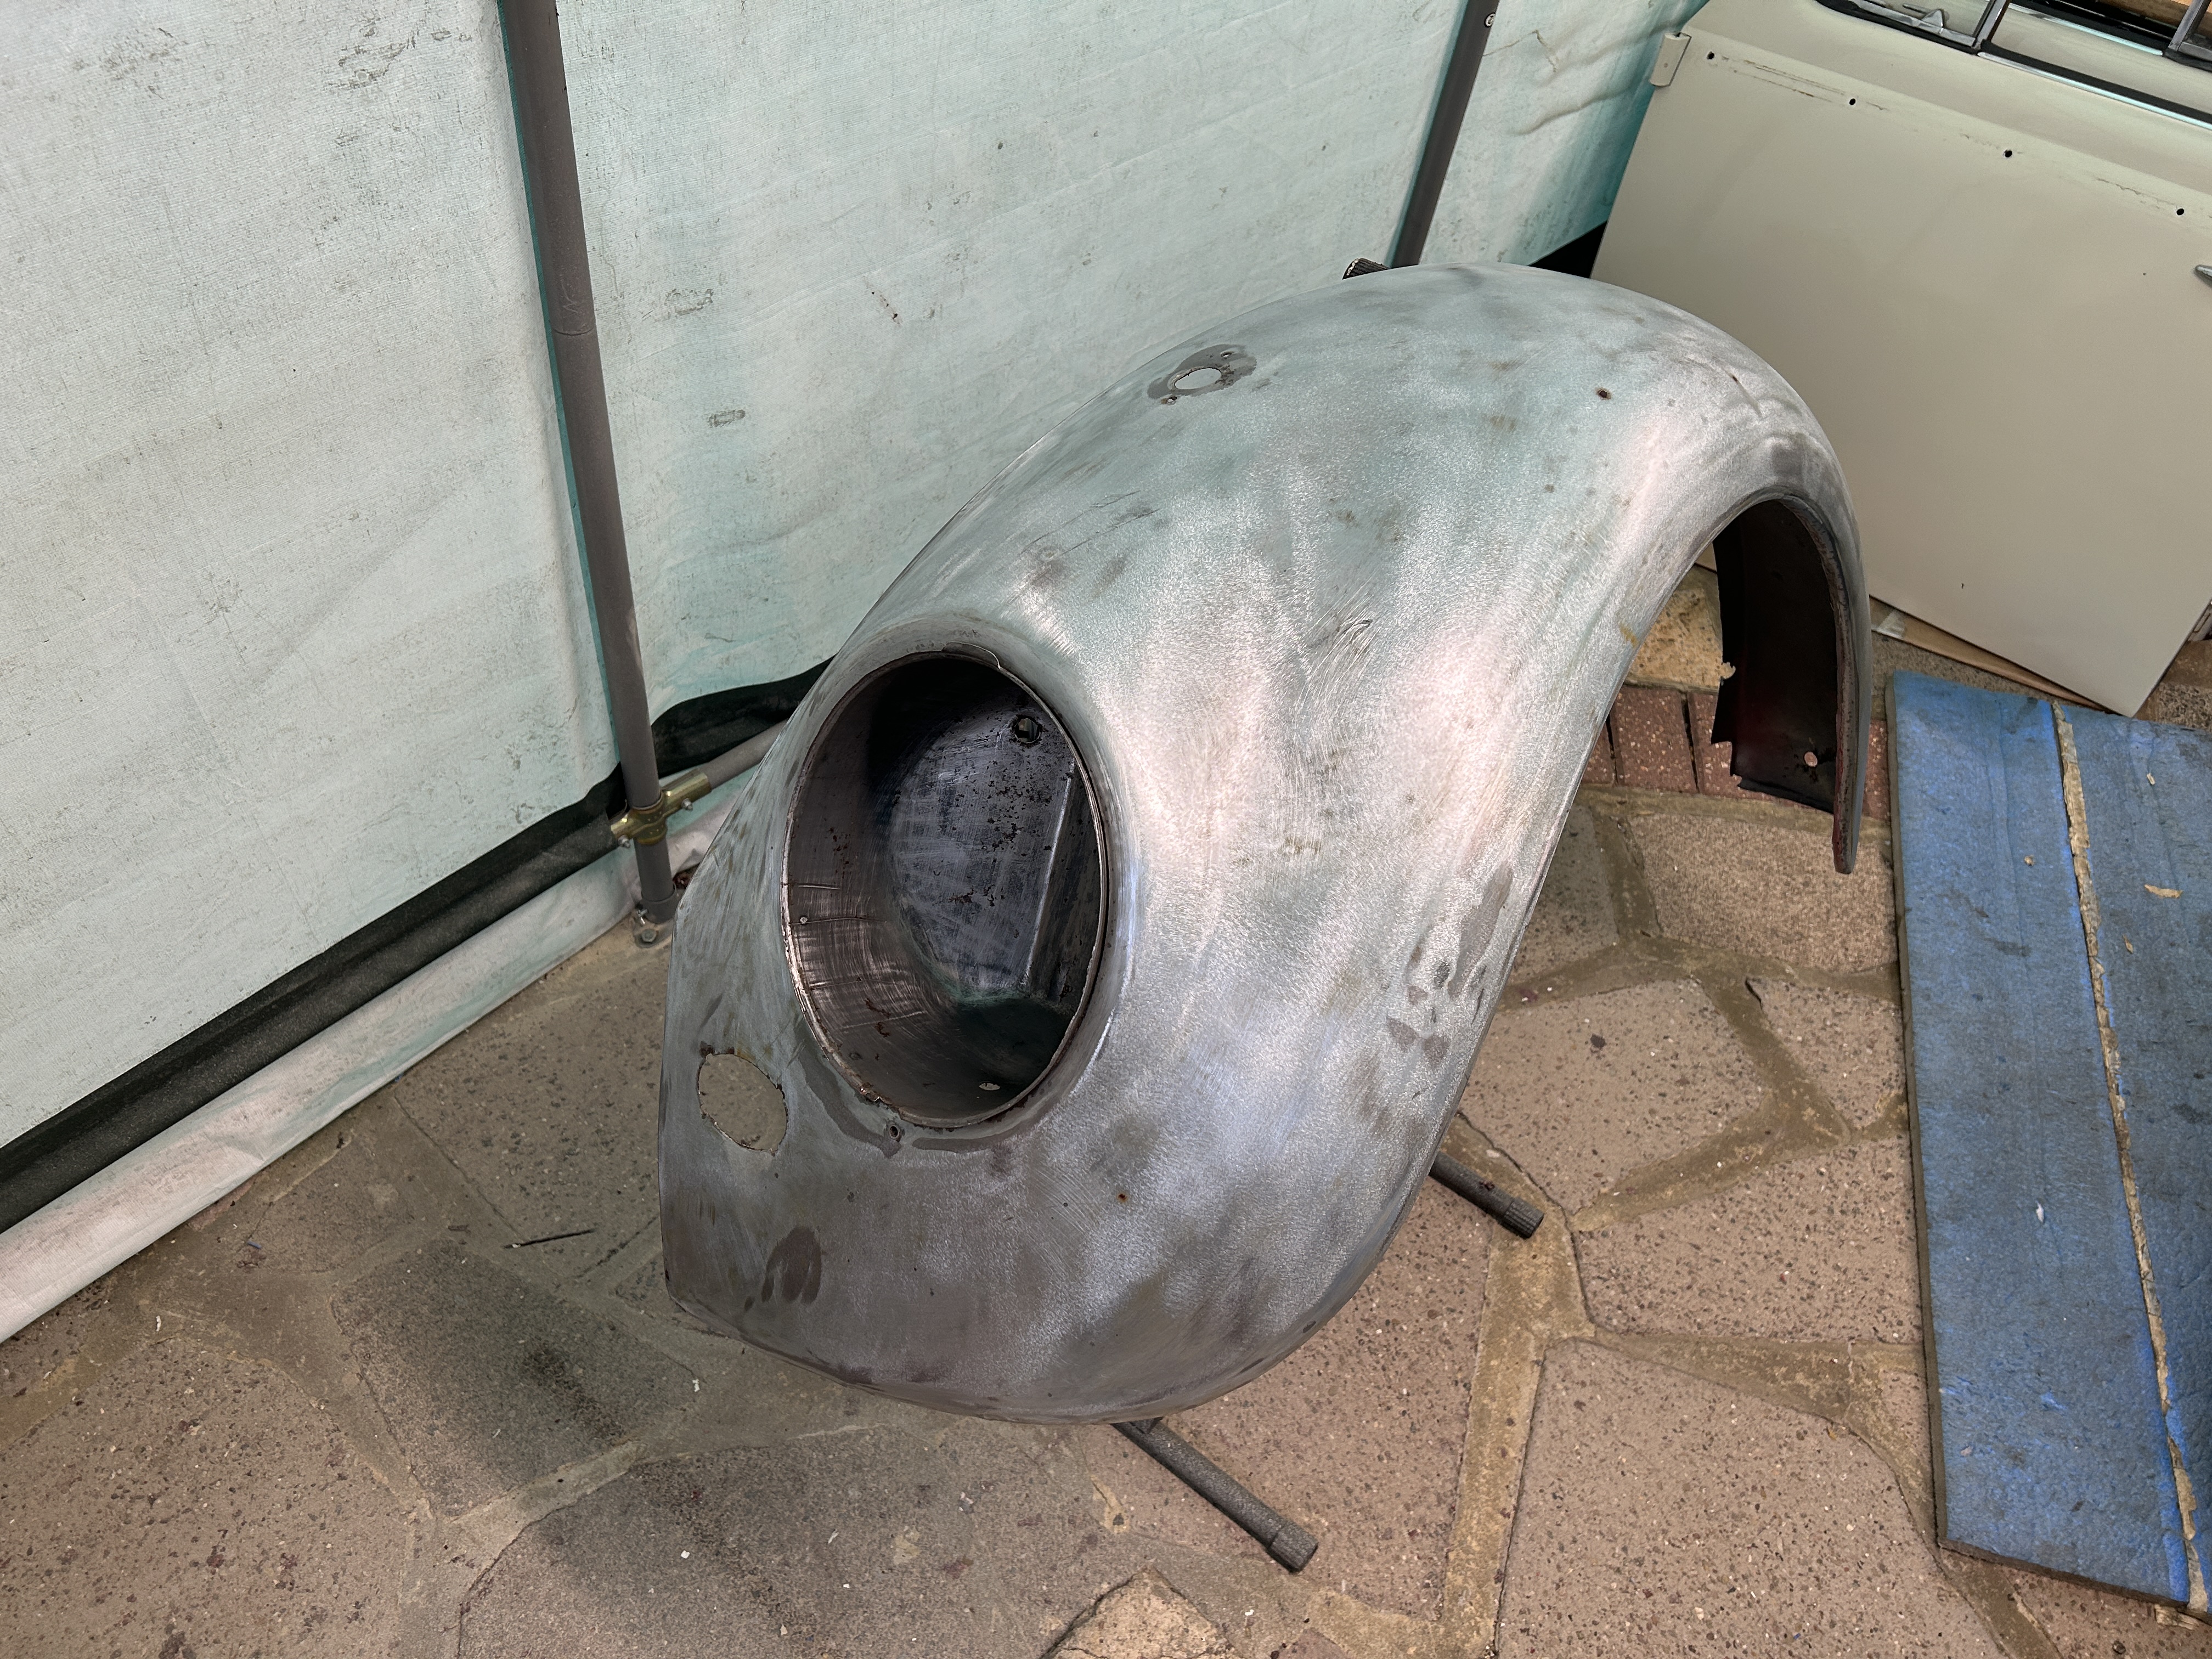
Feeling confident after stripping and priming the first wing, I managed to get the remaining wings done in no time.
Once again, there were no damaged or rusty areas to deal with, which made the whole process much smoother.


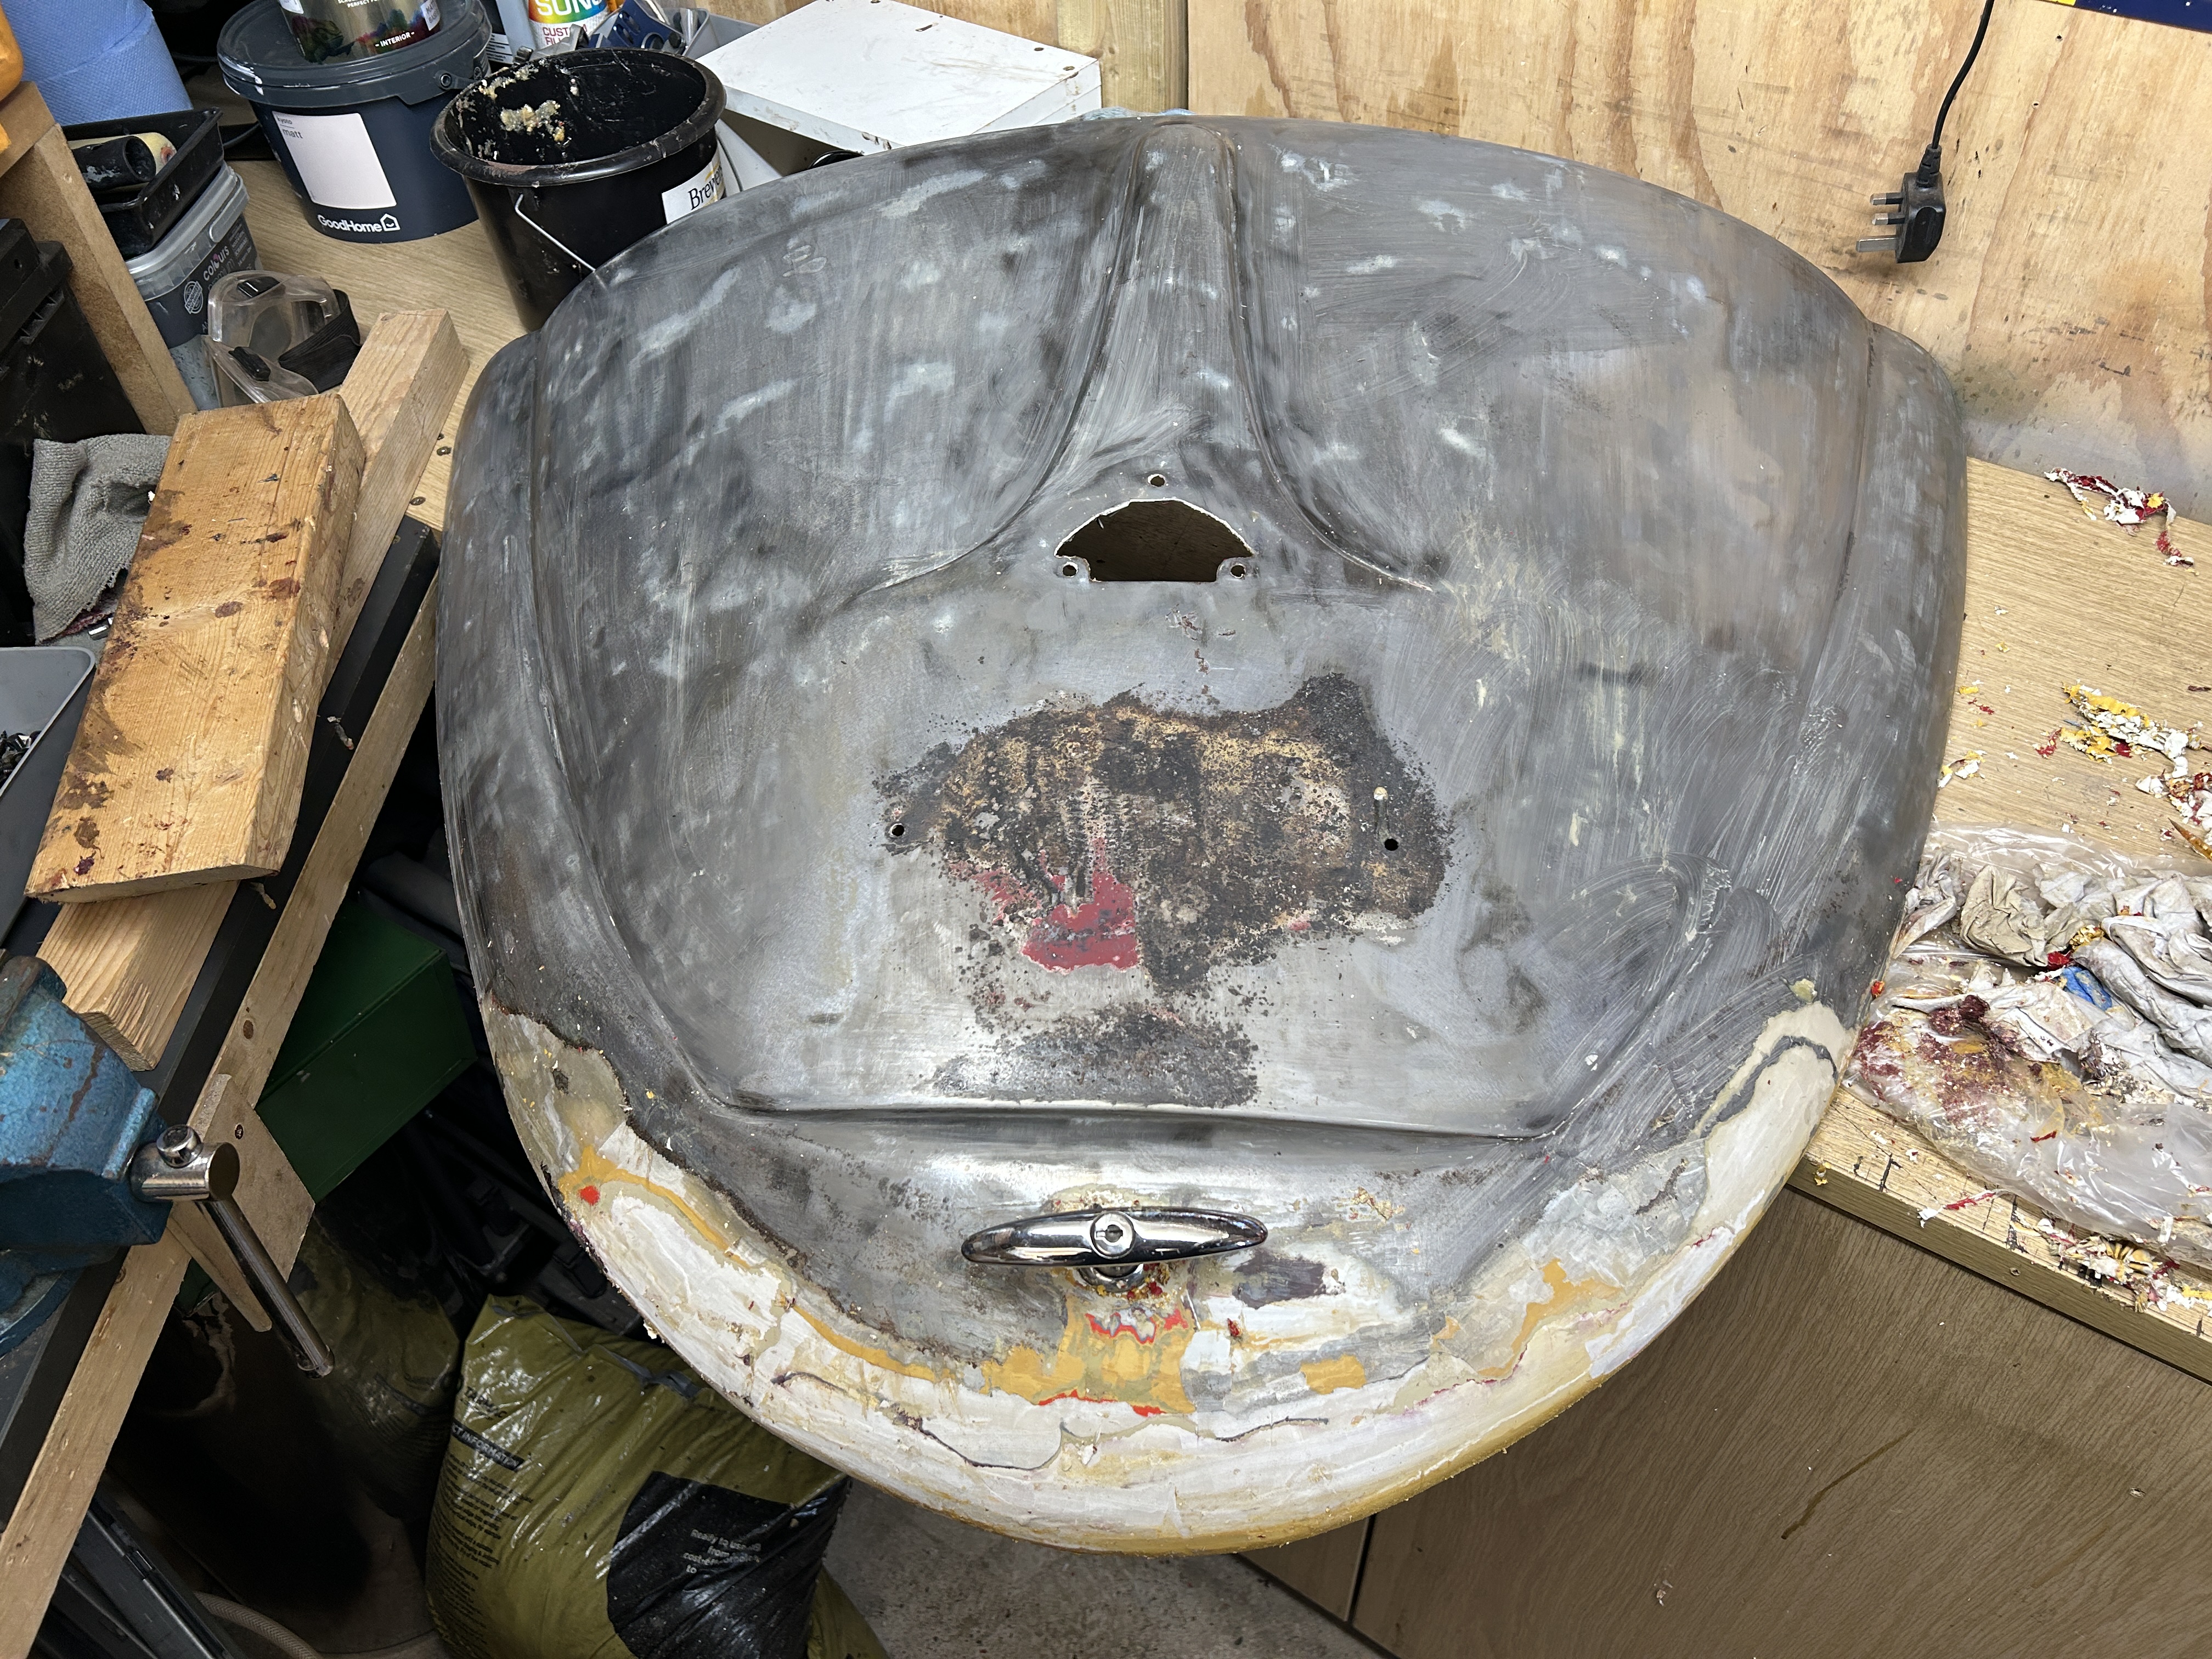
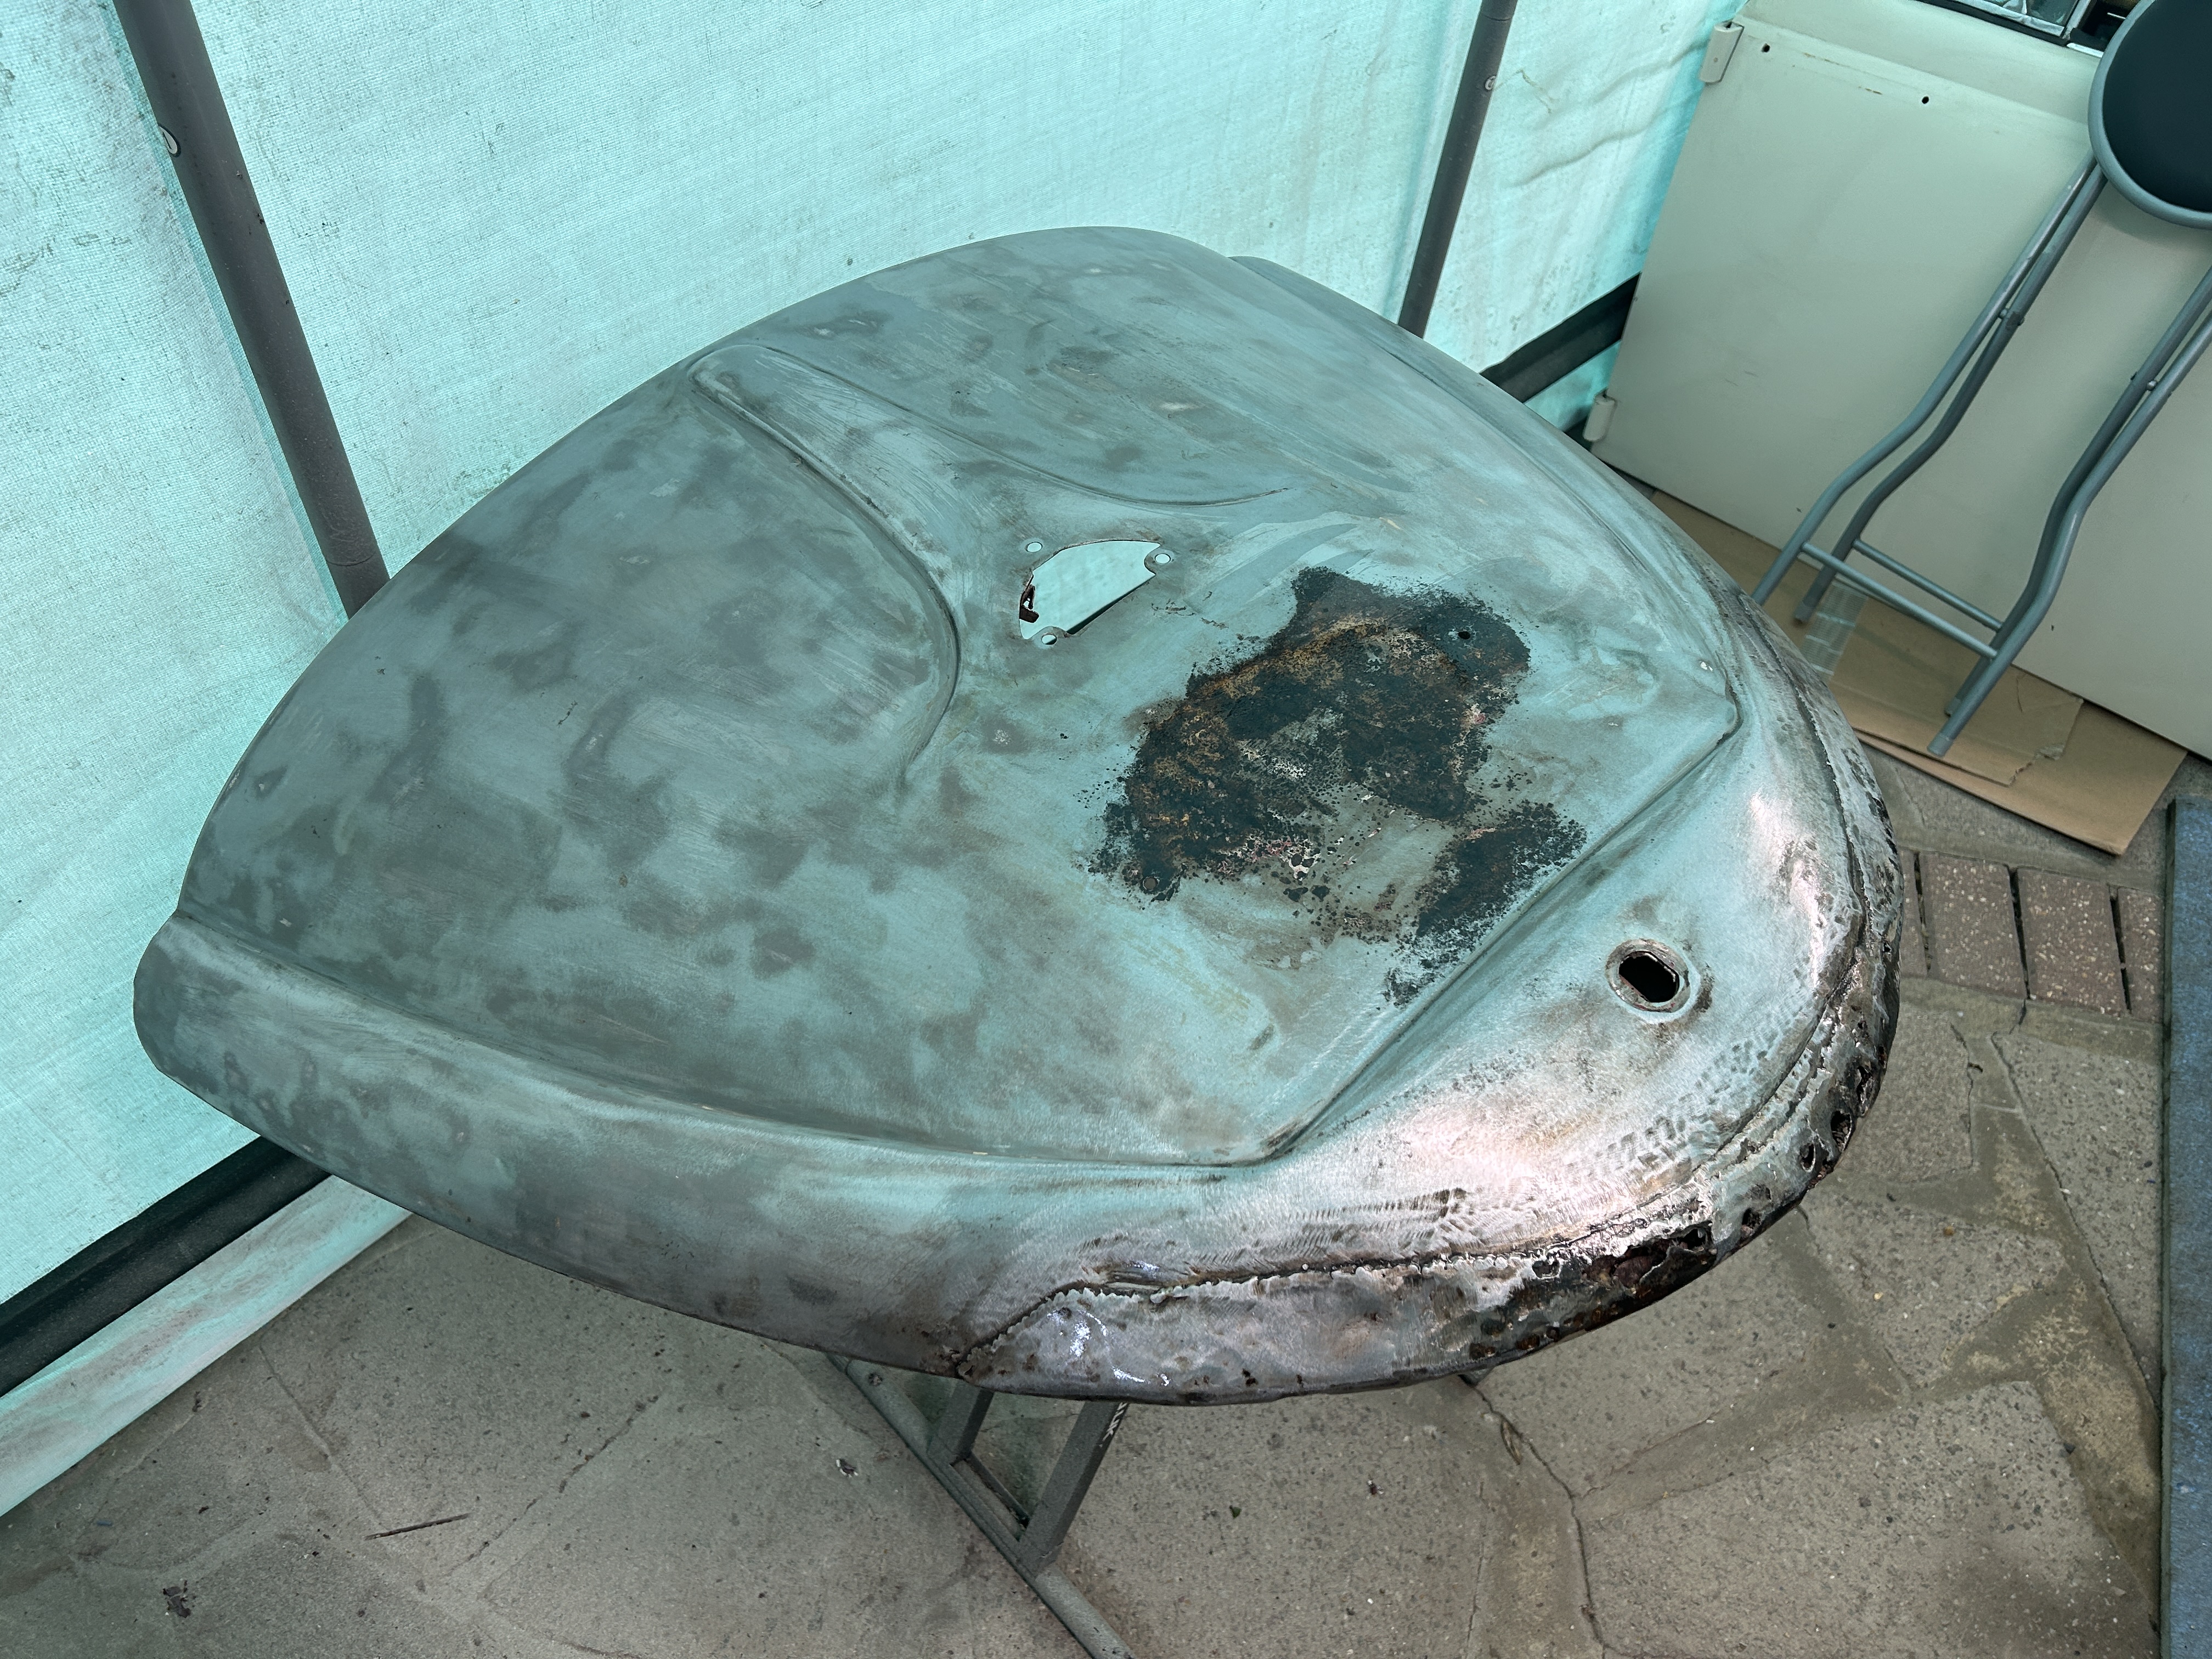
However, it was a completely different story when I moved on to the engine lid.
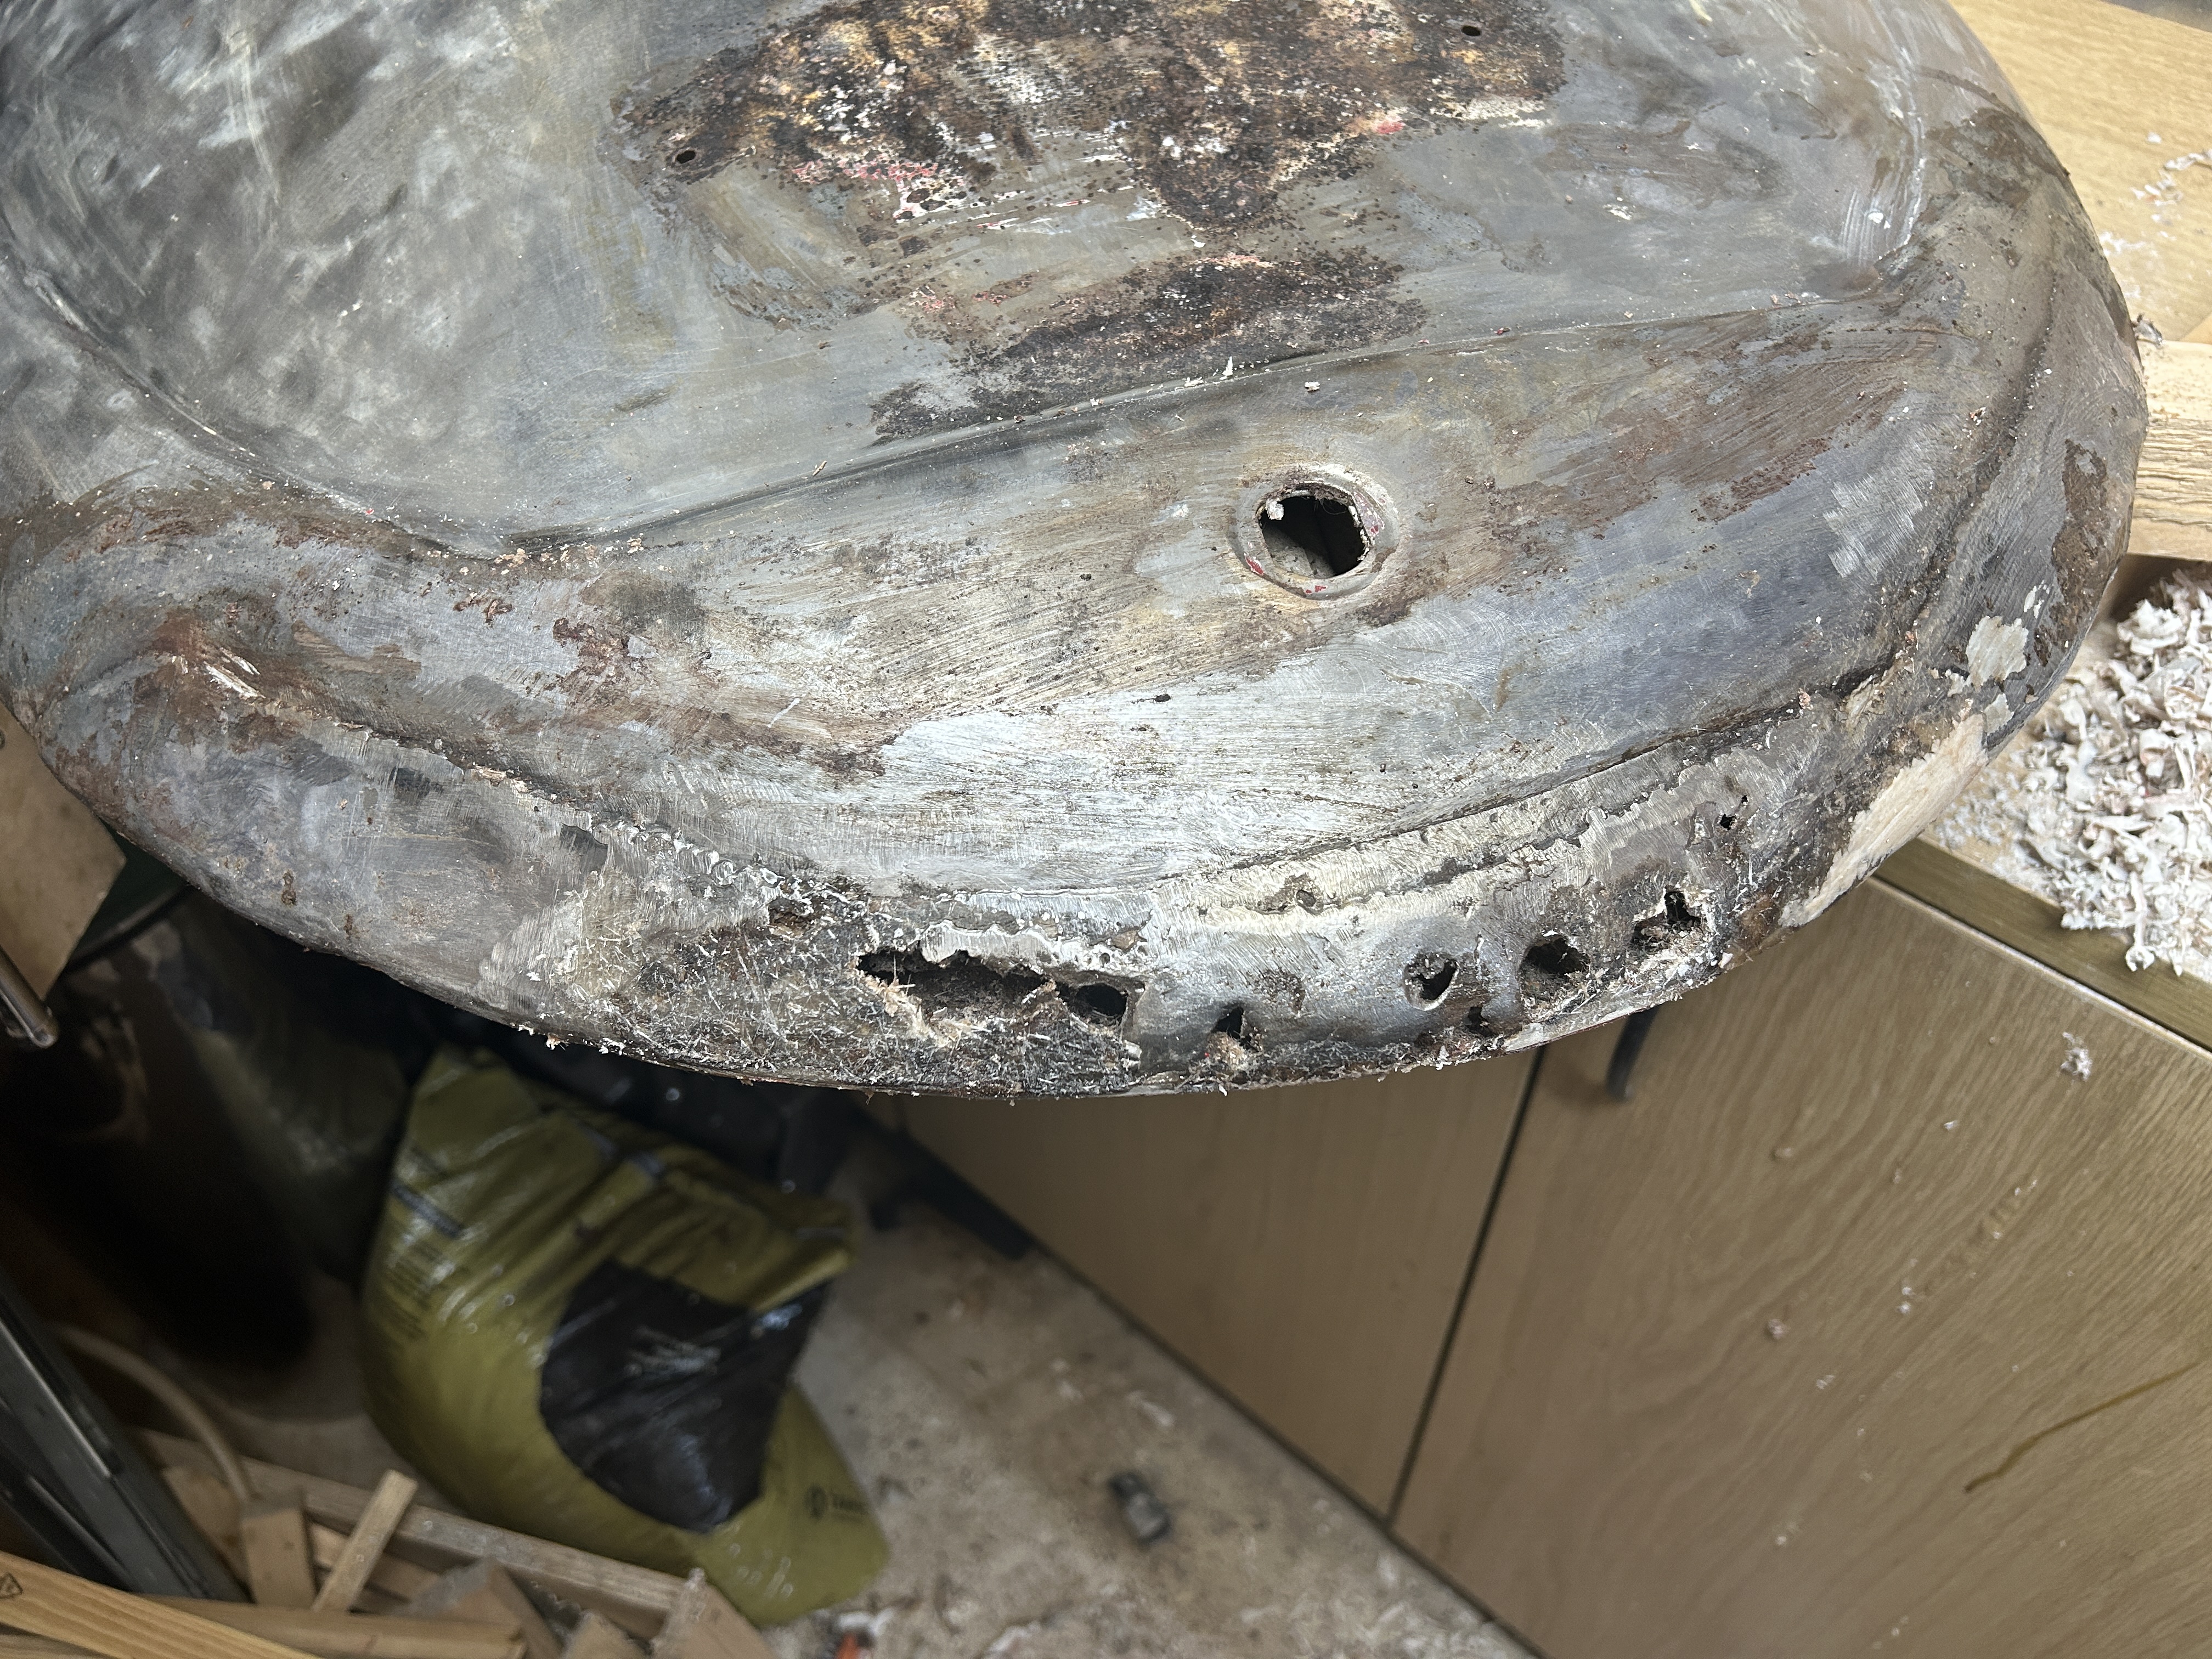
It looked perfectly fine while it was still on the car, but once I stripped the paint back, I found a huge section of filler running across the entire bottom edge of the lid


By the time I'd uncovered all the filler, things got even worse.
The entire bottom section had been cut out and replaced at some point, but even the replacement panel had started to rot.
There were several large holes that had been covered with fibreglass and then filled over.
To make matters worse, the welding job was so poor that the whole area was dented and uneven.


There was no way I was going to be able to repair this, so I stripped both sides completely, cleaned everything up, and gave it a coat of primer.
At this point, it's probably a job for someone braver—or more patient—than me.


#9
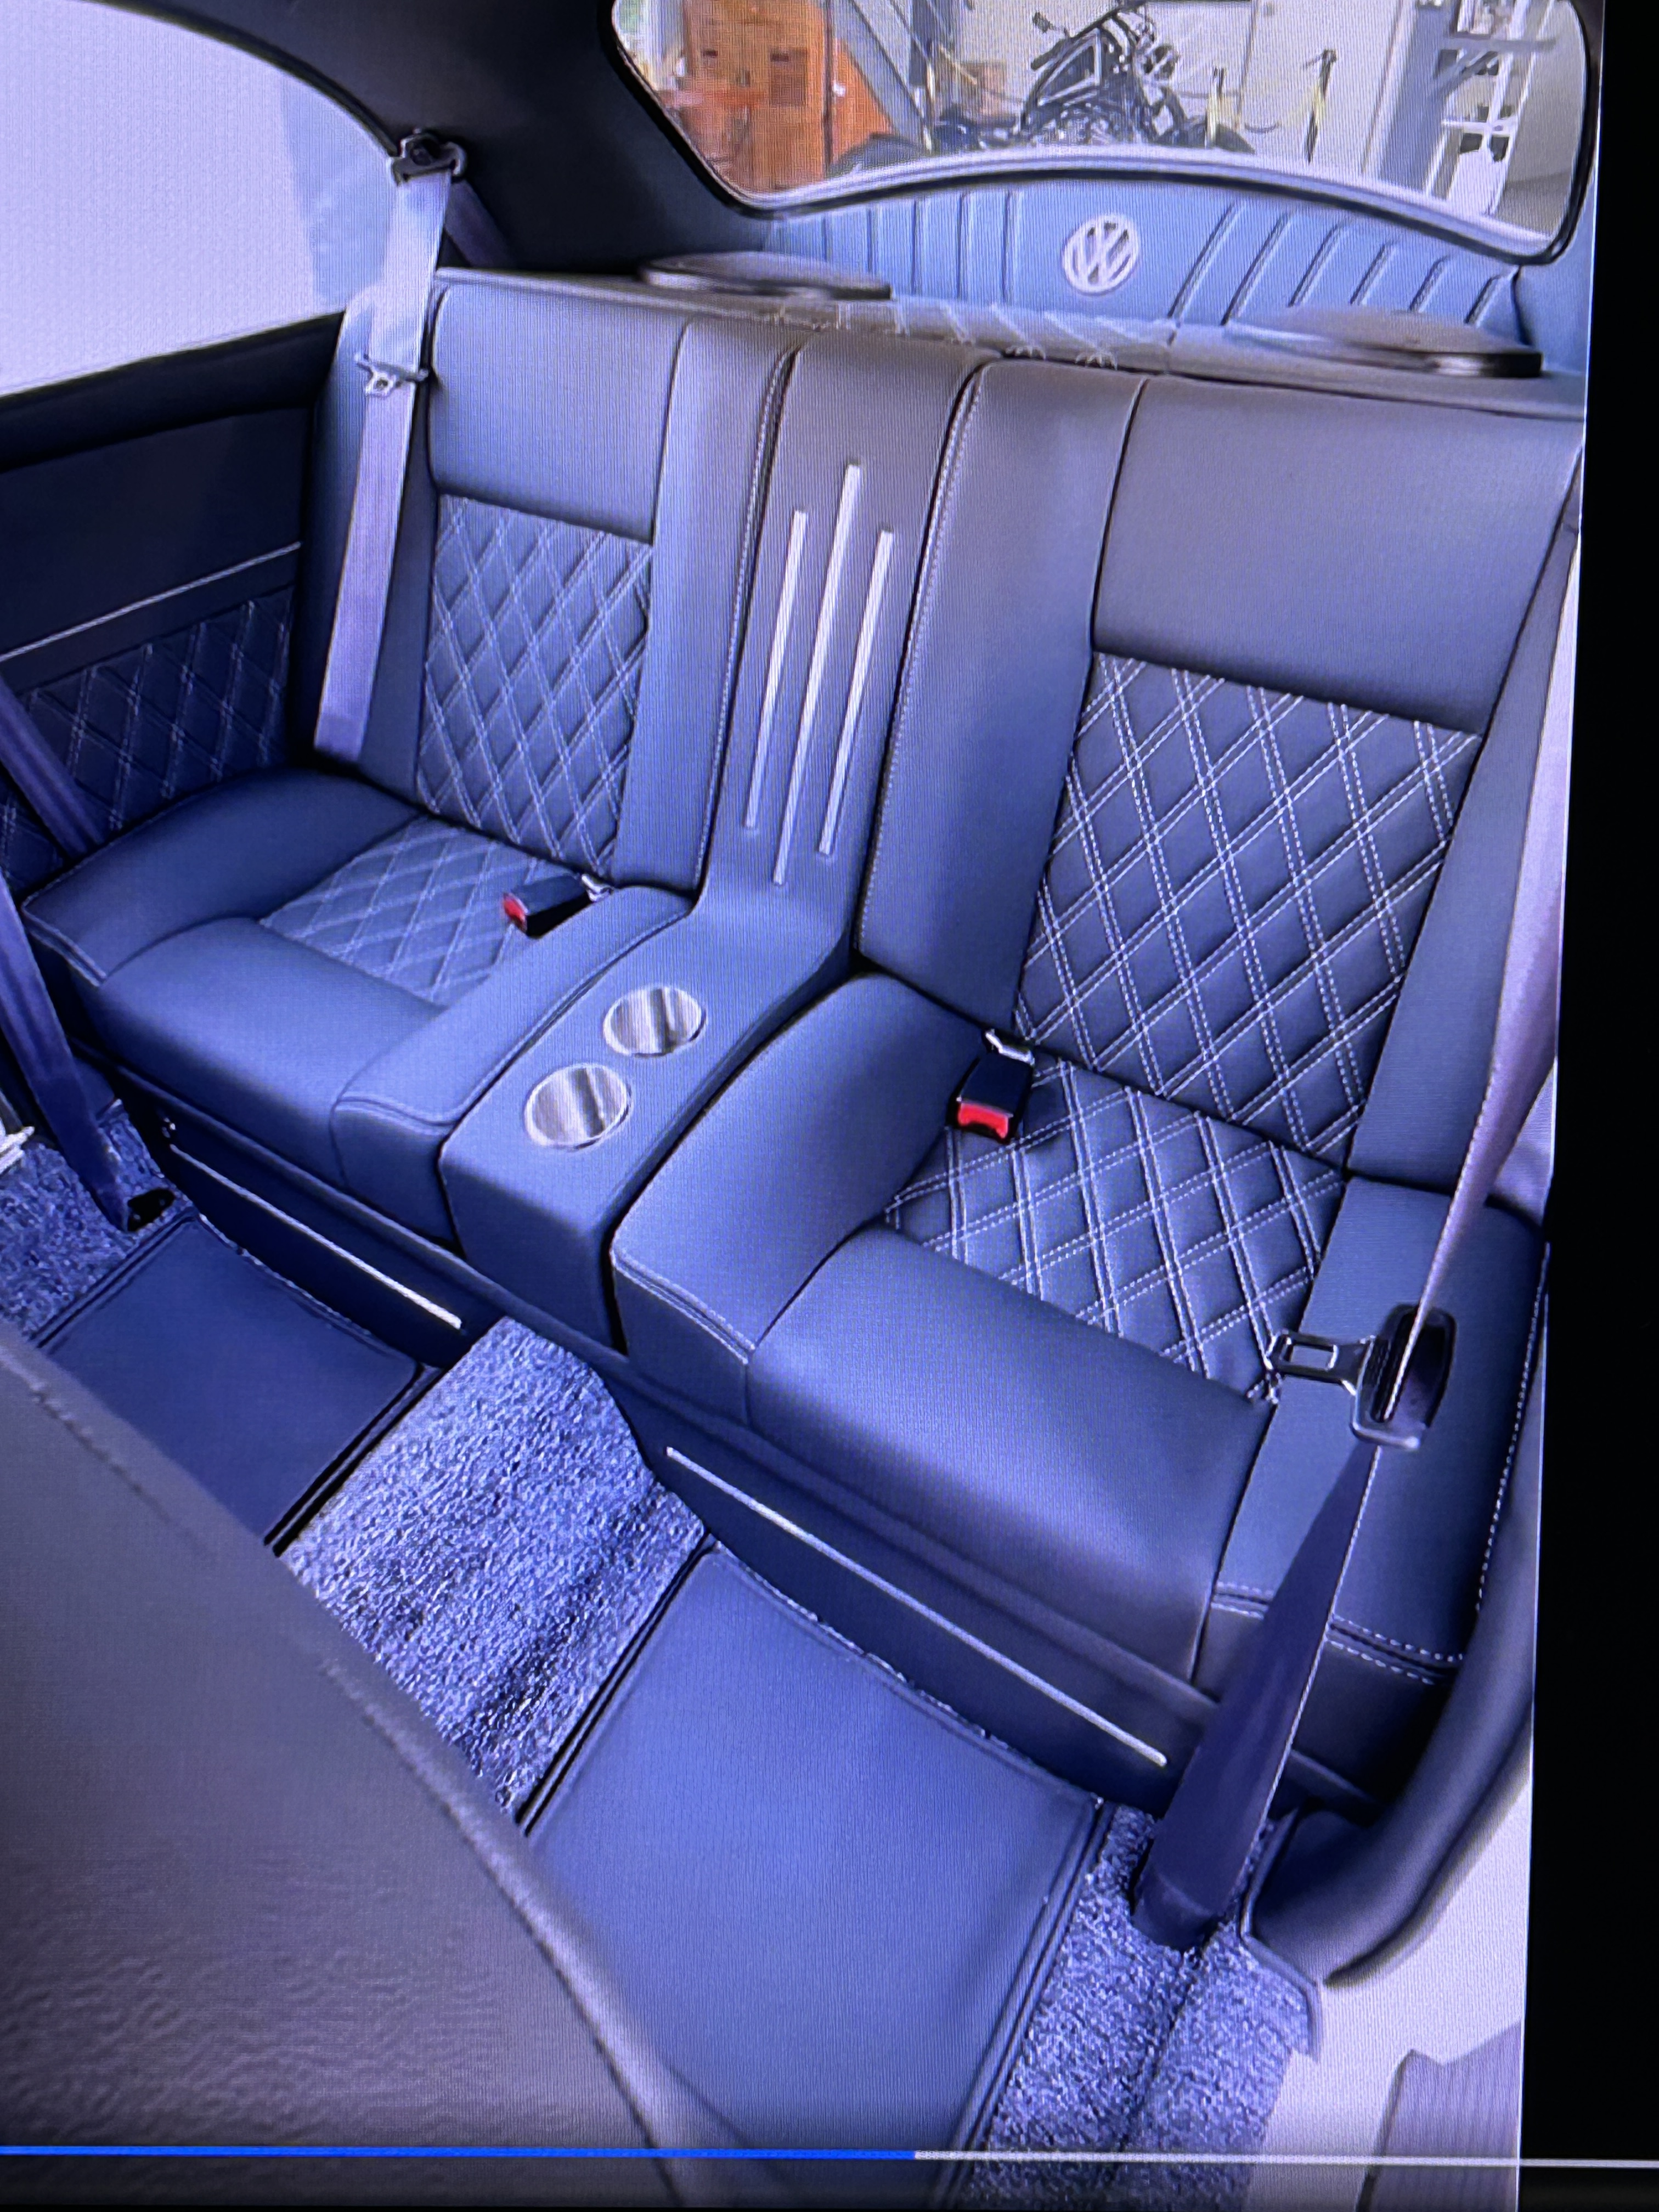
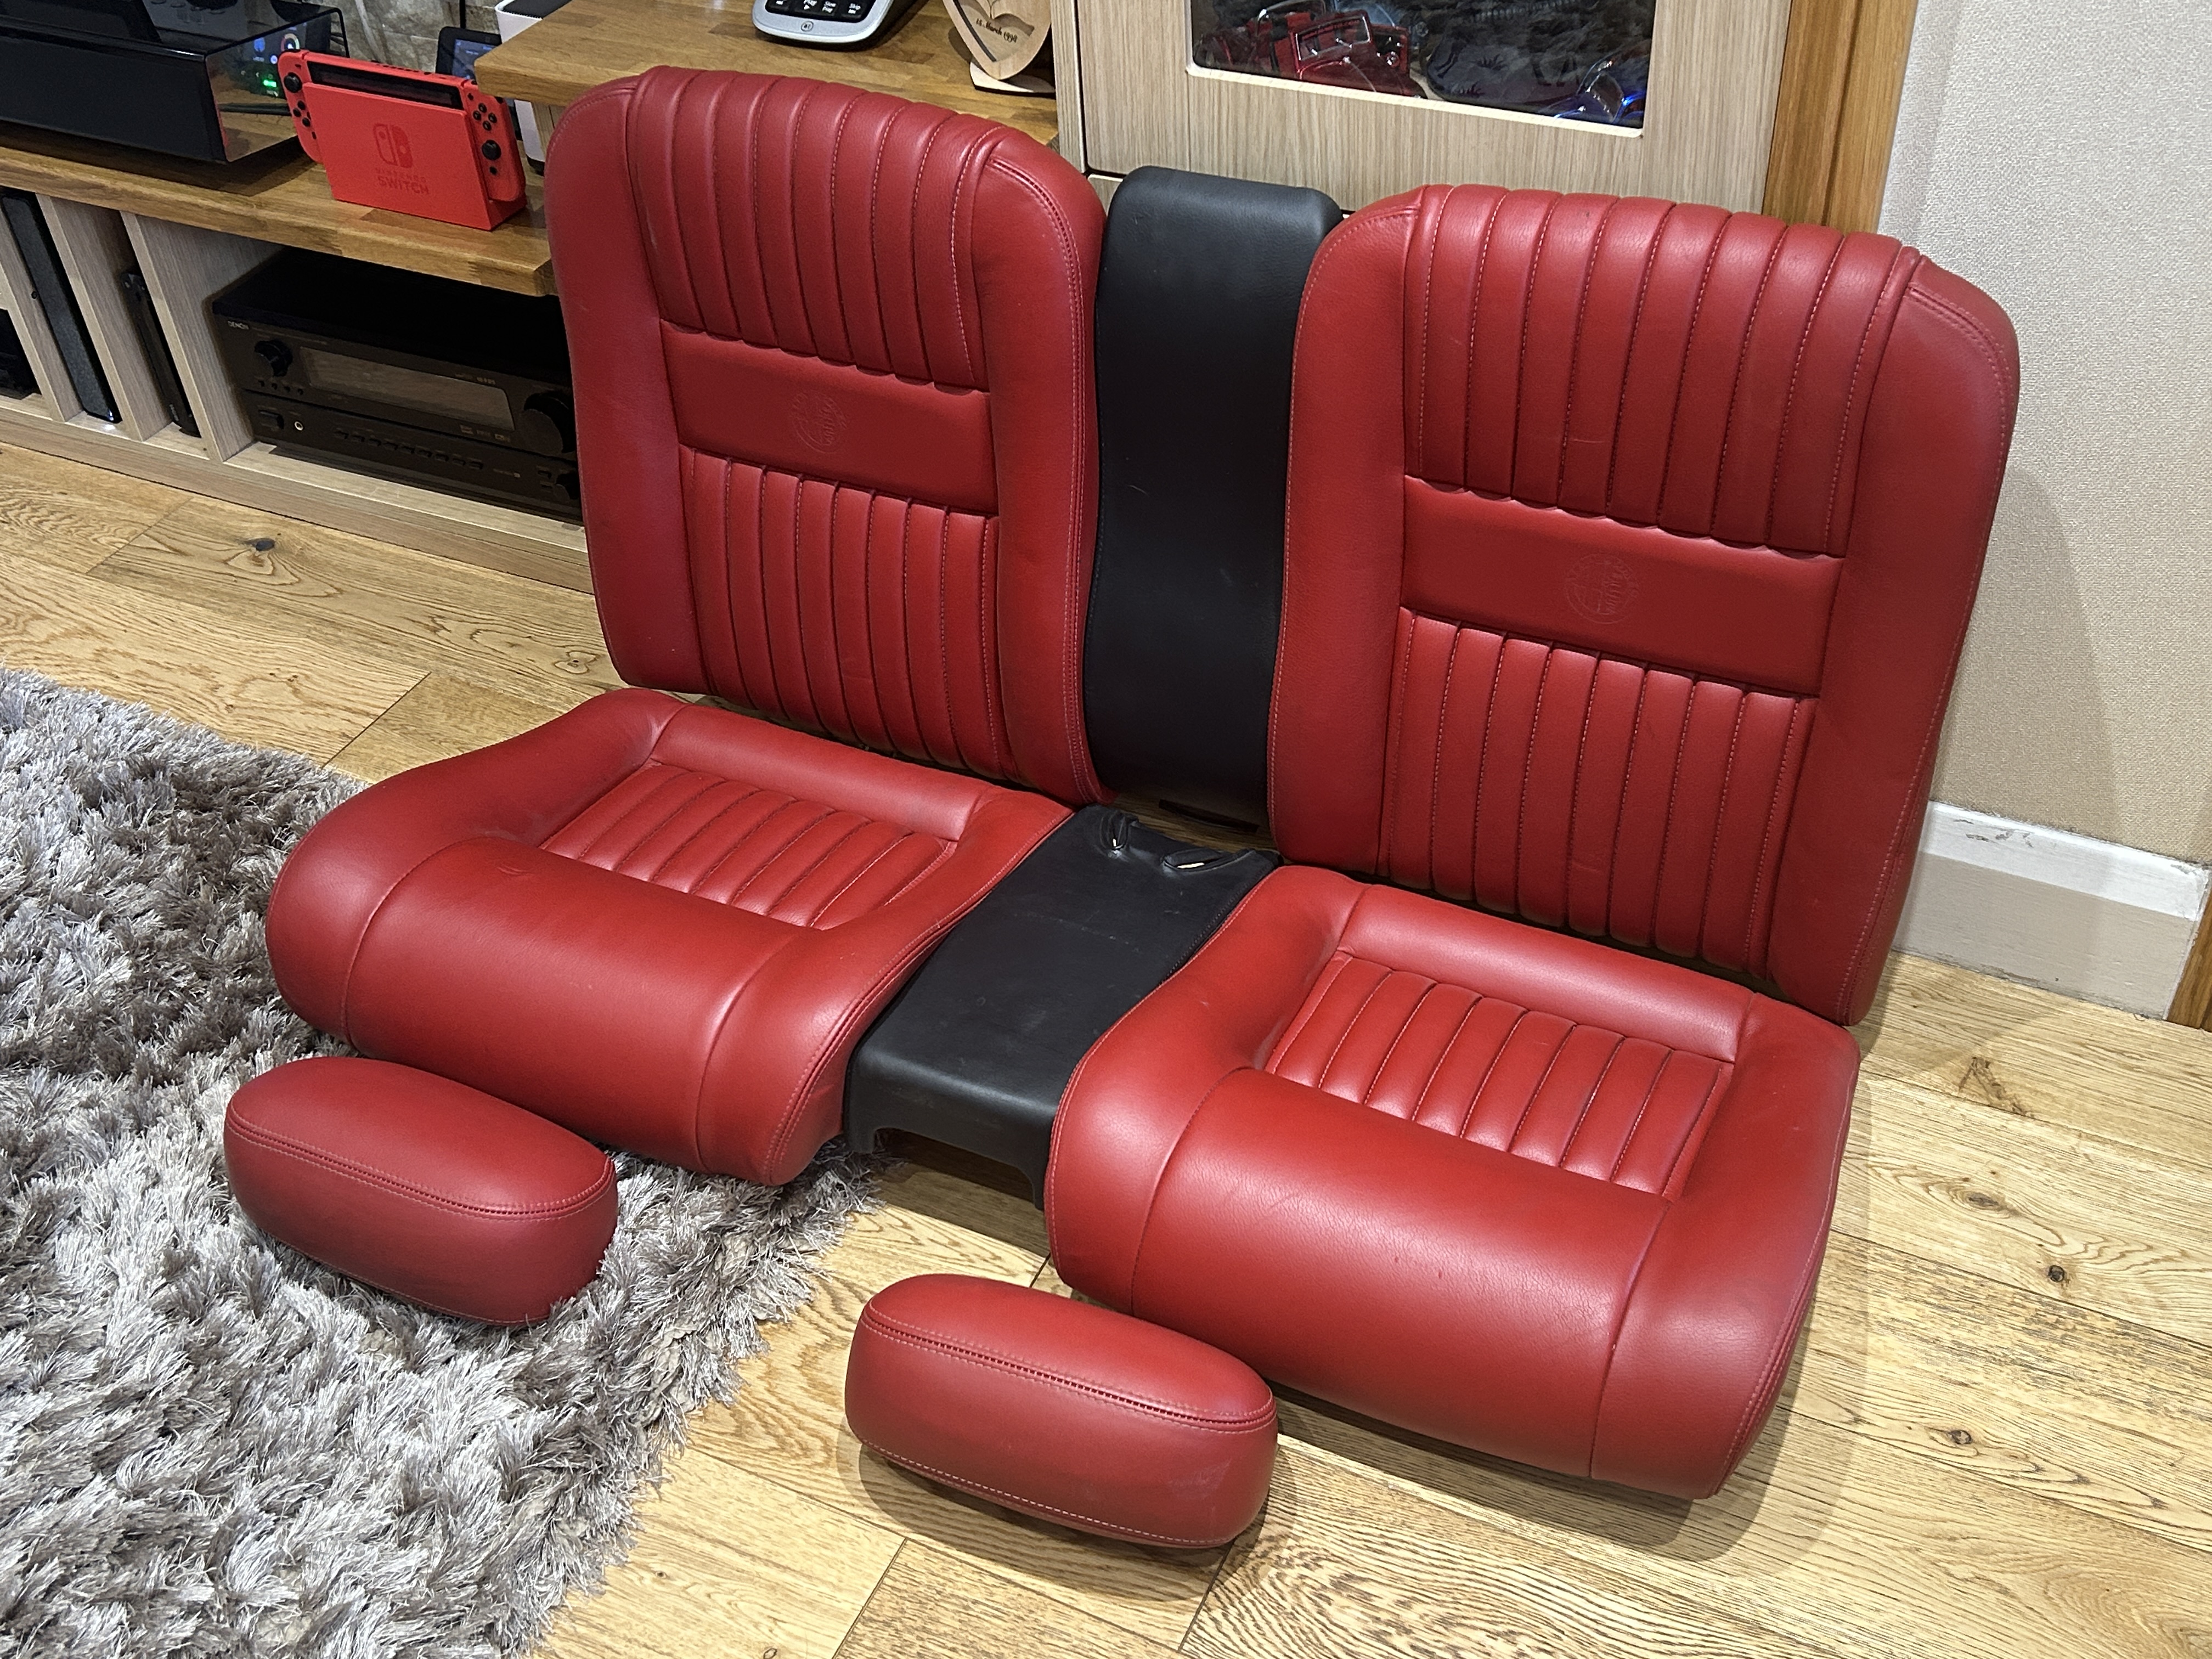
The brief my wife gave me for the rear seats was based on an this image she found on the net.


Essentially, she wanted two individual seats with a central section for storing coffee or drinks.
The best match I could find was the rear seat setup from an Alfa Romeo 916 GTV. They make a great starting point, and my plan is to open each seat up and widen them by about three inches so they fit the car as if they were designed for it.


#10
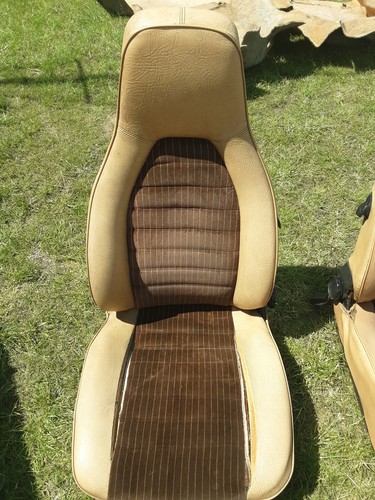
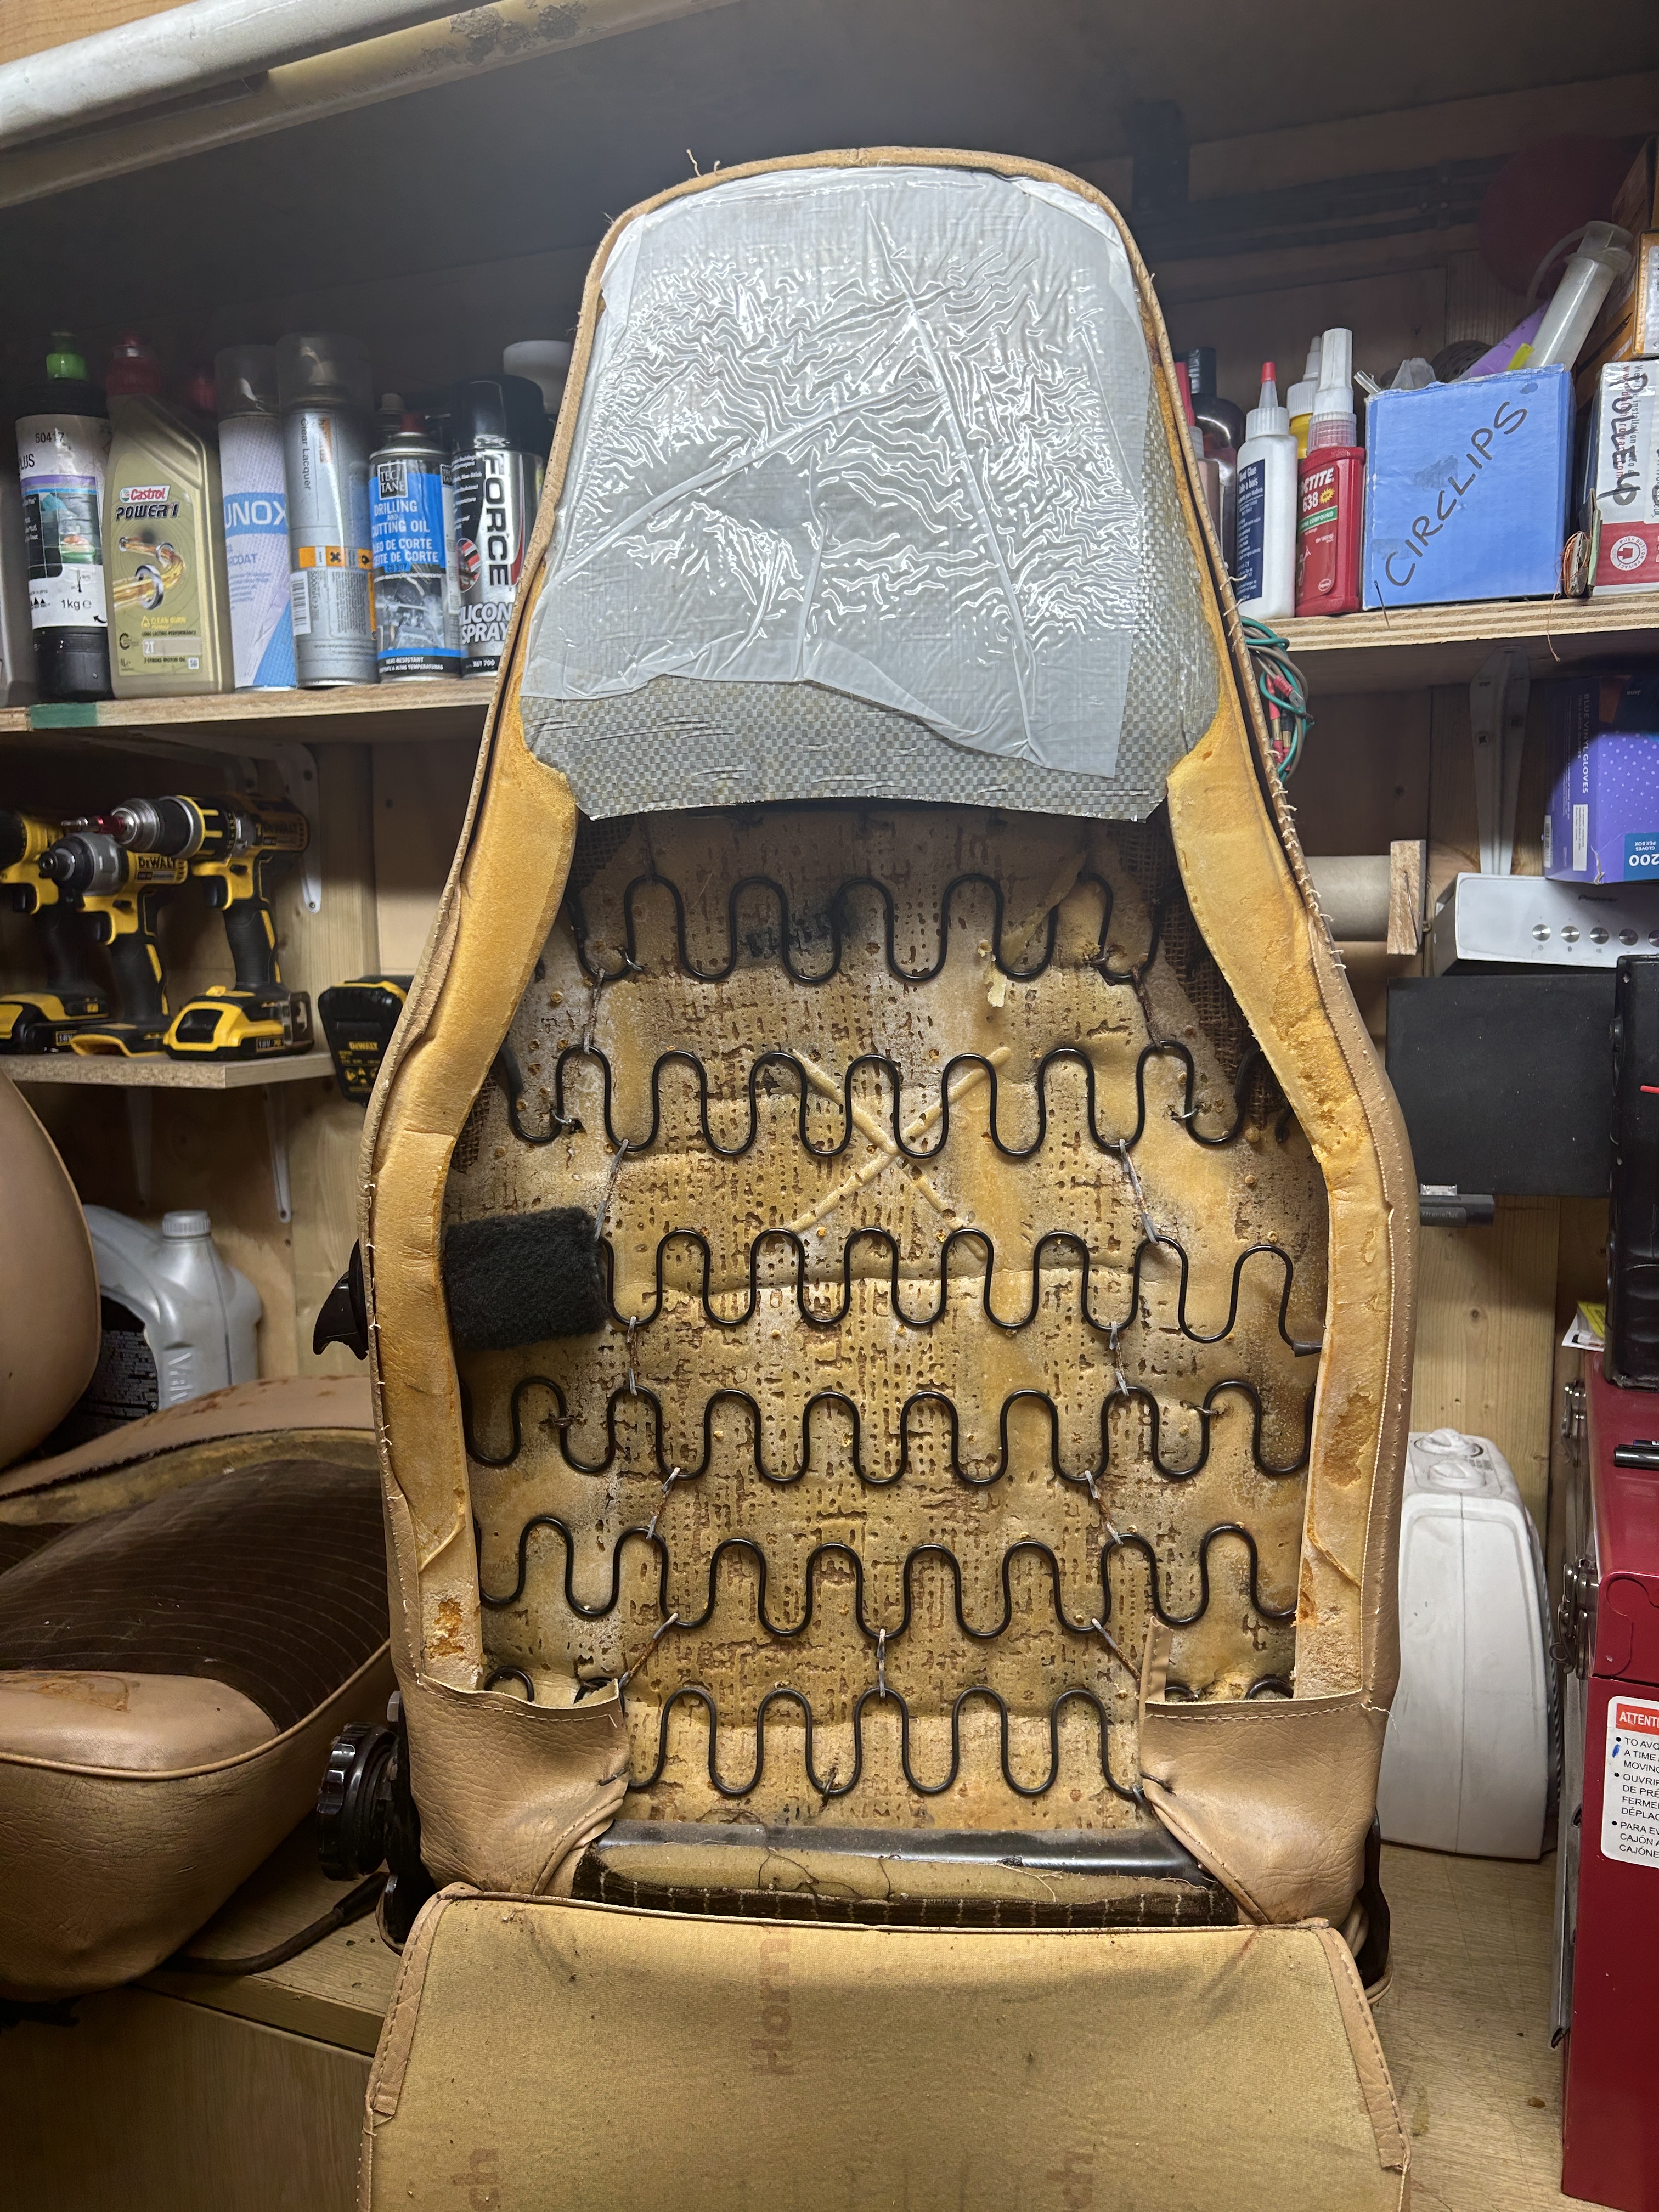
By this point we'd sold the interior, including the door cards, for a decent price and had already started planning the new seating. Porsche 924 front seats have always been a favourite of ours, and luckily I managed to pick up an original pair for next to nothing.


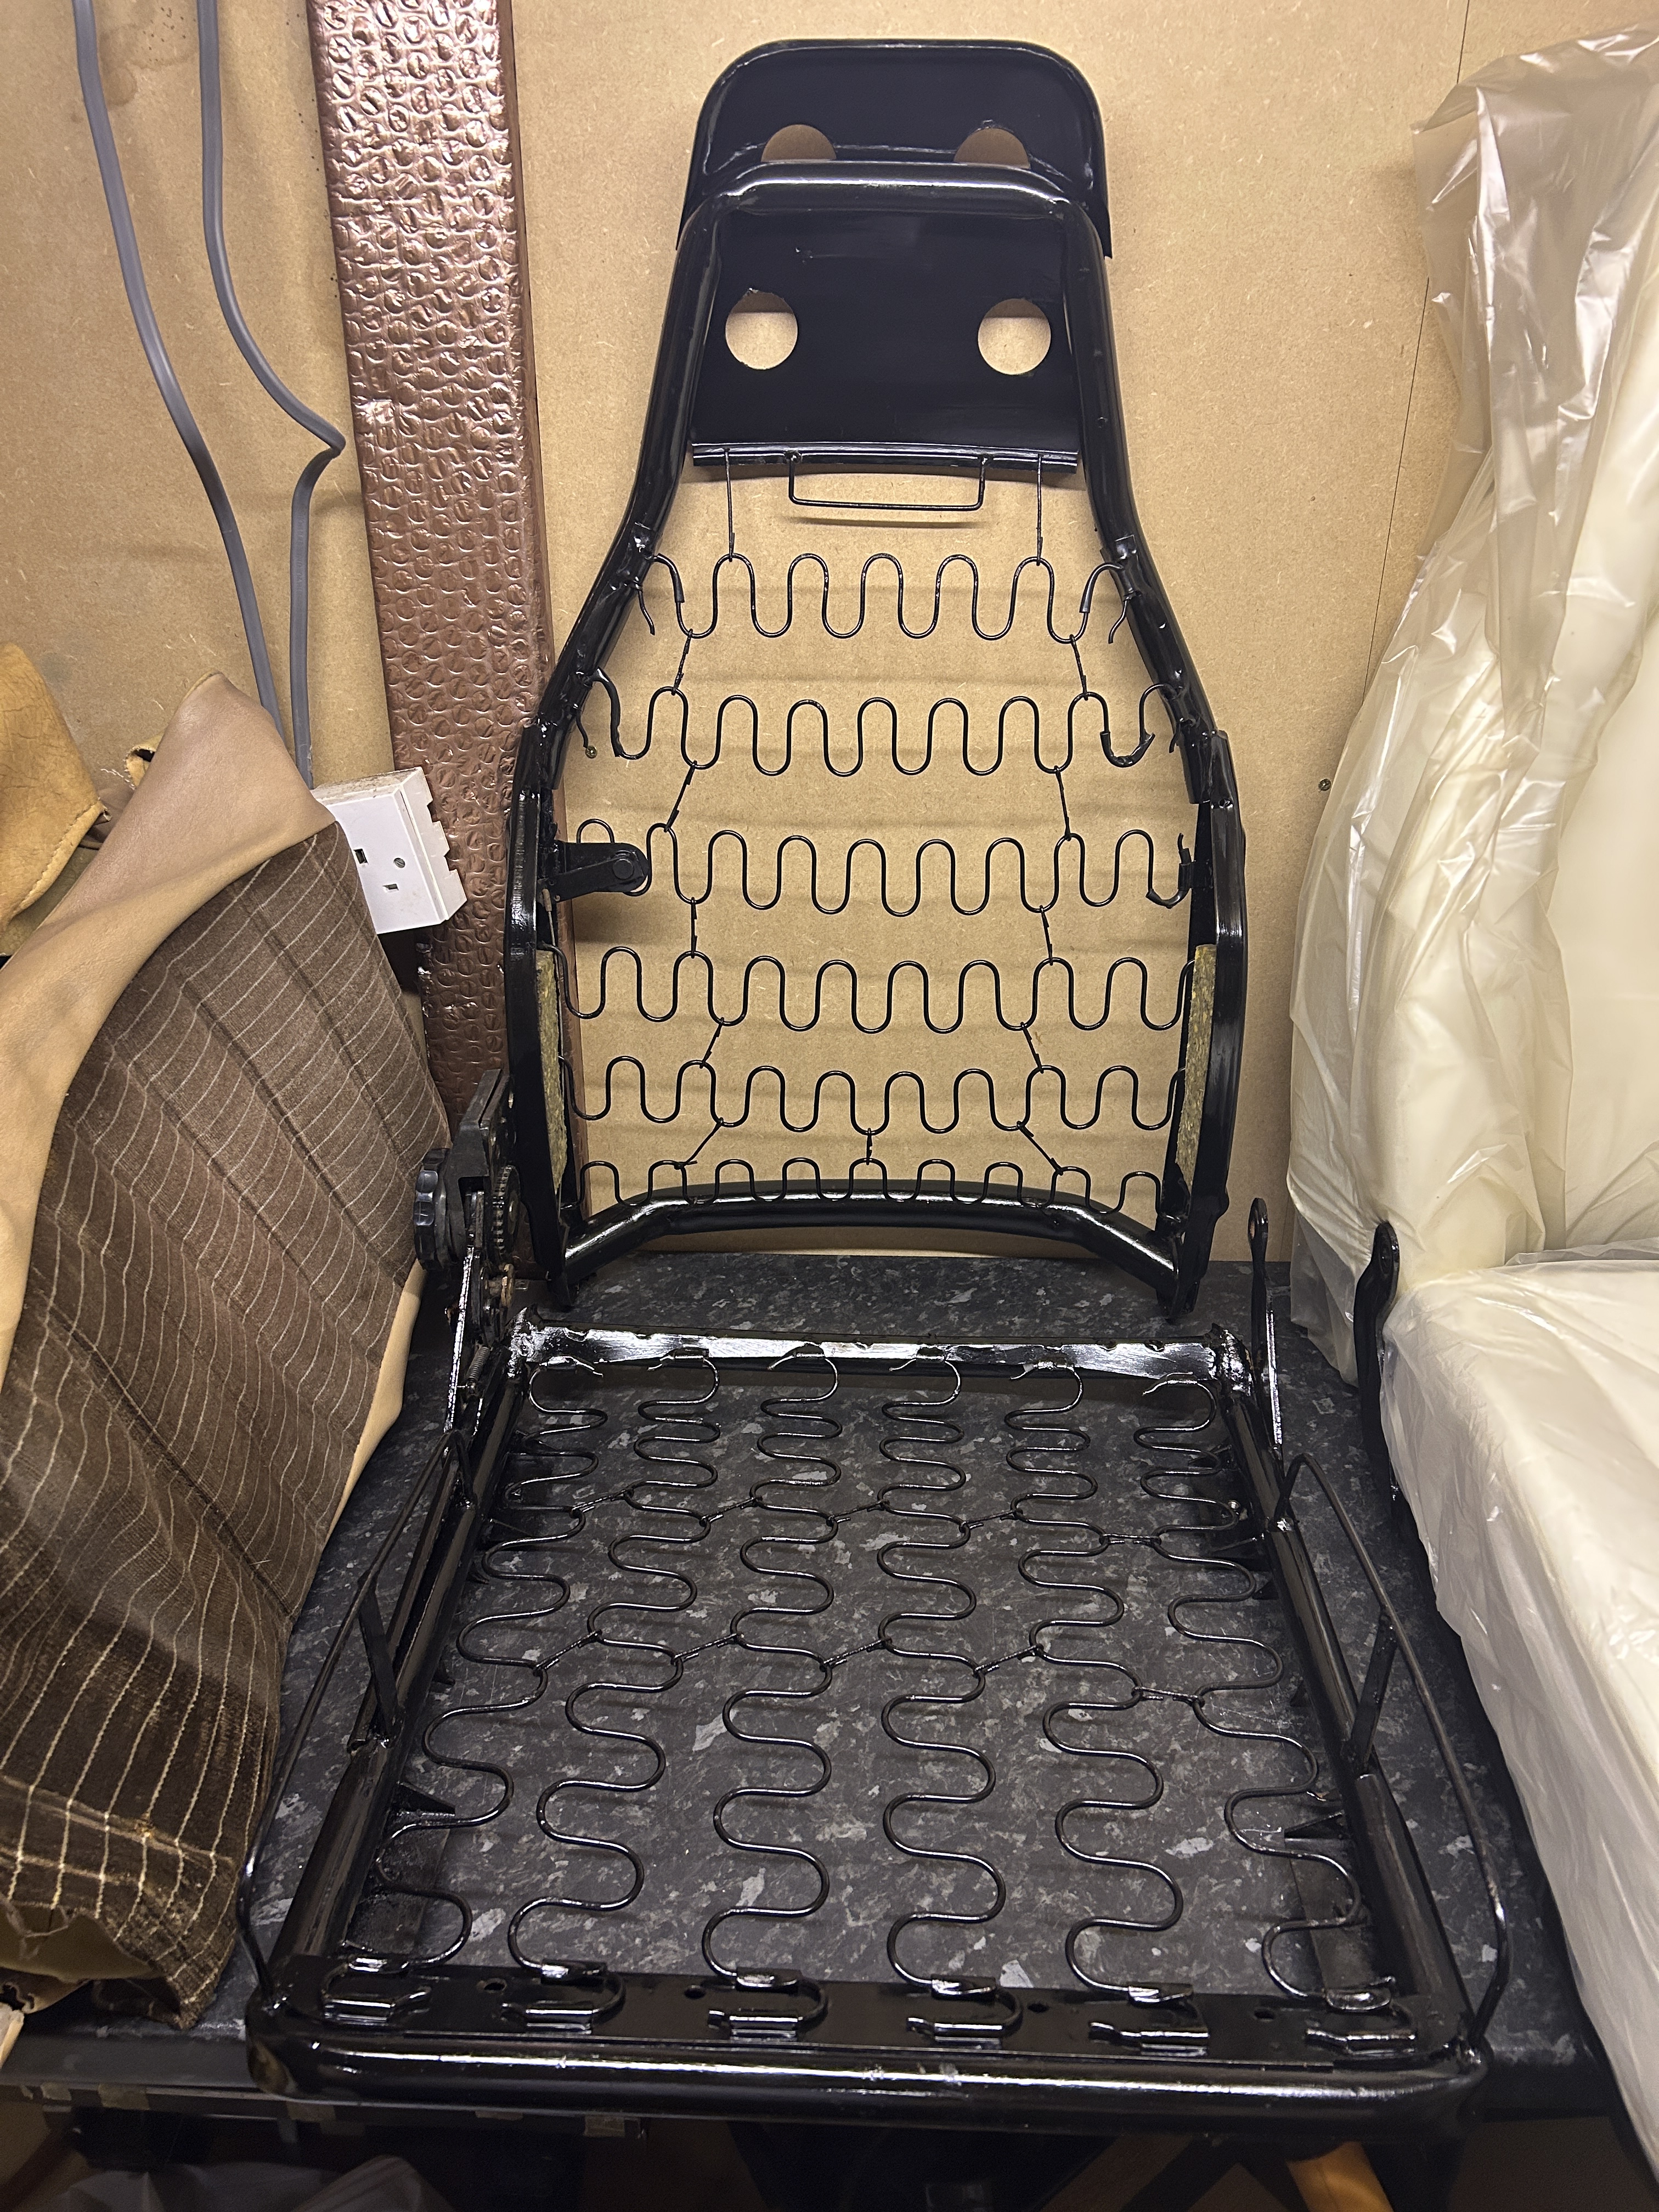
All I really needed were the actual frames, since the plan was to buy new foam cushions.
Carefully stripping and disassembling the original leather covers, as they'll be used as patterns for upholstering the new ones...


Once they were fully stripped, I sanded the frames back and gave them two coats of smooth Hammerite.


I also managed to source new foam cushions, as the old ones were worn, torn, and crumbling in places.


#11
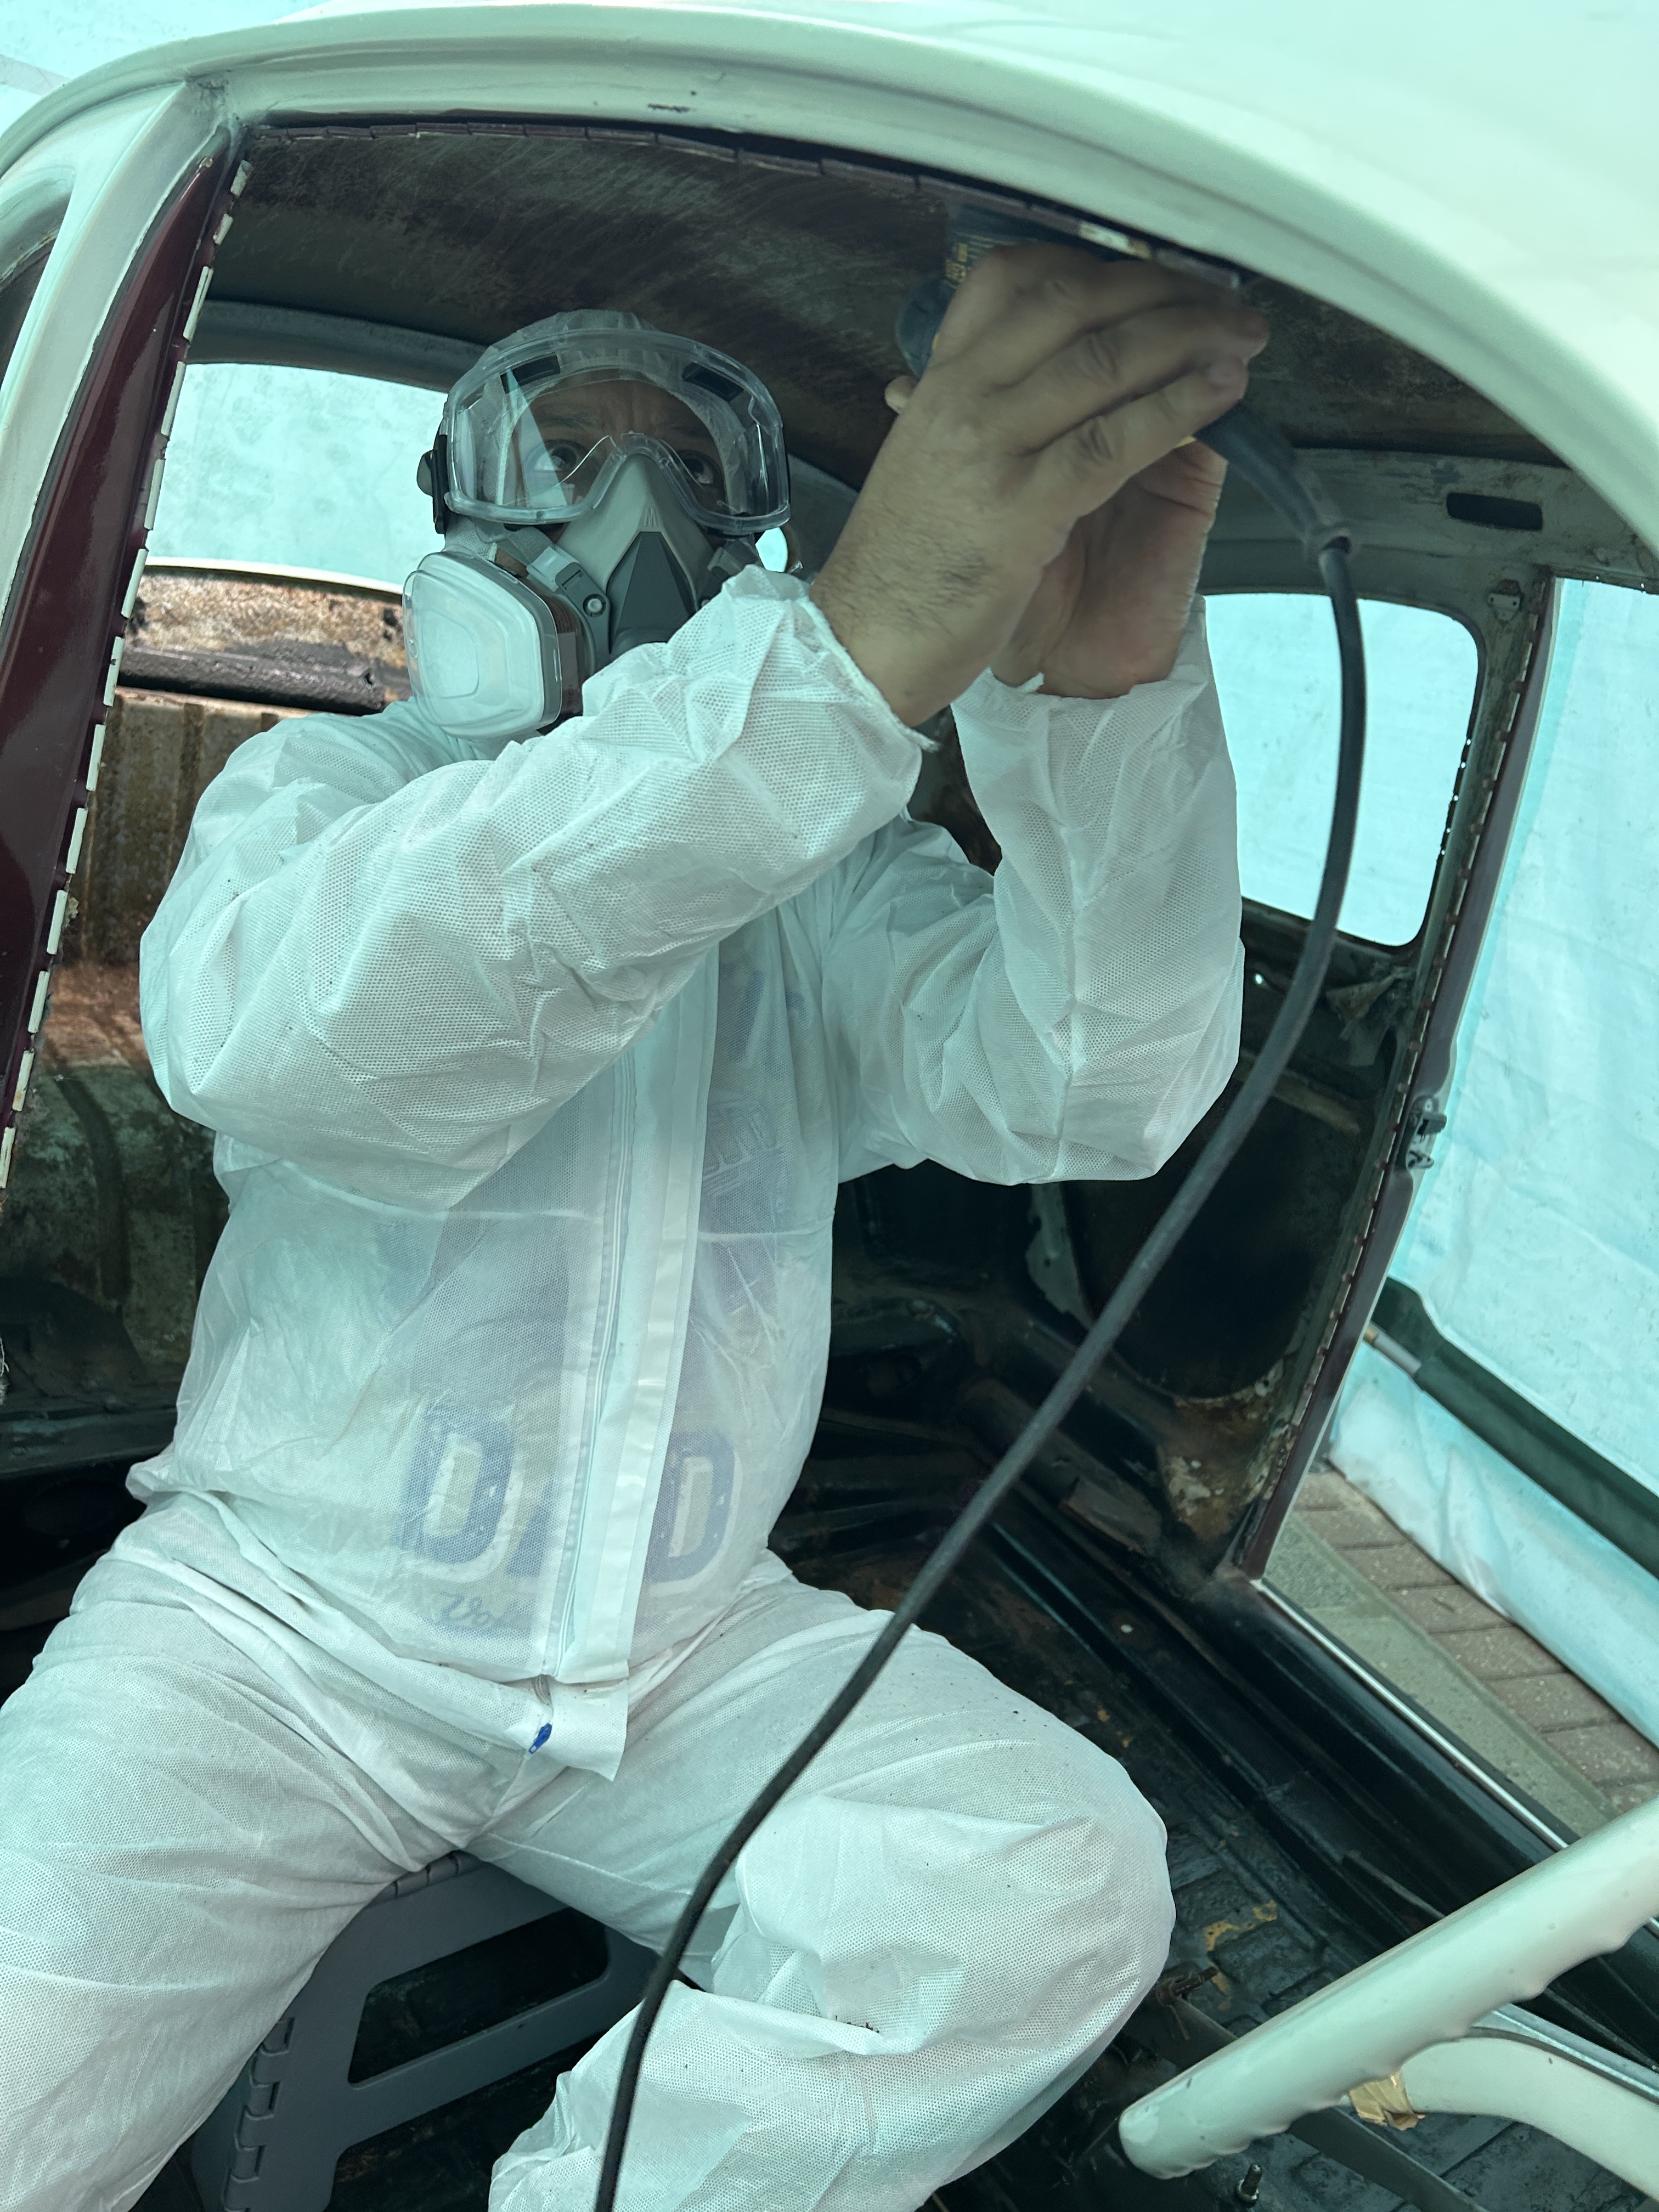
It was mid‑September and there was still a bit of sunshine around, and one great thing about the pop‑up garage is how well it traps heat.
The sun warms it up nicely inside, which made it the perfect opportunity to tackle the inside of the roof. I knew it would be the dustiest job of the whole project, but the extra warmth meant the metal would stay warm enough for primer afterwards.

So I suited up in my favourite Louis Vuitton hazmat outfit, pulled on the mask, and went to town with the orbital sander.


After two and a half hours of sweating away, I was finally ready to brush on a coat of the corrosion sealer.


Once the sealer had dried, I was back out with the spray gun, and after five tankfuls of air the primer was finally laid down....


#12
Quote from: Paul1953 on January 22, 2026, 08:36:09 AMGreat to see someone having a go at the painting lark Nav....  The £30 gun is pretty much a standard and they are fine. Keep the spray fan as wide as the knob will allow.
Just a few hints to hopefully encourage you forwards.  My first spray job was on my first Beetle way back in 1970. I either did it myself or it wouldn`t have got done. Used an electric hand held thing that buzzed away when the trigger was depressed. Did the whole car and was gobsmacked at the bright orange shine. then moved onto a small compressor no bigger than yours. Thought I was the bees knees with that  ;D  ;D
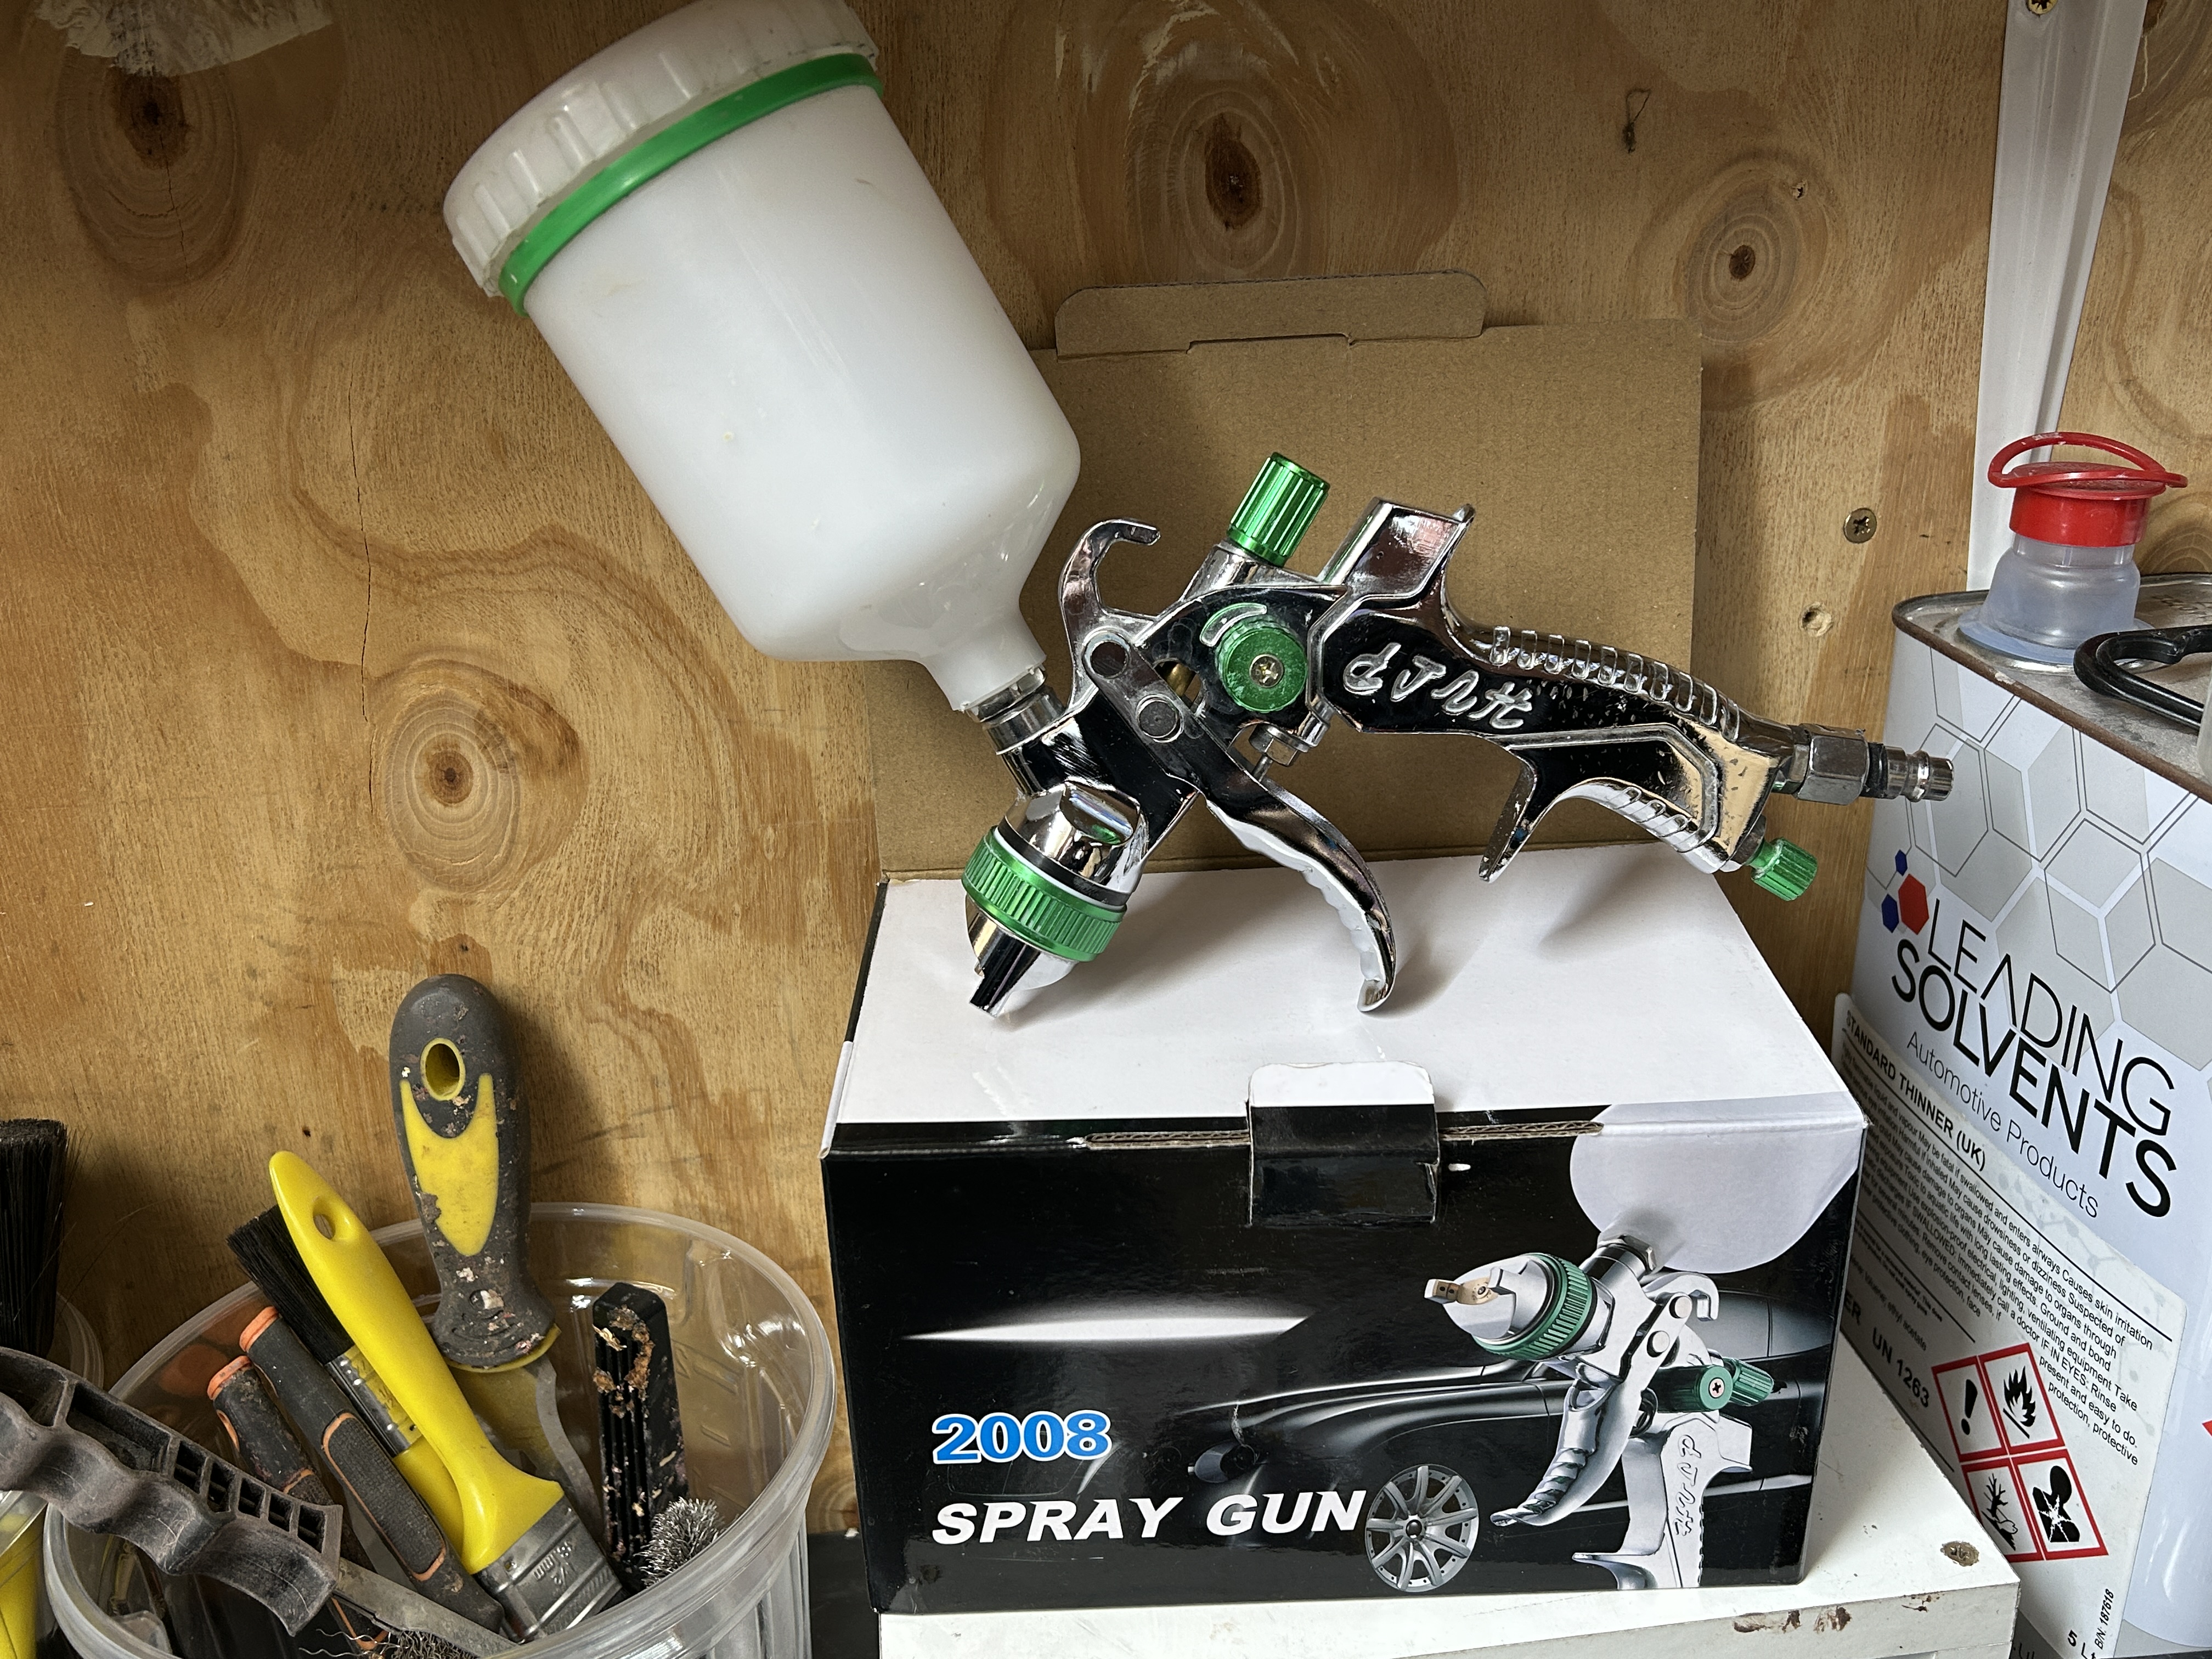
 The compressor will be usable, I would think, as long as the air supply is consistent with no stutters. I am guessing the spray gun is a HVLP version. Therein lies a key factor. This, as the box probably states, relates to High Volume/Low pressure. Now then that simply means lots of volume of air which you don`t have. Low pressure which say 30 psi you have but the pressure/volume ratio is not a good option here. I have always opted for LVHP, (Low Volume-High pressure), and still do today 50 plus years on.
Right Low volume air is what you have. 30psi you have with maybe a bit more in hand. A LVHP gun you may find more useable with a bit of practice also regarding paint to thinners mix. I have not looked but I would expect LVHP guns to be still available. Don`t want to complicate things by going into nozzle size but I use 1.6 on my small guns. 1.8 on mid size. Hope this helps but what I really want to advise on is as follows.
Primer... I have seen so many people  caught out when they prime a bare panel and leave it standing for a while. I understand the thinking that the primer will protect the steel. However primers based on nitro-cellulose. acrylic etc are porous. After just a short while rust will start to appear, initially as small brown dots but underneath rust is spreading. Once there it can never be fully removed.

Worst colour to finish.....  No doubt about that as I soon found out...... Black.    Keep the photos and narrative coming. P.


Hey Paul, this is great information - I had no idea there was so much detail involved with spray guns.
I checked mine out and you're right, it is an HVLP, and it came with 1.4mm, 1.7mm, and 2.0mm nozzles. I've been using the 1.4 mm for spraying the primer.

Thanks as well for the heads‑up about the rust and those brown spots.
I'm still not sure what direction to go with the colour yet, but we've got plenty of time to think about it.

#13
I then used a nylon stripping wheel on a cordless drill to remove any remaining residue and smooth out the surface of the wing.


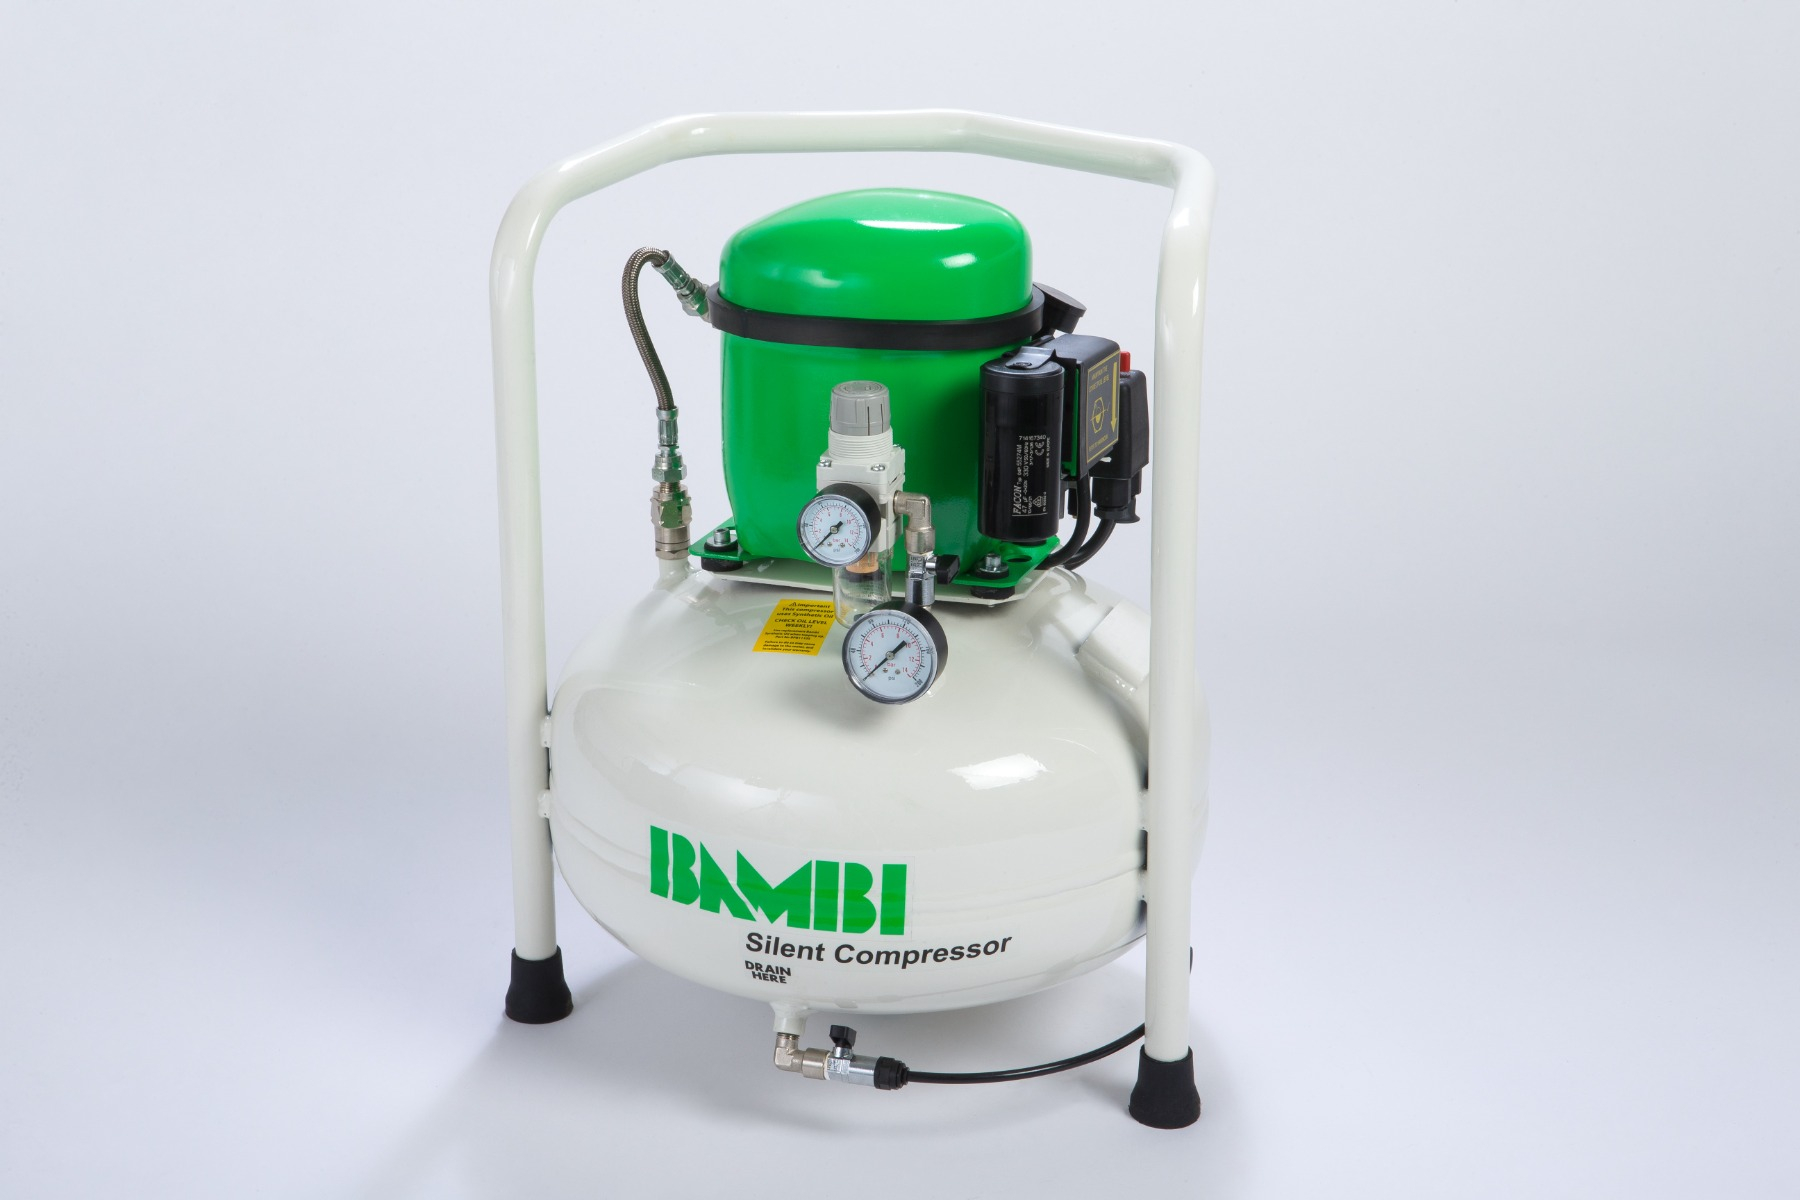
Now comes the fun bit. I don't own any professional workshop tools, and my compressor is a tiny silent Bambi BB24V—a dentist's unit that I normally use for airbrushing. You can just about spot it in the picture below next to Ludicruz.


As for the spray gun, I checked Amazon for reviews on a simple, budget‑friendly option and ended up picking this one up for around £30.


This was my first ever attempt at priming a panel, but for now the goal is simply to protect the bare metal from rust. The primer will likely be sanded back or even removed again during the final prepping stages


At 30 PSI I managed to get the wing painted, although the little tank needed three refills to get the job done.


#14
The paint stripper was easy to apply, and within a few minutes the top layer had already begun to bubble. After about twenty‑five minutes, I was able to remove the top coat and the primer with very little effort.


However, it quickly became clear that none of the previous paint layers had been removed during the earlier colour changes. I was potentially dealing with six layers in total, all of which needed to be stripped back.

The entire process ended up taking around half a day, as the Starchem needed a bit more time to break down the deeper, older layers.


The best part so far is that there's no real damage - just a few minor dings and, importantly, no rust patches at all.

#15
Quote from: Speedy on January 20, 2026, 09:08:25 PMI used Starchem on my Baja Nav it's pretty good stuff, not sure if you know a little tip wrap what you are working on with masking polythene, stops it drying out so has longer to work it's magic  ;-)up

Yes, i picked that tip up from watching a few of the American You Tube videos.... 8)
SMF spam blocked by CleanTalk